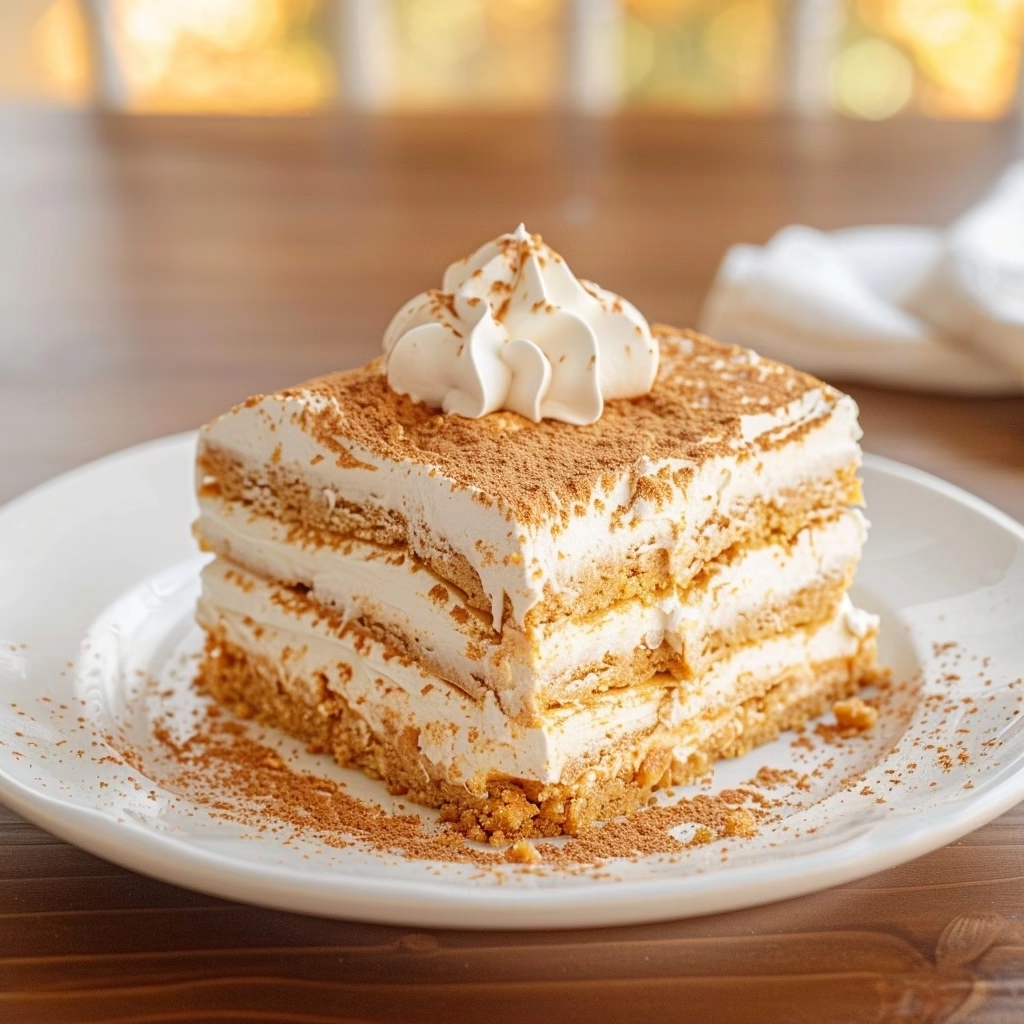
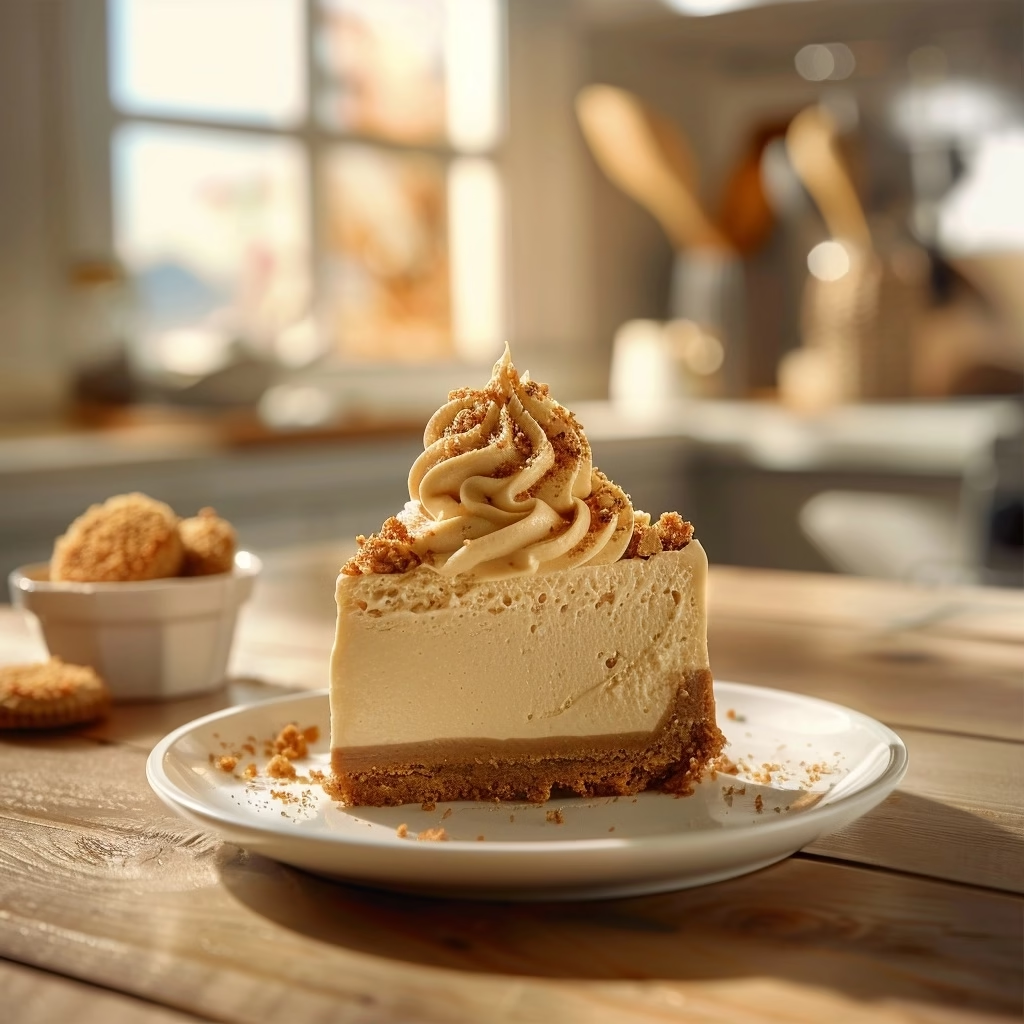
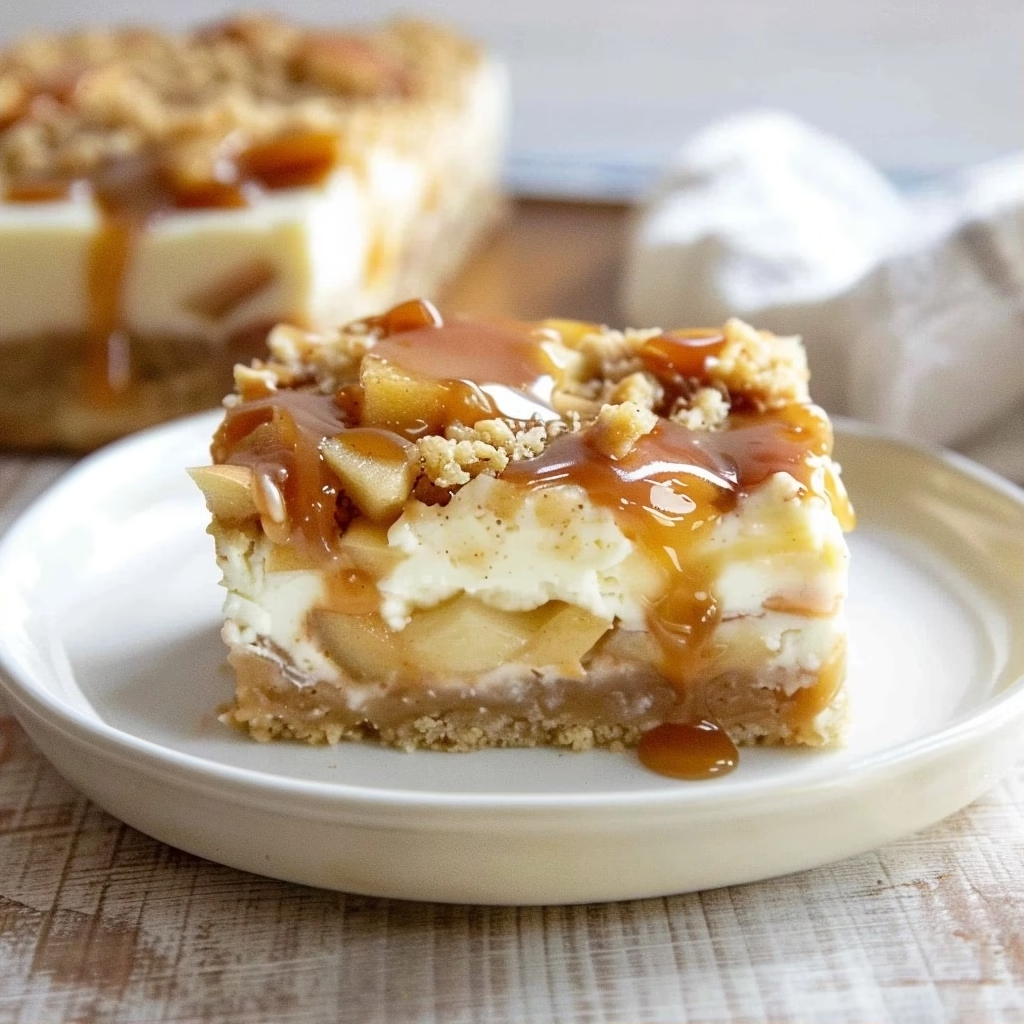
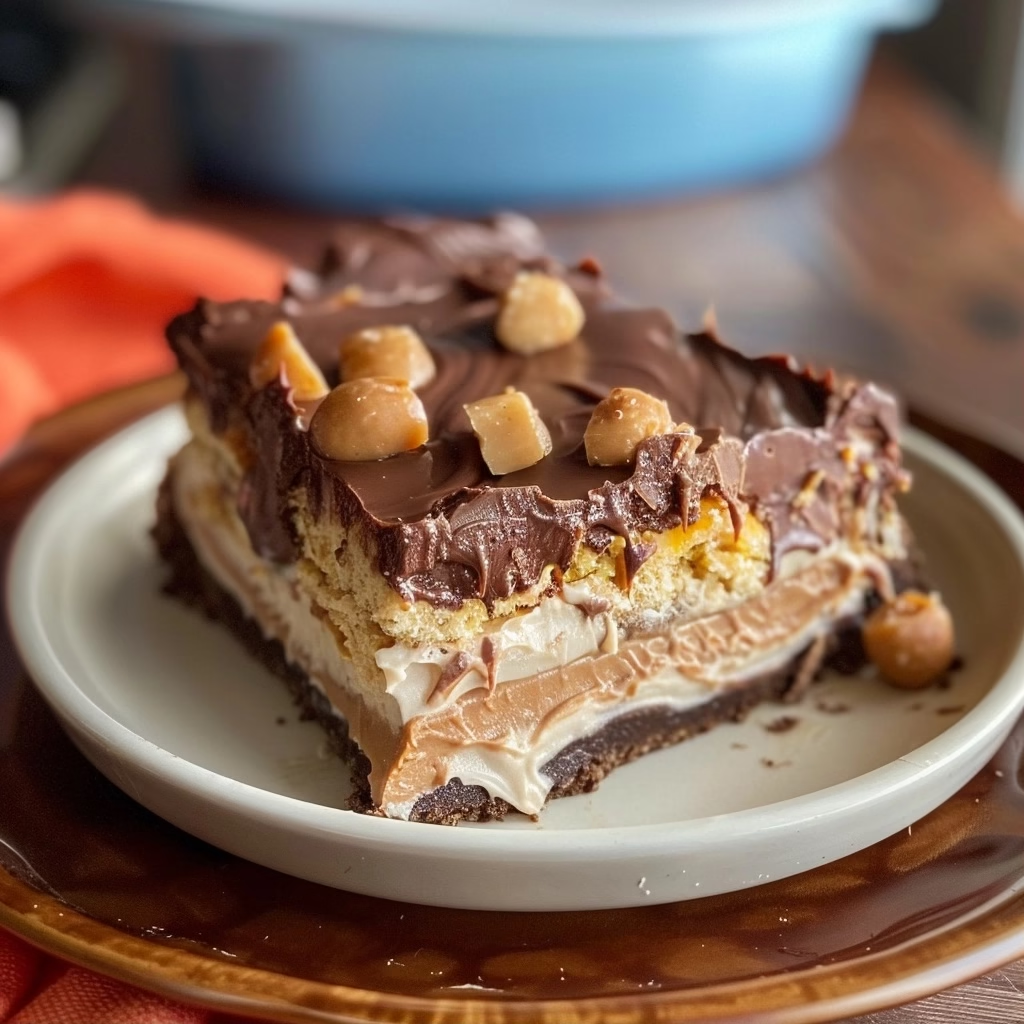
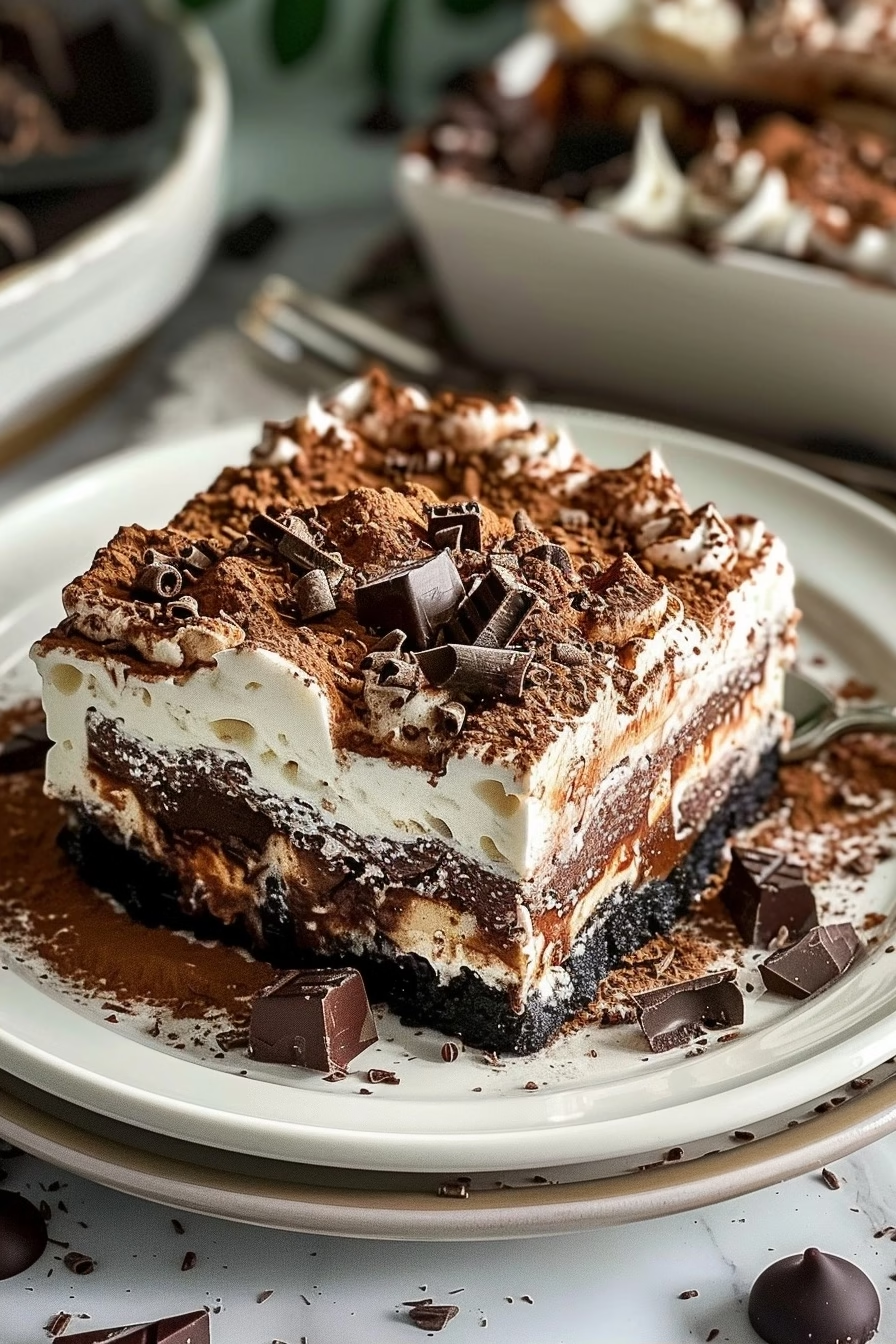
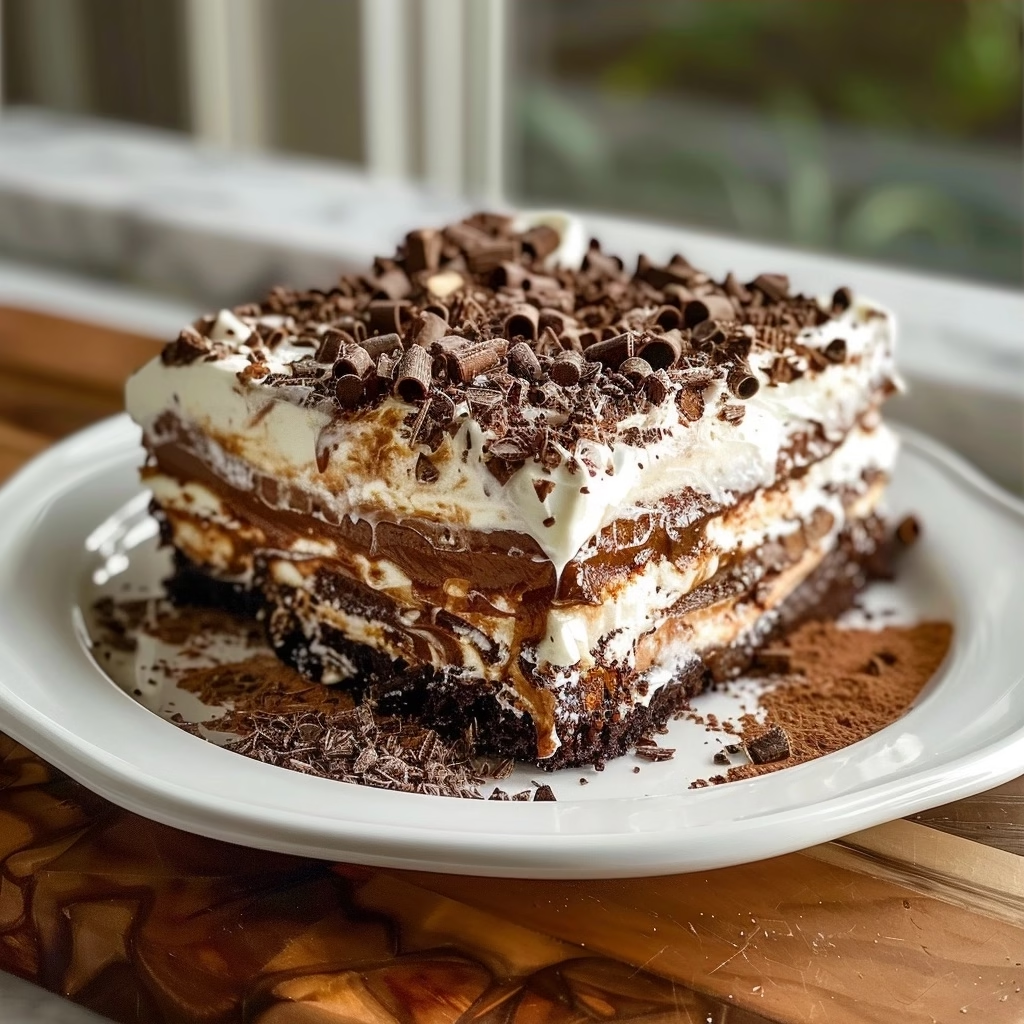
Chocolate Lasagna (Easy No-Bake Dessert) is a decadent, multi-layered treat featuring crisp chocolate cookie crusts, silky cream cheese filling, and rich chocolate pudding. This classic layered dessert eliminates oven time while delivering a sophisticated flavor profile perfect for every occasion. Home cooks appreciate this recipe for its consistent texture and ability to feed large crowds without extra heat. Its structural simplicity ensures a clean presentation when sliced and served to hungry guests.
Recipe Overview
| Metric | Details |
|---|---|
| Prep Time | 20 minutes |
| Cook Time | 0 minutes |
| Total Time | 4 hours 20 minutes |
| Servings | 12 servings |
| Difficulty | Easy |
| Cuisine | American |
Why This Recipe Works
This recipe works because it relies on the physical chemistry of chilling rather than baking to set its delicate layers. The contrast between the crunchy Oreo base and the airy whipped topping creates an addictive mouthfeel that satisfies any sweet craving. Every bite offers a balance of sweetness that feels indulgent yet remains accessible to beginner bakers.
You will love how easily this dish adapts to last-minute gatherings or planned holiday celebrations. Unlike traditional cakes, this dessert benefits from resting in the refrigerator, making it the ultimate make-ahead option for busy entertainers. It saves valuable counter space by staying inside the fridge until the final moment of service.
Ingredients
| Ingredient | Quantity | Notes |
|---|---|---|
| Chocolate Sandwich Cookies | 36 count | Use double-stuffed for extra creaminess |
| Unsalted Butter | 1/2 cup | Melted completely |
| Cream Cheese | 8 ounces | Softened to room temperature |
| Granulated Sugar | 2 tablespoons | Can use powdered sugar for texture |
| Whipped Topping | 16 ounces | Thawed completely |
| Chocolate Pudding Mix | 2 packages | Instant variety |
| Cold Milk | 3 cups | Whole milk provides best fat content |
| Mini Chocolate Chips | 1/2 cup | Garnish as desired |
Step-by-Step Instructions
Preparing the Base
- Crush the chocolate sandwich cookies into fine crumbs using a food processor or a sealed plastic bag with a rolling pin.
- Combine the cookie crumbs with melted butter in a medium bowl until the texture resembles wet sand.
- Press this mixture firmly into the bottom of a 9×13 inch baking dish to create a stable foundation.
Layering the Dessert
- Whisk the cream cheese, sugar, and two tablespoons of milk in a large bowl until smooth and fluffy.
- Fold in half of the whipped topping into the cream cheese mixture until fully combined.
- Spread this mixture evenly over the chilled cookie crust using an offset spatula.
- Whisk the instant pudding mix with the remaining cold milk in a separate bowl until it thickens significantly.
- Pour the pudding layer over the cream cheese layer, smoothing it out to the edges for a professional look.
- Top the entire dish with the remaining whipped topping and sprinkle with mini chocolate chips before refrigerating.
Chef Tips for Perfect Results
- Use a food processor to ensure cookie crumbs are uniform, which creates a more stable crust that slices cleanly.
- Ensure the cream cheese is fully softened to avoid unsightly lumps within the white layer.
- Chill the baking dish for at least 15 minutes before adding the first layer to firm up the butter.
- Apply the whipped topping gently to prevent mixing the colors of the layers underneath.
- Wipe the knife blade between cuts when serving to keep the layers distinct and visually appealing.
Common Mistakes to Avoid
Avoid using warm milk for the pudding, as it will prevent the mixture from setting correctly, leading to a runny dessert. Always use cold milk to activate the thickeners in the instant mix. If the base feels too soft, increase the chilling time to ensure the butter re-solidifies properly. Do not rush the assembly; each layer requires a steady hand to maintain clean, horizontal lines that define the classic look of this dish.
Variations and Substitutions
| Ingredient | Substitution | Impact on Flavor |
|---|---|---|
| Chocolate Cookies | Golden Sandwich Cookies | Lighter, vanilla-forward profile |
| Chocolate Pudding | Vanilla Pudding | Changes flavor to cookies and cream |
| Mini Chips | Crushed Peanuts | Adds a salty crunch and texture |
Serving Suggestions and Pairings
Serve this dessert chilled alongside a hot cup of black coffee or unsweetened peppermint tea to balance the richness. It works perfectly for summer barbecues, birthday parties, or casual office gatherings. The neutral chocolate profile pairs beautifully with fresh strawberries or raspberries for a sophisticated garnish.
Storage and Reheating
| Method | Duration | Instructions |
|---|---|---|
| Refrigerator | 3-4 Days | Cover tightly with plastic wrap |
| Freezer | 2 Weeks | Wrap in foil and thaw in fridge |
Nutritional Information
Approximate values per serving.
| Nutrient | Amount |
|---|---|
| Calories | 350 kcal |
| Fat | 18g |
| Sugar | 25g |
| Protein | 4g |
Frequently Asked Questions
Can I use a different cookie for the base?
You can substitute the chocolate cookies with vanilla wafers or graham crackers for a unique flavor twist. Keep the butter ratio the same to ensure the base remains solid.
How long must this dessert chill before serving?
This dish requires a minimum of four hours in the refrigerator to fully set the pudding and cream cheese layers. Chilling overnight provides the best results for clean, sharp slices.
Why did my layers mix together?
The layers likely mixed because the individual components were not thick enough or the pudding was not fully set. Always use cold milk and allow the cream cheese layer to firm up before adding the pudding.
Can I make this dessert ahead of time?
You should prepare this dish up to 24 hours before your event for the best flavor infusion. It remains fresh in the refrigerator for up to four days when stored properly.
Is there a way to make this less sweet?
You can reduce the sugar in the cream cheese layer by half or use a sugar-free pudding mix to lower the overall sweetness. Stick to dark chocolate cookies to provide a slight bitterness that balances the filling.
Chocolate Lasagna (Easy No-Bake Dessert) remains a top-tier choice for any cook looking to impress without the stress of an oven. By following these layering techniques, you achieve a professional-looking result every single time. Enjoy this classic treat at your next event and watch it disappear quickly from the dessert table. The combination of creamy textures and chocolatey goodness never goes out of style.
Chocolate Lasagna (Easy No-Bake Dessert)
Ingredients
Method
- Crush the chocolate sandwich cookies into fine crumbs.
- Mix cookie crumbs with melted butter until the texture resembles wet sand.
- Press the mixture firmly into the bottom of a 9x13 inch baking dish.
- Whisk the softened cream cheese with granulated sugar until smooth, then fold in half of the whipped topping and spread over the crust layer.
- Whisk the instant chocolate pudding mix with the cold milk until thickened, then spread evenly over the cream cheese layer.
- Top the dessert with the remaining whipped topping and sprinkle with mini chocolate chips.
- Refrigerate for at least 4 hours before slicing and serving.