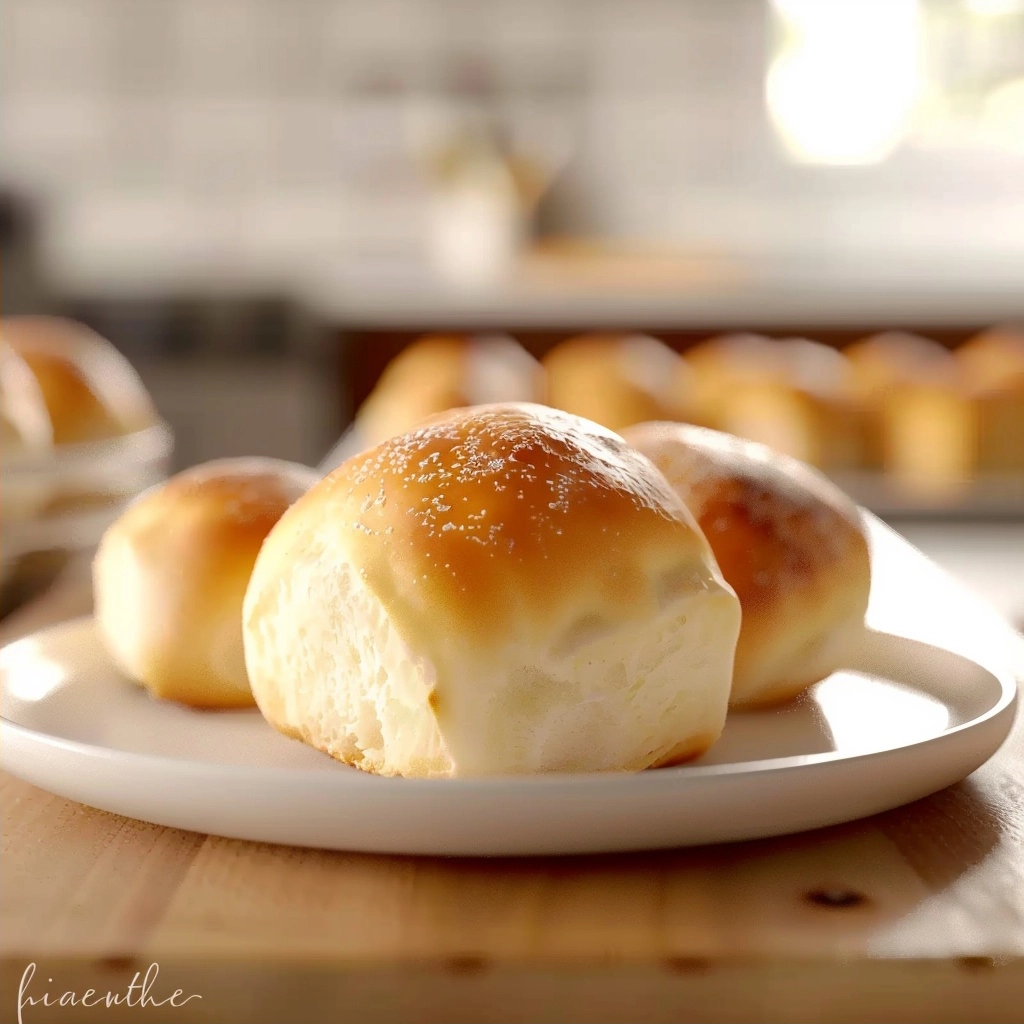
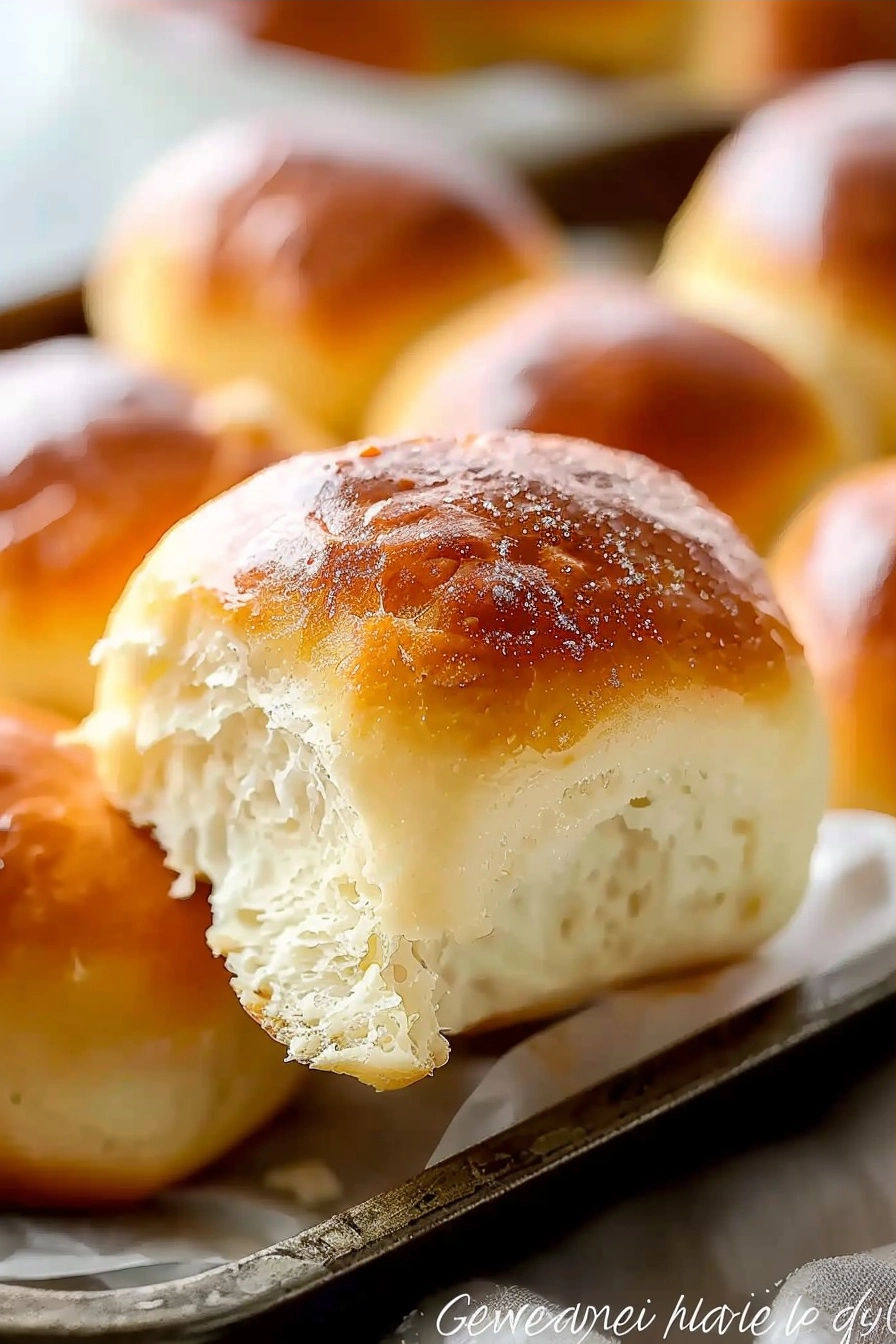
Get 1-hour soft buttery dinner rolls made easily using simple pantry staples and a rapid proofing technique for perfect results every time. These golden, pillow-soft rolls require minimal effort and provide a professional bakery quality texture in your own kitchen. Whether you are hosting a holiday dinner or preparing a quick weeknight meal, this reliable recipe ensures warm, fragrant bread is served in just sixty minutes.
Recipe Overview
| Metric | Details |
|---|---|
| Prep Time | 15 minutes |
| Cook Time | 15 minutes |
| Total Time | 60 minutes |
| Servings | 12 rolls |
| Difficulty | Easy |
| Cuisine | American |
Why This Recipe Works
This recipe achieves consistent success by balancing chemistry with convenience. By utilizing instant yeast and a higher liquid temperature, the fermentation process accelerates significantly, allowing you to bypass the traditional long-rise approach without sacrificing flavor or crumb structure. I developed this method after becoming frustrated with dense, store-bought alternatives that never matched the comfort of fresh, homemade bread.
These rolls rely on a modest amount of sugar and butter to create a tender, enriched dough that browns beautifully in the oven. The process remains forgiving for beginners because it uses a straightforward shaping technique that guarantees uniform sizing. You will find that the resulting rolls stay soft and moist for days when stored properly at room temperature.
Ingredients
| Ingredient | Quantity | Notes |
|---|---|---|
| All-Purpose Flour | 4 cups | Can substitute Bread Flour for more chew |
| Instant Yeast | 2.25 tsp | Ensure the package is not expired |
| Warm Water | 1.5 cups | Temperature should be exactly 110F |
| Granulated Sugar | 3 tbsp | Feeds the yeast for faster activity |
| Salt | 1 tsp | Critical for flavor development |
| Unsalted Butter | 4 tbsp | Melted and slightly cooled |
Step-by-Step Instructions
Activating the Dough
- Combine warm water and sugar in the bowl of your stand mixer.
- Sprinkle the instant yeast over the water and let it sit for five minutes until foam appears.
- Add two cups of flour, melted butter, and salt to the yeast mixture.
- Mix on medium speed until the ingredients are fully combined.
Kneading and Shaping
- Gradually add the remaining flour until a soft, slightly tacky dough forms.
- Knead the dough for five minutes using a dough hook or by hand until smooth.
- Divide the dough into 12 equal portions using a bench scraper for accuracy.
- Roll each piece into a tight, smooth ball against your countertop.
Baking to Perfection
- Place the dough balls into a greased 9×13 inch baking pan.
- Cover the pan and let it rise in a warm spot for 20 minutes.
- Preheat your oven to 400F while the rolls complete their final proof.
- Bake the rolls for 15 minutes or until the tops reach a deep golden brown.
Chef Tips for Perfect Results
- Check your water temperature using a thermometer to ensure it stays between 105F and 115F.
- Do not overfill the dough with excess flour, which causes dry, tough textures.
- Brush the tops with extra melted salted butter immediately after removing them from the oven.
- Use a serrated bread knife for slicing to prevent crushing the soft internal crumb.
Common Mistakes to Avoid
- Using expired yeast prevents the dough from rising, resulting in flat, dense hockey pucks. Check freshness by ensuring the mixture foams during the first step.
- Adding too much flour makes the rolls brittle; keep the dough slightly tacky to the touch.
- Rushing the proofing step stops gluten development, so allow at least 20 minutes in a draft-free environment.
- Placing rolls too far apart in the pan stops them from “pulling” apart properly during the bake.
Variations and Substitutions
| Ingredient | Substitution | Impact |
|---|---|---|
| All-Purpose Flour | Bread Flour | Increases chew and structure |
| Warm Water | Warm Whole Milk | Adds richness and softer crust |
| White Sugar | Honey | Creates a deeper golden color and floral notes |
Serving Suggestions and Pairings
Serve these rolls alongside hearty beef stew or roasted vegetable medleys during Thanksgiving dinner. Pair them with a side of honey butter or homemade garlic herb spread for an elevated appetizer. They also work brilliantly as mini sliders topped with thin slices of chicken ham and mild melted cheese for lunch gatherings.
Storage and Reheating
| Method | Duration | Instructions |
|---|---|---|
| Countertop | 2 Days | Store in an airtight container or plastic bag |
| Freezer | 1 Month | Wrap individually, then place in a freezer-safe bag |
| Oven | 5 Minutes | Reheat at 350F until warm throughout |
Nutritional Information
| Nutrient | Approximate values |
|---|---|
| Calories | 185 kcal |
| Protein | 5g |
| Fat | 4g |
| Carbohydrates | 32g |
Frequently Asked Questions
Can I make these rolls dairy-free?
Yes, you can substitute the butter with a plant-based oil or vegan butter stick. The results remain consistent in texture and rise.
How do I know when the rolls are done baking?
The rolls are finished when the internal temperature reaches 190F and the tops are toasted golden brown. You can also tap the top; it should sound slightly hollow.
Why did my dough not rise during the proof?
The water was likely too hot, which kills yeast, or your yeast was inactive. Always use a thermometer to maintain the correct range during prep.
Can I prepare the dough in advance?
You can refrigerate the shaped rolls for up to eight hours before baking. Bring them to room temperature for 30 minutes before placing them in the oven.
What is the best way to serve these for a party?
Place the warm rolls in a cloth-lined basket to maintain their heat. Serve with room temperature butter to ensure easy spreading.
Mastering the art of fresh bread is simplified with this efficient method. By following these steps to get 1-hour soft buttery dinner rolls made easily, you bring warmth and comfort to your table in record time. Practice these techniques to impress your family with professional results. Enjoy every bite of your homemade, buttery creation.