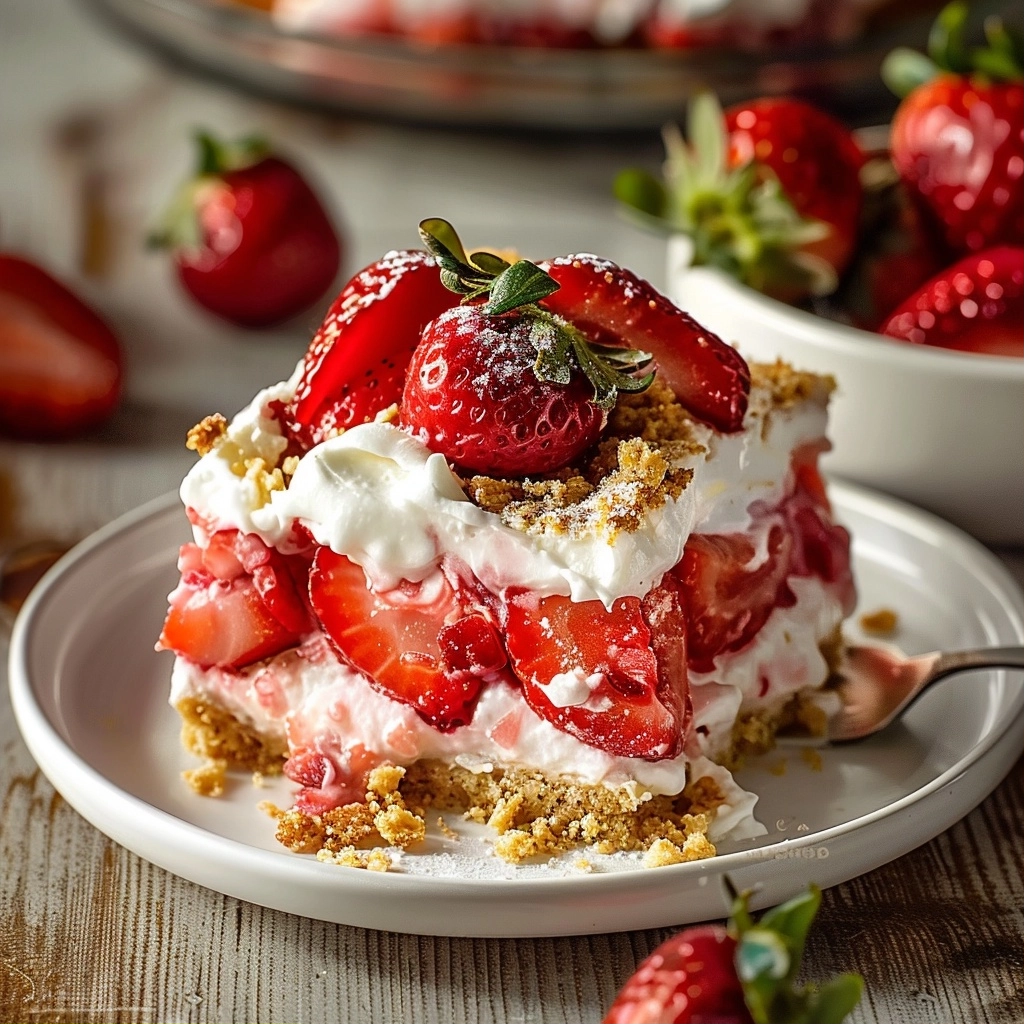
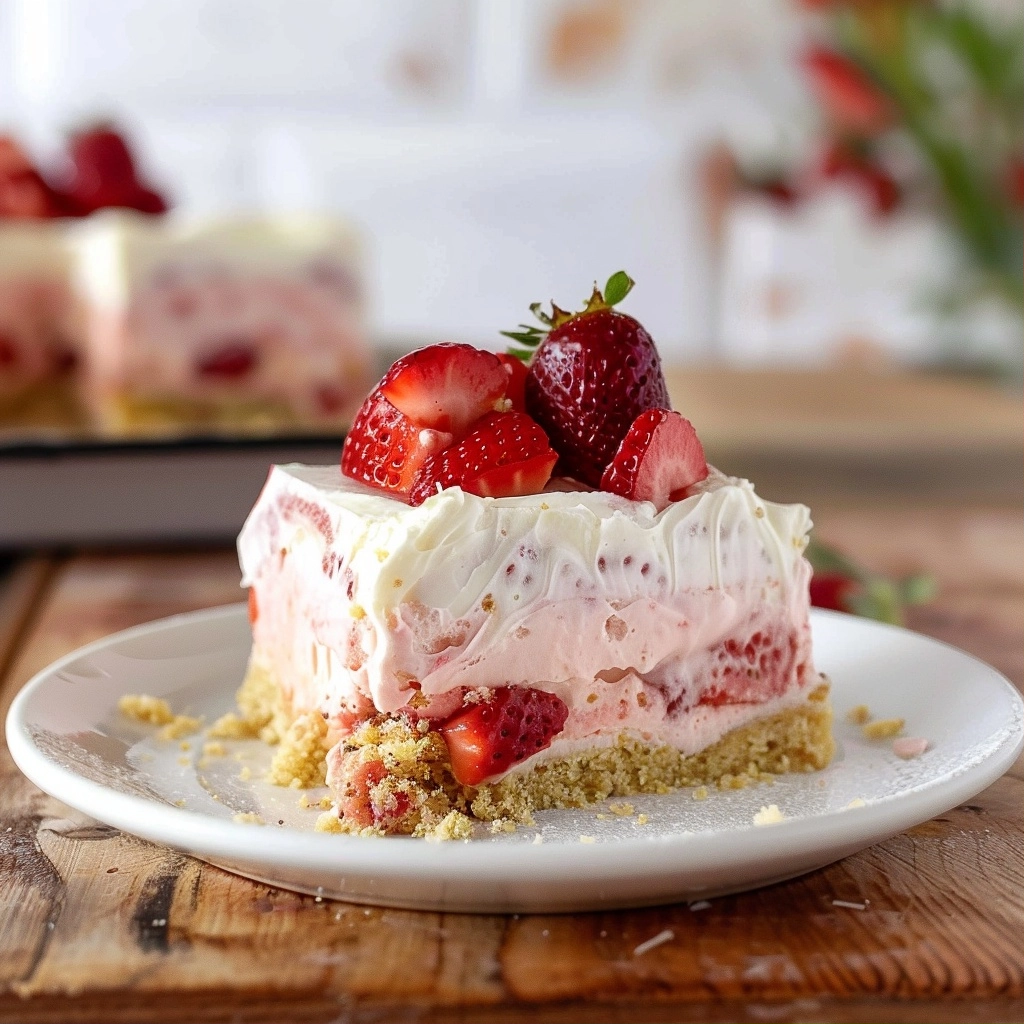
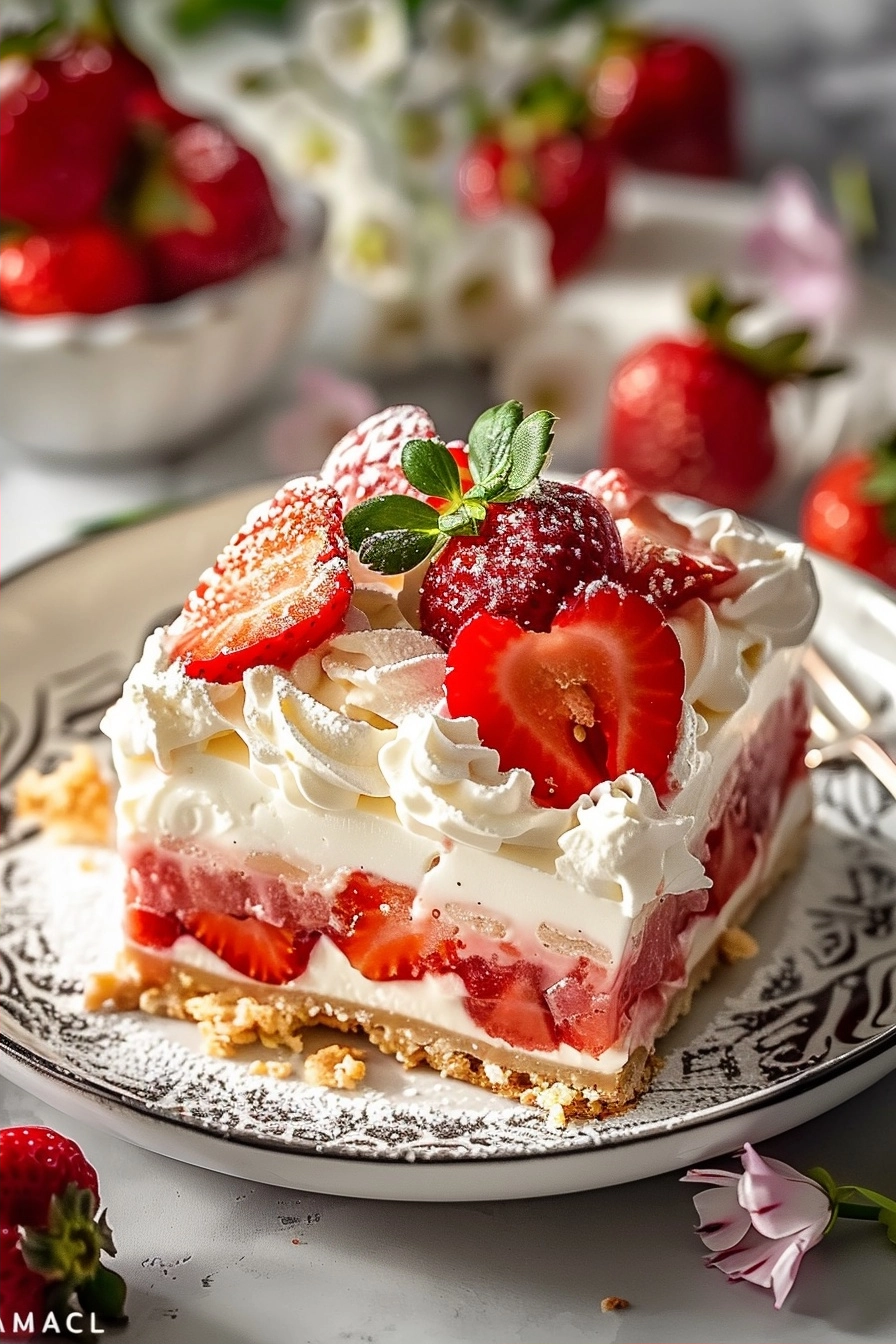
A no-bake strawberry lasagna recipe represents the ultimate multi-layered dessert featuring cream cheese, fresh berries, and a buttery graham cracker crust. This chilled treat relies on simple refrigeration to set into perfect, decadent squares for any warm weather gathering. You achieve a professional result by layering textures, starting with a crumbly foundation and moving through velvety fillings and tart fruit toppings. This refreshing delight brings joy to every summer table.
Recipe Overview
| Prep Time | Cook Time | Total Time | Servings | Difficulty | Cuisine |
|---|---|---|---|---|---|
| 20 minutes | 0 minutes | 4 hours (chilling) | 12 servings | Easy | American |
Why This Recipe Works
This dessert works because it balances the richness of cream cheese with the vibrant acidity of fresh strawberries. Unlike complex layer cakes that require precise oven management, this no-bake approach allows the refrigerator to do the heavy lifting while ensuring the layers remain distinct and cold.
My experience creating this dish reveals that using room-temperature cream cheese prevents lumps, leading to a perfectly smooth mousse layer. Guests appreciate the contrast between the crispy crust and the light whipped topping, making it a crowd-favorite during outdoor events.
Ingredients
| Ingredient | Quantity | Notes & Alternatives |
|---|---|---|
| Graham Crackers | 2 cups (crushed) | Use digestive biscuits if unavailable |
| Butter | 1/2 cup (melted) | Unsalted butter works best |
| Cream Cheese | 16 oz (softened) | Ensure high-quality full-fat brick style |
| Powdered Sugar | 3/4 cup | Sift for smooth texture |
| Whipped Topping | 8 oz | Thaw before folding with cream cheese |
| Fresh Strawberries | 2 lbs (sliced) | Pat dry thoroughly after washing |
| Strawberry Jello | 1 small box | Dissolve in minimal hot water |
Step-by-Step Instructions
Preparing the Crust
- Combine crushed graham crackers and melted butter in a medium bowl until the texture resembles wet sand.
- Press the mixture firmly into the bottom of a 9×13 inch baking dish using the back of a glass.
- Chill the prepared crust in the refrigerator for at least 20 minutes to solidify the butter.
Assembling the Layers
- Whip the softened cream cheese and powdered sugar together until completely clump-free and creamy.
- Fold in half of the thawed whipped topping to create a light, stable mousse.
- Spread this mixture carefully over the chilled crust to form an even second layer.
- Arrange the sliced fresh strawberries in a tight pattern over the cream cheese layer to ensure every bite contains fruit.
- Prepare the strawberry gelatin according to package instructions but use half the recommended water for a firmer set.
- Pour or spoon the lightly thickened gelatin carefully over the strawberry slices to seal them.
- Top the dessert with the remaining whipped topping and garnish with extra berry slices.
Chef Tips for Perfect Results
- Pat your strawberries dry with paper towels after washing to prevent the moisture from causing a soggy crust.
- Always pull your cream cheese from the refrigerator one hour early to ensure it softens to room temperature.
- Chill the dessert for at least four hours, though leaving it overnight provides the best structural integrity for slicing.
- Use a sharp, clean knife dipped in warm water to slice through the layers for clean, professional servings.
Common Mistakes to Avoid
One major error is skipping the chilling time for the crust, which results in the crumbs mixing with the cream layer. Fix this by always setting aside enough time in your schedule for at least two hours in the fridge.
Using hot or runny gelatin can cause the cream layer to melt immediately. Ensure your gelatin mixture has reached a syrupy consistency at room temperature before pouring it over the strawberries.
Variations and Substitutions
| Ingredient | Substitution | Impact on Flavor |
|---|---|---|
| Strawberries | Raspberries | Adds a tart, floral profile |
| Graham Crackers | Golden Oreos | Introduces a sweeter, vanilla-based crunch |
| Cream Cheese | Mascarpone | Creates a denser, more Italian-style cream |
Serving Suggestions and Pairings
Serve this dish during backyard barbecues or at baby showers alongside fresh mint sprigs. It pairs perfectly with an iced black tea or a cold sparkling water infused with lemon. The dessert serves as a standalone showstopper for summer potlucks where chilled items are preferred over heavy, warm cakes.
Storage and Reheating
| Method | Duration | Instructions |
|---|---|---|
| Refrigerator | 3 days | Cover tightly with plastic wrap to avoid odors |
| Freezer | N/A | Do not freeze as the cream structure will degrade |
Nutritional Information
Approximate values per serving:
| Nutrient | Amount |
|---|---|
| Calories | 320 |
| Fat | 18g |
| Carbohydrates | 35g |
| Protein | 4g |
Frequently Asked Questions
Can I use frozen strawberries for this recipe?
Avoid using frozen strawberries because they contain too much excess water that ruins the texture of the lasagna. Use fresh, firm berries to ensure the structure remains stable after it sets in the refrigerator.
How do I make this dessert ahead of time?
Prepare the entire recipe up to 24 hours in advance to allow sufficient time for the layers to firm up properly. Keep the dish tightly covered in the coldest part of your refrigerator until you are ready to serve.
Why is my cream cheese layer runny?
A runny cream cheese layer usually results from not whipping the cheese long enough or adding too much liquid to the gelatin. Ensure your cream cheese is soft and room temperature before mixing to achieve a dense, stable consistency.
Can I replace the graham crackers?
Replace graham crackers with crushed vanilla wafers or shortbread cookies for a decadent twist on the classic base. Grind these in a food processor until fine and proceed with the butter mixing step exactly as directed.
How do I get clean slices?
Use a long, sharp knife and wipe the blade with a warm cloth after every single slice. This technique prevents the whipped topping from dragging across the layers and keeps your presentation crisp and clean.
Conclusion
Mastering this no-bake strawberry lasagna recipe provides a reliable solution for every warm weather dessert occasion. By focusing on the temperature of your ingredients and following the layering instructions, you create a beautiful centerpiece that everyone will love. Enjoy the blend of sweet berries and creamy filling as a refreshing finish to any meal. This simple approach proves that you do not need an oven to achieve sophisticated results that wow your guests and satisfy every sweet craving.