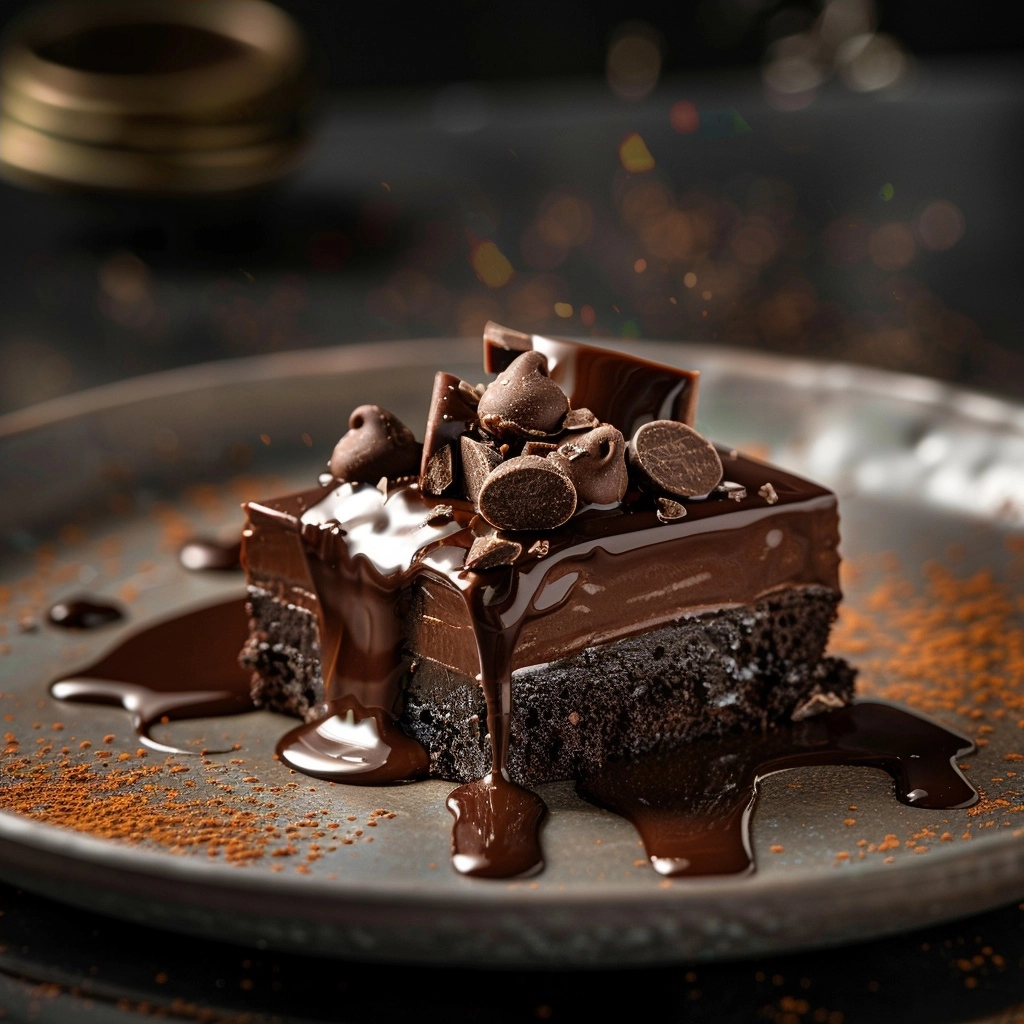
This no bake chocolate dessert provides an effortlessly rich and creamy chocolate experience. It features a crisp cookie base topped with a smooth, decadent chocolate filling, all without any oven time required. Enjoy a taste of pure indulgence that comes together with minimal effort.
Why This Recipe Works
This no bake chocolate dessert is a triumph of texture and flavor, and I always get rave reviews when I make it. The simplicity is its greatest asset; anyone can achieve professional-looking results. The combination of a crumbly, buttery crust against the velvety smooth chocolate filling creates a delightful contrast that keeps every bite interesting. It’s a foolproof method for satisfying intense chocolate cravings.
Furthermore, this recipe relies on ingredients that are readily available and don’t require any complex preparations. Melting chocolate and whipping cream are the most “intensive” steps involved, and both are incredibly straightforward. The chilling time is crucial for setting the dessert, allowing the flavors to meld beautifully and achieving that perfect sliceable consistency. It’s the ultimate stress-free dessert solution for busy bakers.
Ingredients
| Ingredient | Quantity | Notes |
|---|---|---|
| Chocolate Cookies (e.g., Oreos) | 1 ½ cups, crushed | Any chocolate sandwich cookie works. Also consider gluten-free chocolate cookies for dietary needs. |
| Unsalted Butter | ⅓ cup | Melted. Salted butter can be used, but reduce any added salt in the recipe. |
| Cream Cheese | 8 ounces | Must be softened to room temperature for smooth blending. Use full-fat for best texture. |
| Powdered Sugar | 1 cup | Sifted to prevent lumps. Also known as confectioners’ sugar. |
| Unsweetened Cocoa Powder | ¼ cup | Natural or Dutch-processed cocoa powder can be used. |
| Vanilla Extract | 1 teaspoon | Pure vanilla extract provides the best flavor. |
| Heavy Whipping Cream | 1 ½ cups | Must be cold for best whipping results. For a dairy-free option, use full-fat coconut cream, chilled and scooped solid. |
| Semi-Sweet Chocolate Chips | 6 ounces | High-quality chocolate chips yield the best ganache. Can substitute with dark chocolate chips. |
| Hot Water | ½ cup | Boiling water melts chocolate effectively. |
| Granulated Sugar | 2 tablespoons | Used to sweeten the ganache. Adjust to taste. |
| Instant Coffee Granules | 1 teaspoon | Enhances chocolate flavor. Not critical if unavailable, but recommended. |
Step-by-Step Instructions
Prepare the Crust
- Combine crushed chocolate cookies and melted butter in a medium bowl.
- Mix until the crumbs are evenly moistened and resemble wet sand.
- Press the cookie mixture firmly and evenly into the bottom of an 8×8 inch baking dish. Use the bottom of a glass or measuring cup to help pack it down.
- Place the prepared crust in the refrigerator to chill while you prepare the filling.
Make the Cream Cheese Filling
- In a large mixing bowl, beat the softened cream cheese with an electric mixer on medium speed until smooth and creamy, about 2 minutes.
- Gradually add the sifted powdered sugar and unsweetened cocoa powder to the cream cheese. Beat on low speed until just combined, then increase speed to medium and beat until no lumps remain.
- Stir in the vanilla extract until it is fully incorporated into the mixture.
- In a separate, clean bowl, whip the cold heavy whipping cream using an electric mixer on medium-high speed until stiff peaks form. Be careful not to over-whip.
- Gently fold the whipped cream into the cream cheese mixture using a spatula until the mixture is uniform and no streaks of cream cheese or whipped cream are visible.
- Spoon the cream cheese filling over the chilled cookie crust and spread it evenly using a spatula.
Prepare and Add the Chocolate Ganache
- Place the semi-sweet chocolate chips in a heatproof bowl.
- In a small saucepan, heat the hot water, granulated sugar, and instant coffee granules until the sugar and coffee have dissolved and the mixture is hot but not boiling.
- Pour the hot liquid over the chocolate chips. Let it sit undisturbed for 5 minutes to allow the chocolate to melt.
- Whisk the mixture gently until it becomes a smooth, glossy ganache.
- Allow the ganache to cool at room temperature for about 10-15 minutes, stirring occasionally, until it has thickened slightly but is still pourable.
- Pour the slightly cooled chocolate ganache over the cream cheese layer.
- Spread the ganache evenly to cover the entire surface of the filling.
Chill and Serve
- Cover the baking dish tightly with plastic wrap.
- Refrigerate the no bake chocolate dessert for at least 4 hours, or preferably overnight, until the filling is firm and set.
- Cut the chilled dessert into squares using a sharp knife. Clean the knife between cuts for neat edges.
- Serve the no bake chocolate dessert cold.
Chef Tips for Perfect Results
- Ensure cream cheese is fully softened to room temperature; even a slightly cool block will result in a lumpy filling.
- Use cold heavy whipping cream straight from the refrigerator; warm cream will not whip properly.
- Do not over-mix the filling once the whipped cream is added; fold gently to maintain the airy texture.
- Allow the ganache to cool sufficiently before pouring; hot ganache can melt the cream cheese layer.
- Chill for the full recommended time; patience is key to achieving the proper firm set for easy slicing.
Common Mistakes to Avoid
- Lumpy Filling: This occurs when cream cheese is not adequately softened. Use room temperature cream cheese and beat it thoroughly until completely smooth before adding other ingredients.
- Runny Filling: Over-whipping the cream or not chilling long enough can lead to a softer filling. Whip cream to stiff peaks but avoid turning it into butter, and ensure the dessert chills for the full minimum time.
- Grainy Ganache: Using chocolate chips with a high percentage of stabilizers or adding hot liquid too quickly can cause separation. Use quality chocolate chips or bars and add hot liquid gradually, whisking smoothly.
- Soggy Crust: Not chilling the crust adequately or adding the filling too soon can result in a less crisp base. Pack the crust well and refrigerate it for at least 15 minutes while preparing the filling.
Variations and Substitutions
| Ingredient | Substitution | Impact on Flavor |
|---|---|---|
| Chocolate Cookies | Graham crackers, vanilla wafers, shortbread | Changes the base flavor profile from chocolatey to milder or buttery. |
| Semi-Sweet Chocolate Chips | Milk chocolate chips, dark chocolate chips, white chocolate chips | Adjusts the sweetness and intensity of the chocolate flavor. Milk chocolate is sweeter, dark is more intense. |
| Heavy Whipping Cream | Full-fat coconut cream (chilled solids) | Adds a subtle coconut note, suitable for dairy-free options. Texture may be slightly different. |
| Unsweetened Cocoa Powder | Carob powder | Provides a chocolate-like flavor, often described as earthier and slightly sweeter than cocoa. |
Serving Suggestions and Pairings
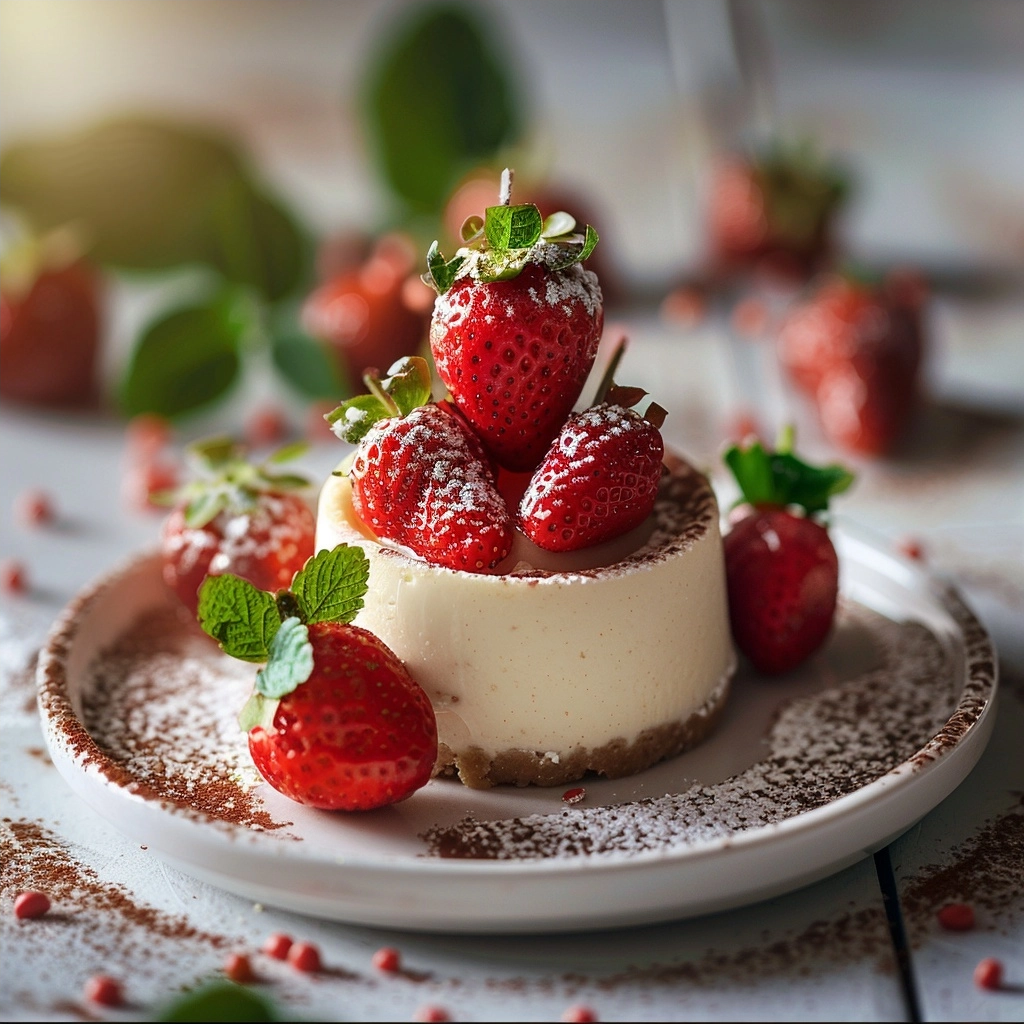
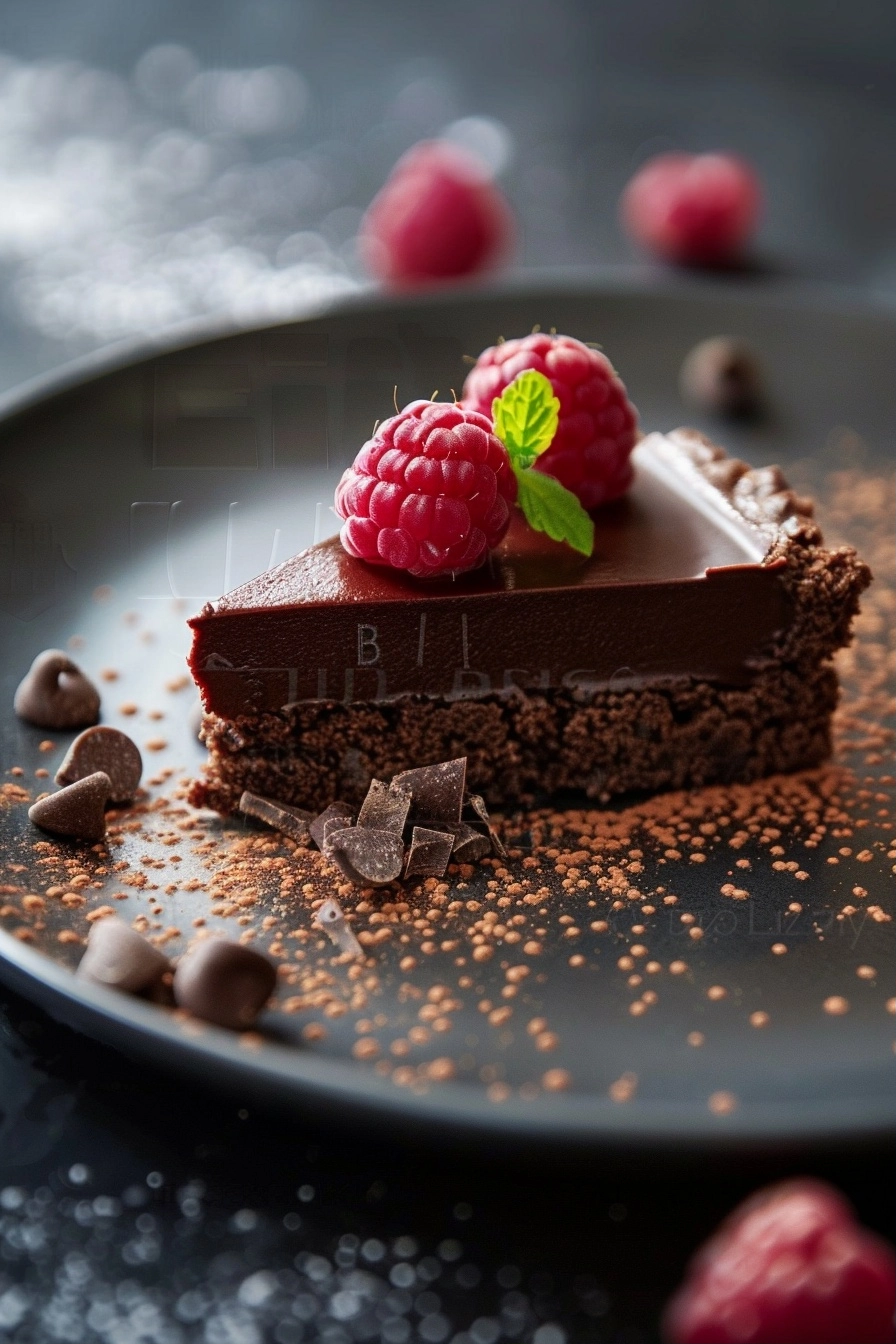
This rich no bake chocolate dessert is perfect served as is, or you can elevate it with simple garnishes. Fresh berries like raspberries or strawberries provide a bright, tart contrast. A dollop of extra whipped cream or a sprinkle of shaved chocolate adds an elegant touch. For a true delight, pair a slice with a hot cup of coffee or a mug of herbal tea. It’s an ideal dessert for holidays, potlucks, family gatherings, or simply a special weeknight treat.
Storage and Reheating
| Method | Duration | Instructions |
|---|---|---|
| Refrigeration (covered) | 3-4 days | Store in an airtight container or covered with plastic wrap. The dessert will maintain its best texture when kept chilled. |
| Freezing (un-cut) | Up to 1 month | Wrap the entire dessert tightly in plastic wrap and then in aluminum foil. Thaw overnight in the refrigerator before serving. |
Nutritional Information
| Nutrient | Amount per Serving |
|---|---|
| Calories | Approximate values |
| Protein | Approximate values |
| Fat | Approximate values |
| Carbohydrates | Approximate values |
| Fiber | Approximate values |
| Sugar | Approximate values |
| Sodium | Approximate values |
Frequently Asked Questions
Can I use different cookies for the crust?
Yes, you can use graham crackers, vanilla wafers, or shortbread cookies for an alternative crust flavor. The method of crushing and binding with butter remains the same.
How do I make the no bake chocolate dessert dairy-free?
Substitute full-fat canned coconut cream (use the solid cream from a chilled can) for heavy whipping cream and ensure you use dairy-free chocolate chips. The cookie crust may also need a dairy-free alternative if using sandwich cookies.
What if my chocolate ganache is too thick or too thin?
If the ganache is too thick, gently whisk in a teaspoon of hot water at a time until desired consistency is reached. If it is too thin, let it cool longer or briefly chill it, stirring occasionally, until it thickens.
Can this no bake chocolate dessert be made ahead of time?
Yes, this dessert benefits from being made ahead. It requires at least 4 hours of chilling time to set properly, and it can be stored in the refrigerator for up to 3-4 days.
How do I get clean cuts on my no bake chocolate dessert?
Use a sharp knife and dip it in hot water, then wipe it dry before each cut. This technique helps to slice through the chilled dessert cleanly without smudging.
Conclusion
Mastering this no bake chocolate dessert is a game-changer for effortless entertaining and satisfying sweet cravings. Its rich chocolate flavor and creamy texture, combined with a satisfyingly crisp base, make it an irresistible treat. Embrace the simplicity and enjoy the profound chocolatey goodness this recipe delivers. Experiment with toppings or enjoy it plain for pure, unadulterated chocolate bliss!