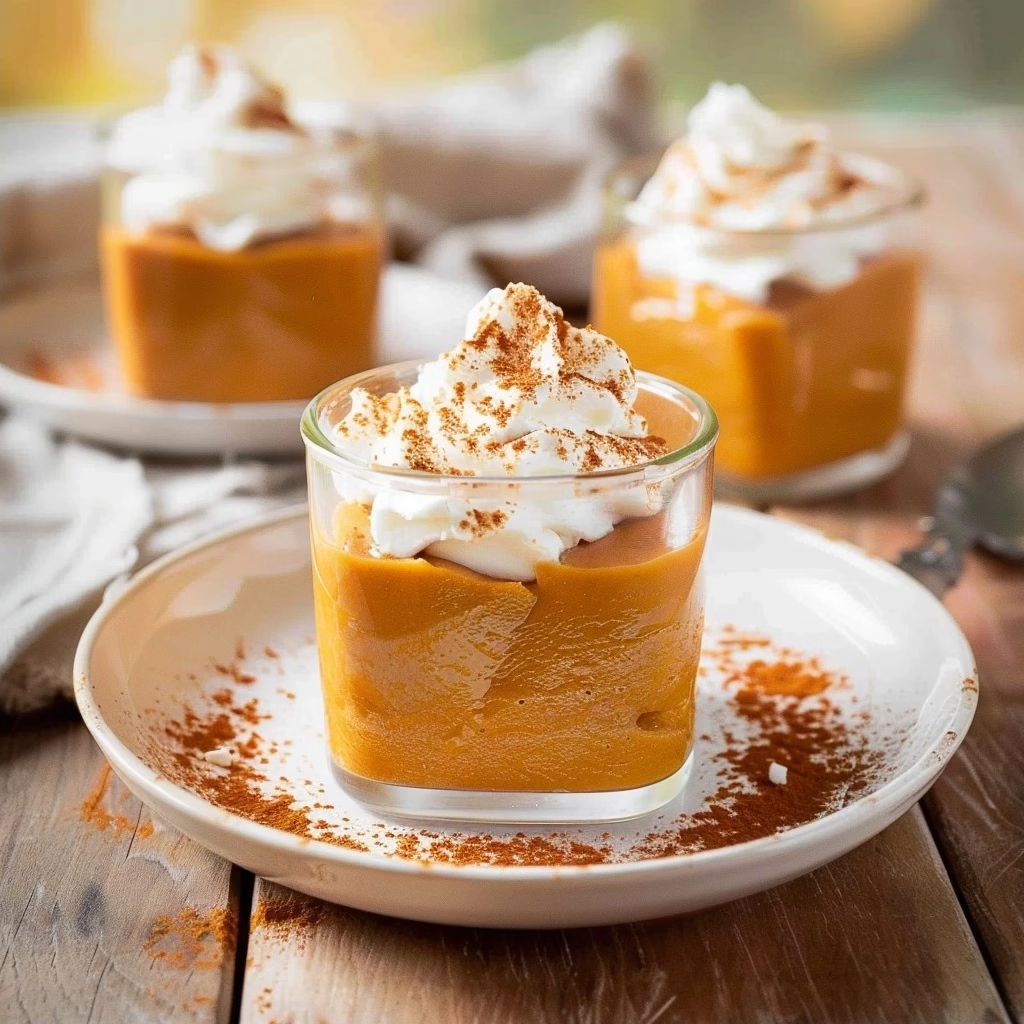
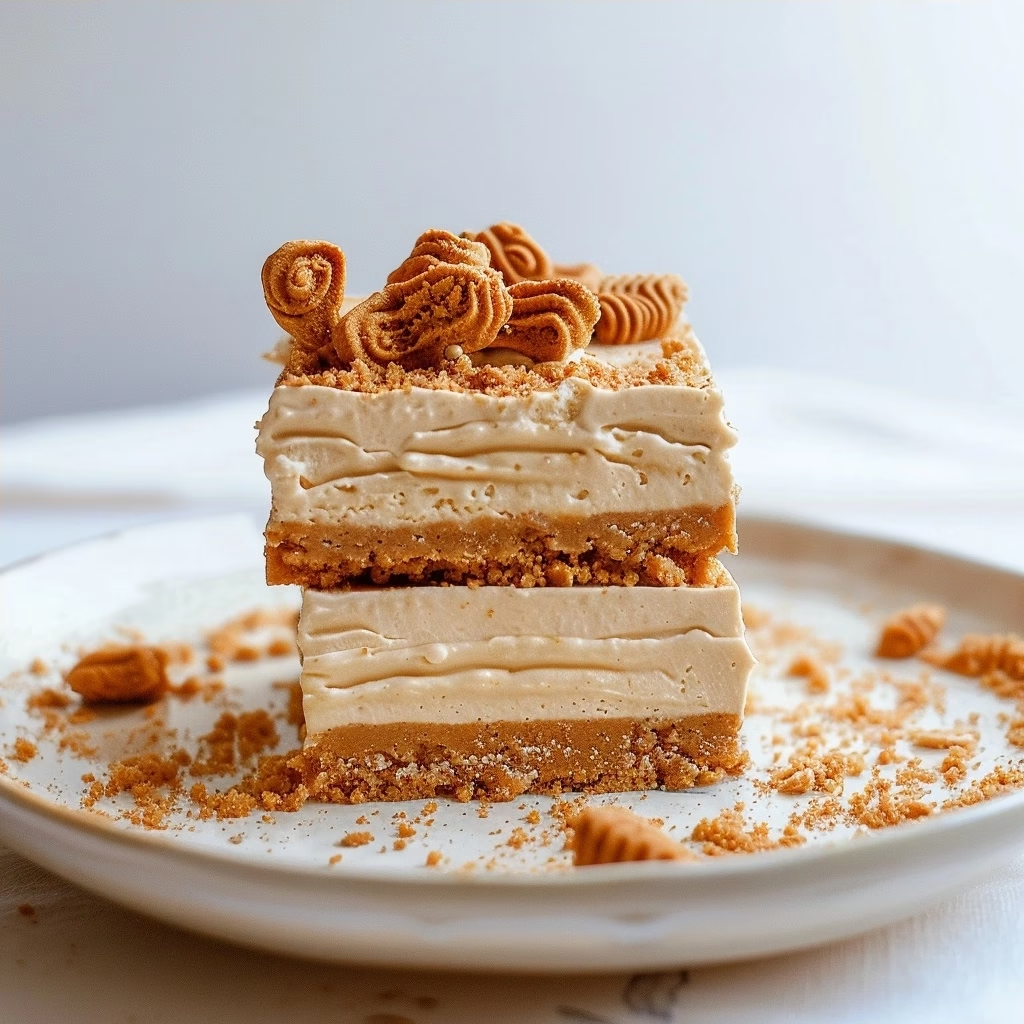
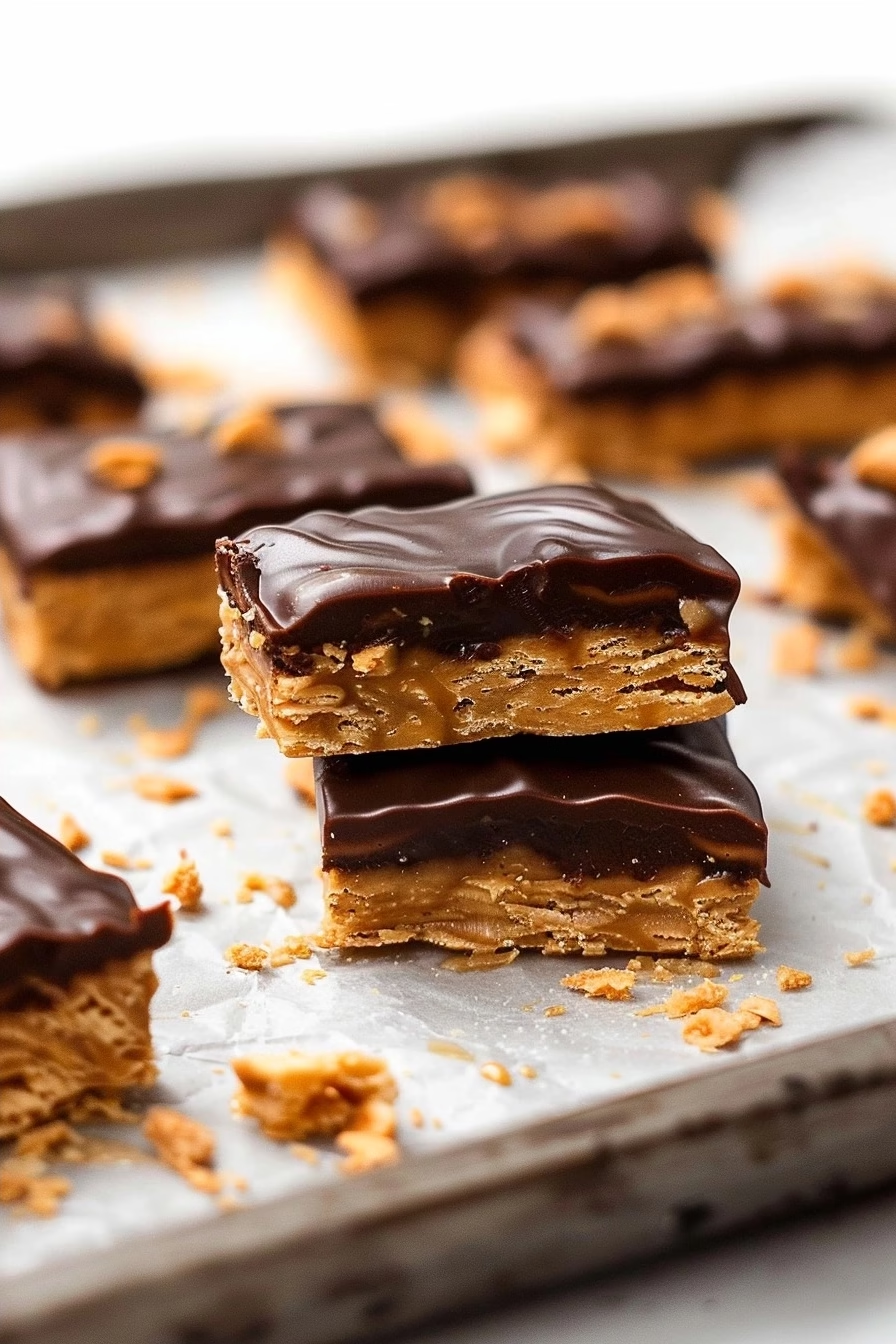
Homemade Butterfingers are made with 5 simple ingredients and no corn syrup or candy fillers for a cleaner snacking experience. This recipe produces a classic flaky peanut butter center coated in silky milk chocolate without requiring complex equipment or artificial additives. You achieve the iconic crispy texture using traditional pantry staples found in any home kitchen.
Recipe Overview
| Attribute | Details |
|---|---|
| Prep Time | 15 minutes |
| Cook Time | 15 minutes |
| Total Time | 45 minutes |
| Servings | 12 bars |
| Difficulty | Easy |
| Cuisine | American |
Why This Recipe Works
This recipe works because it relies on the chemical reaction between melted sugar and peanut butter to create a signature light, shattered crunch. Unlike store-bought versions that contain processed oils and preservatives, this version uses pure ingredients to ensure a superior flavor profile that highlights high-quality nut butter.
My experience perfecting these bars taught me that patience during the cooling phase is essential for achieving the perfect snap. By eliminating corn syrup, the candy stays fresher longer and avoids the sticky aftertaste common in mass-produced bars. This method remains the most efficient way to satisfy cravings for crunchy, sweet, and nutty confections at home.
Ingredients
| Ingredient | Quantity | Notes |
|---|---|---|
| Sugar | 1 cup | Granulated white sugar works best |
| Peanut Butter | 1 cup | Creamy, natural, or commercial |
| Milk Chocolate | 1.5 cups | High-quality couverture chips |
| Honey | 1/4 cup | Natural binder alternative |
| Salt | 1/4 teaspoon | Enhances the nutty notes |
Step-by-Step Instructions
Preparing the Core
- Line an 8×8 inch baking dish with parchment paper to prevent sticking.
- Combine sugar and honey in a heavy-bottomed saucepan over medium heat.
- Stir constantly until the mixture turns a light golden caramel color.
- Remove the pan from the heat immediately to avoid burning the sugar base.
- Whisk in the peanut butter and salt until fully incorporated and smooth.
Forming the Bars
- Pour the hot mixture into the prepared baking dish quickly.
- Spread the base evenly using an offset spatula before it sets.
- Allow the mixture to cool at room temperature for thirty minutes.
- Slice the block into rectangular bars while still slightly warm.
Applying the Coating
- Melt the milk chocolate chips in a microwave-safe bowl using ten-second intervals.
- Dip each cooled bar into the chocolate, coating all sides thoroughly.
- Place the coated bars on wax paper until the chocolate hardens completely.
Chef Tips for Perfect Results
- Keep the heat low when melting the sugar to prevent crystallization.
- Use a silicone spatula to scrape the sides of the pan for an even mix.
- Chill the bars in the refrigerator for ten minutes before dipping for a cleaner finish.
- Add a tiny pinch of sea salt on top after dipping to balance the sweetness.
- Store bars in a cool place to maintain the structural integrity of the chocolate coating.
Common Mistakes to Avoid
Overcooking the sugar leads to a bitter taste and a hard texture that is difficult to bite into. Always remove from heat as soon as the honey and sugar melt together properly. Using oily peanut butter can prevent the bars from setting correctly, so stick to standard creamy varieties. If the chocolate develops white streaks, it means the temperature was not controlled, so ensure you stir frequently during melting.
Variations and Substitutions
| Ingredient | Substitution | Impact on Flavor |
|---|---|---|
| Honey | Maple Syrup | Adds a deep, earthy sweetness |
| Milk Chocolate | Dark Chocolate | Provides a less sweet, sophisticated profile |
| Peanut Butter | Almond Butter | Introduces a unique nutty aroma |
Serving Suggestions and Pairings
Serve these bars alongside a glass of chilled almond milk for a perfect snack time pairing. They also function excellently as a DIY party favor for birthdays or casual outdoor gatherings. Pair them with fresh apple slices or a side of yogurt for a balanced treat during warm summer days.
Storage and Reheating
| Method | Duration | Instructions |
|---|---|---|
| Room Temp | 1 week | Store in an airtight container |
| Refrigerator | 3 weeks | Keep in a sealed glass jar |
| Freezer | 3 months | Wrap individually to prevent moisture |
Nutritional Information
| Nutrient | Amount per Serving |
|---|---|
| Calories | 180 kcal |
| Protein | 4g |
| Fat | 10g |
| Carbohydrates | 22g |
| Fiber | 1g |
| Sugar | 18g |
Note: These are approximate values based on standard ingredients.
Frequently Asked Questions
Can I use almond butter instead of peanut butter?
Yes, almond butter serves as an excellent replacement that offers a similar texture and binding capability for this recipe.
How do I know when the sugar mixture is ready?
The mixture is ready when it reaches a consistent golden brown color and has fully incorporated the honey without any grainy texture.
What should I do if the chocolate coating gets too thick?
Thin the chocolate by stirring in a half-teaspoon of neutral coconut oil to improve the consistency for dipping.
Are these bars safe to make in advance for parties?
These bars are perfect for make-ahead preparations because they maintain their crispiness for several days when stored correctly in an airtight container.
How can I ensure the bars get the iconic crispy snap?
Ensure the sugar is not overheated and allow the mixture to cool completely in a low-humidity environment to achieve that characteristic shattered texture.
Conclusion
Creating these treats proves that homemade Butterfingers are made with 5 simple ingredients that outperform any store-bought alternative. By mastering the caramelization of sugar and the proper folding of peanut butter, you gain control over the quality of your desserts. Enjoy the satisfaction of biting into a crisp, nutty, and chocolatey bar that reflects your own culinary efforts. Start this easy project today to delight friends and family with a cleaner, crunchier version of a classic favorite that stays fresh and delicious for weeks.
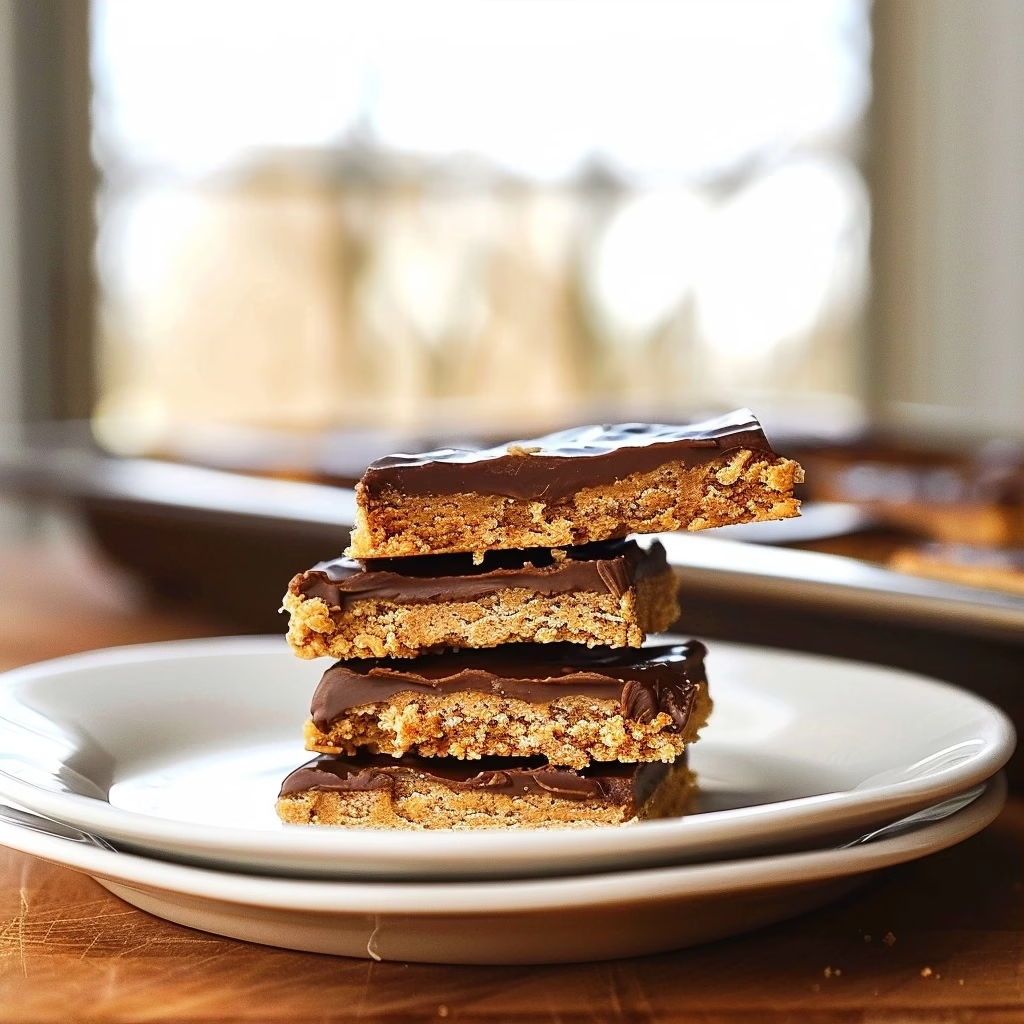
Homemade Butterfinger Bars
Ingredients
Method
- Line an 8x8 inch baking dish with parchment paper.
- Combine sugar and honey in a heavy-bottomed saucepan over medium heat.
- Stir constantly until the mixture turns a light golden caramel color.
- Remove from heat immediately to prevent burning.
- Whisk in the peanut butter and salt until the mixture is smooth and fully incorporated.
- Pour the hot mixture into the prepared baking dish and spread evenly with an offset spatula.
- Allow to cool at room temperature for 30 minutes.
- Slice into rectangular bars while still slightly warm.
- Melt the milk chocolate chips in the microwave in 10-second intervals.
- Dip each bar into the melted chocolate and place on parchment paper to set.