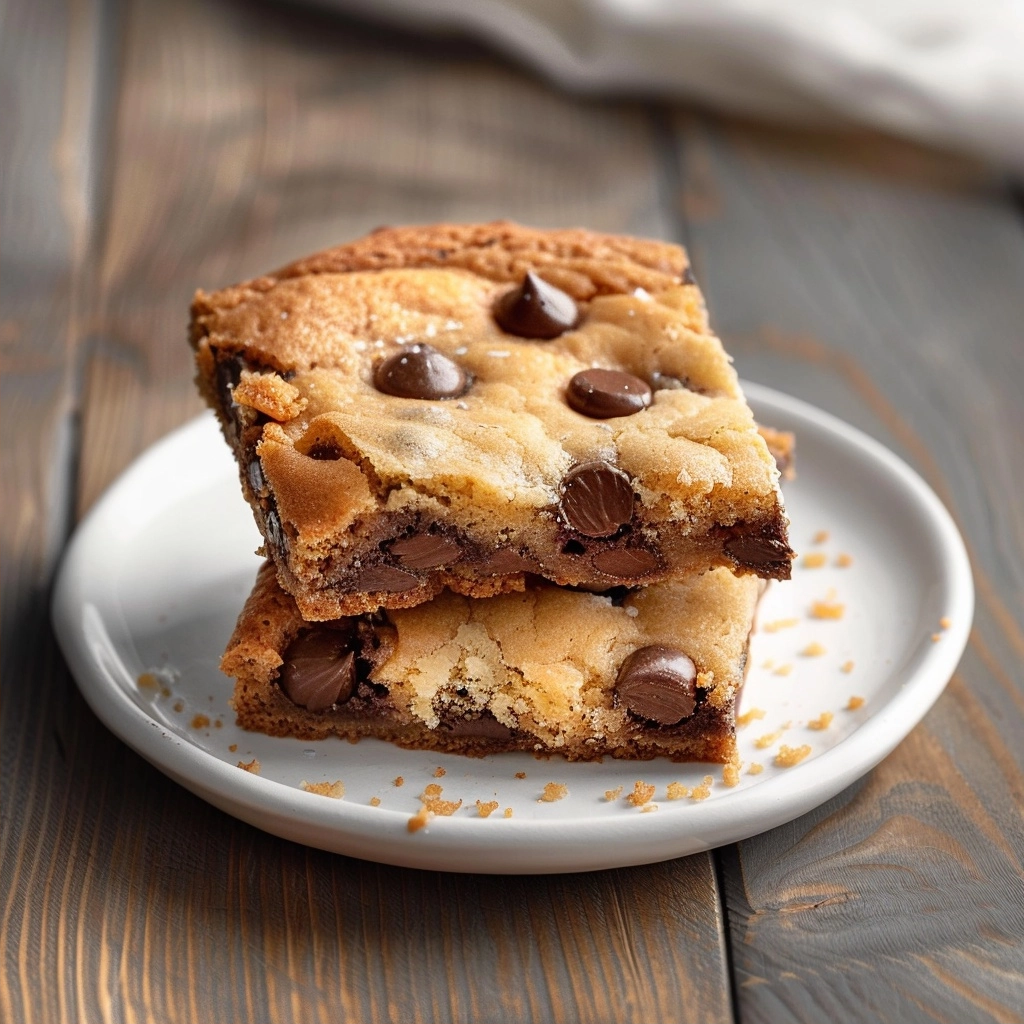
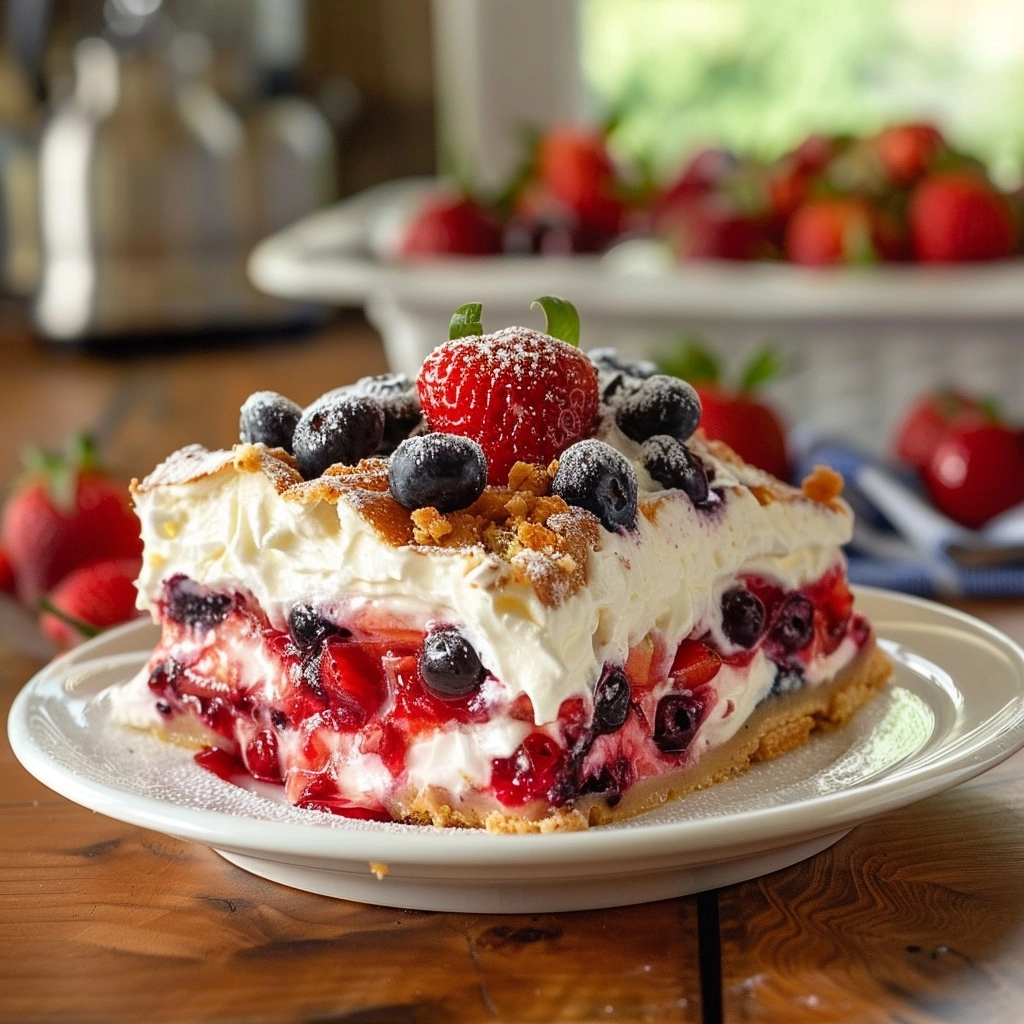
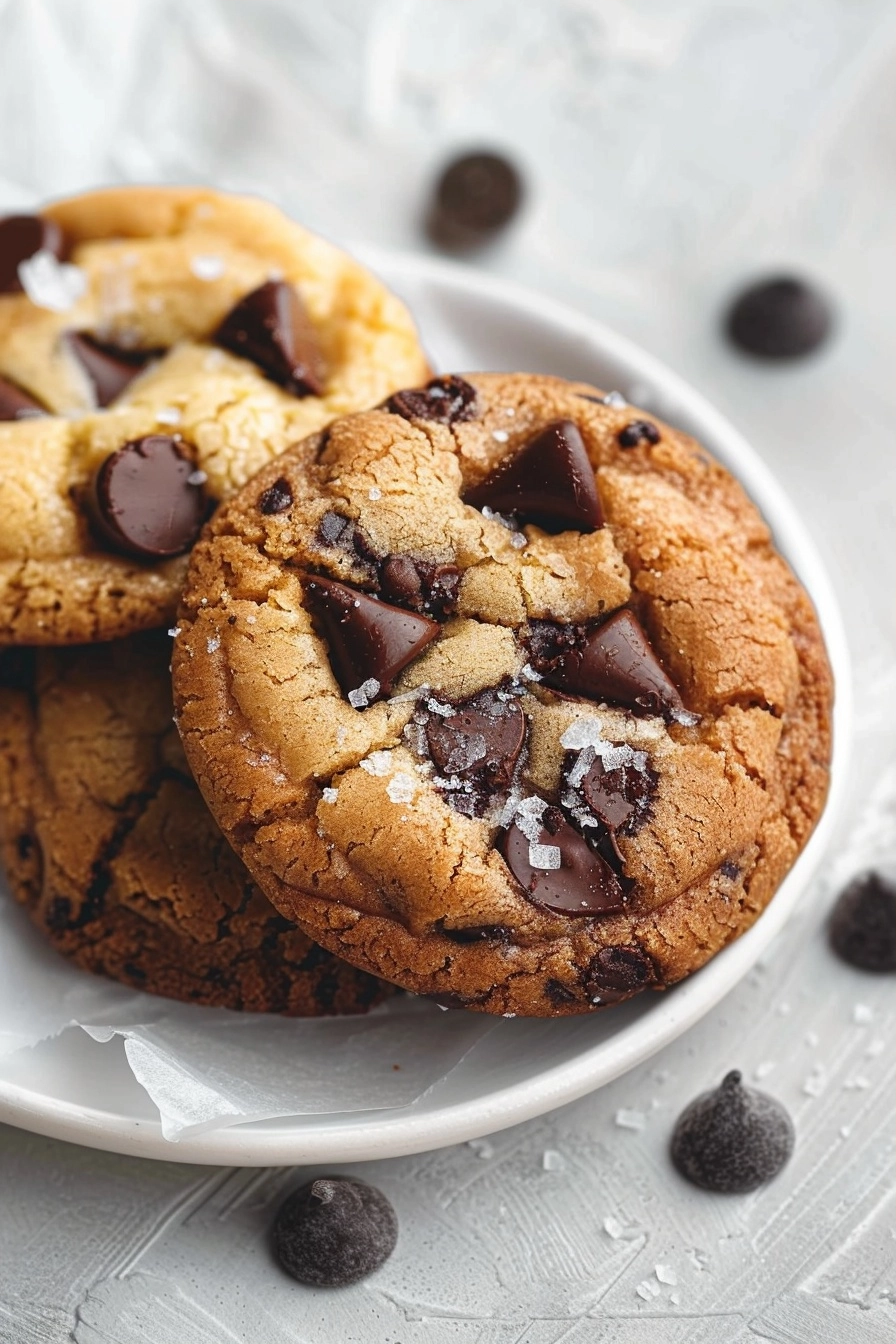
Brookies cookies with a browned butter blondie base represent the ultimate combination of chewy chocolate chip dough and rich, nutty butter bars. This hybrid dessert provides a dense, golden texture that satisfies both cookie lovers and brownie enthusiasts in every single bite. By layering these two iconic treat styles, home bakers create a complex flavor profile that elevates a standard dessert into a gourmet handheld snack.
Recipe Overview
| Prep Time | 15 minutes |
|---|---|
| Cook Time | 25 minutes |
| Total Time | 40 minutes |
| Servings | 16 squares |
| Difficulty | Medium |
| Cuisine | American |
Why This Recipe Works
This recipe works because the browned butter adds a depth of flavor that standard melted butter simply cannot replicate. The toasty notes of the milk solids create a caramel-like foundation for the blondie layer, which perfectly complements the sweetness of the chocolate cookie dough.
Personal experience confirms that the contrast in textures is essential to the success of this treat. The cookie layer stays slightly soft and chewy while the blondie bottom provides a structural base that holds the entire bar together for easy serving.
Ingredients
| Ingredient | Quantity | Notes |
|---|---|---|
| Unsalted Butter | 1 cup | Brown for maximum flavor |
| Brown Sugar | 1.5 cups | Packed for moisture |
| Granulated Sugar | 0.5 cup | For crisp edges |
| Eggs | 2 large | Room temperature |
| Vanilla Extract | 2 tsp | Pure extract preferred |
| All-Purpose Flour | 2.5 cups | Spoon and level flour |
| Baking Soda | 0.5 tsp | Leavening agent |
| Salt | 0.5 tsp | Enhances chocolate notes |
| Semi-Sweet Chocolate Chips | 2 cups | Divided for layering |
Step-by-Step Instructions
Preparing the Browned Butter
- Heat the butter in a medium saucepan over medium heat until it melts and begins to foam.
- Swirl the pan constantly until the butter turns golden brown and gives off a nutty aroma.
- Remove the pan from heat immediately to prevent the milk solids from burning.
Mixing the Batter
- Whisk the browned butter with both sugars in a large mixing bowl until smooth and cooled.
- Add the eggs and vanilla extract to the mixture, beating until well combined.
- Fold in the flour, baking soda, and salt until just a few streaks of flour remain.
- Stir in half of the chocolate chips, keeping the remainder for the top layer.
Assembling and Baking
- Spread the thick batter into a greased 9×9 inch square baking pan lined with parchment paper.
- Press the remaining chocolate chips into the top of the batter to ensure an even distribution.
- Bake at 350 degrees Fahrenheit for 25 minutes or until the edges appear golden brown.
- Cool the bars completely in the pan before cutting them into uniform squares.
Chef Tips for Perfect Results
- Brown your butter in a light-colored pan so you can easily see when the milk solids turn a rich amber color.
- Use room temperature ingredients to ensure that the emulsion between the fat and the liquids stays consistent during mixing.
- Spoon your flour into the measuring cup rather than scooping it directly to avoid packing the flour and creating a dry bar.
- Wait for the bars to cool fully before removing them from the pan to ensure clean, sharp edges on every square.
Common Mistakes to Avoid
Overbaking the bars remains the most frequent error, resulting in a crumbly texture instead of a chewy, fudge-like consistency. Remove the pan when the edges look set but the center remains slightly soft to account for carry-over cooking. Another mistake is forgetting to line the pan with parchment paper, which makes removing the bars nearly impossible without breaking the base. Always grease the paper slightly to guarantee that your Brookies release perfectly every time.
Variations and Substitutions
| Ingredient | Substitution | Impact on Flavor |
|---|---|---|
| Semi-Sweet Chips | Dark chocolate chunks | Adds a more intense, less sugary profile |
| Vanilla Extract | Almond extract | Introduces a subtle floral, bakery note |
| All-Purpose Flour | Bread flour | Increases the chewiness of the blondie base |
Serving Suggestions and Pairings
Serve these bars at room temperature during summer picnics or winter holiday parties. Pair them with a glass of cold milk or a hot cup of black coffee to balance the intensity of the browned butter and chocolate. For a decadent dessert, serve a warm square with a scoop of vanilla bean ice cream during a formal gathering.
Storage and Reheating
| Method | Duration | Instructions |
|---|---|---|
| Countertop | 3 days | Store in an airtight container at room temperature |
| Freezer | 3 months | Wrap tightly in plastic and store in a freezer bag |
Nutritional Information
Approximate values per serving:
| Nutrient | Amount per Serving |
|---|---|
| Calories | 280 kcal |
| Protein | 4g |
| Fat | 12g |
| Carbohydrates | 38g |
Frequently Asked Questions
Can I use white chocolate chips instead of semi-sweet?
You can substitute white chocolate chips, though the final bars will be significantly sweeter than the original version. Reduce the total sugar amount by two tablespoons if you choose to make this switch to maintain balance.
How do I know when the bars are finished baking?
The bars are finished when the edges are set and a toothpick inserted into the center comes out with a few moist crumbs attached. Avoid waiting for a clean toothpick, as this indicates the butter has been over-baked.
Can I prepare the dough in advance?
You can prepare the dough up to 24 hours in advance if you keep it tightly covered in the refrigerator. Allow the dough to come to room temperature for 30 minutes before spreading it into the pan to ensure even results.
Why did my butter turn dark during browning?
Your butter likely turned dark because the milk solids burned due to excessive heat or insufficient stirring. Keep the heat on medium and stir constantly to prevent this outcome and protect the delicate nutty flavor.
What is the secret to cutting perfect squares?
The secret is using a warm, sharp knife to score the surface once the bars have reached room temperature. Clean the blade with a warm cloth between each cut to ensure smooth lines throughout the entire pan.
Mastering Brookies cookies with a browned butter blondie base requires precision with your butter temperature and a keen eye during the baking process. By following these steps, you achieve the perfect balance of chewy edges and a soft, flavorful center. Enhance your dessert repertoire with this elevated classic that impresses guests at every table. Enjoy the deep, toasted notes of this sophisticated treat as a staple in your home bakery rotation.