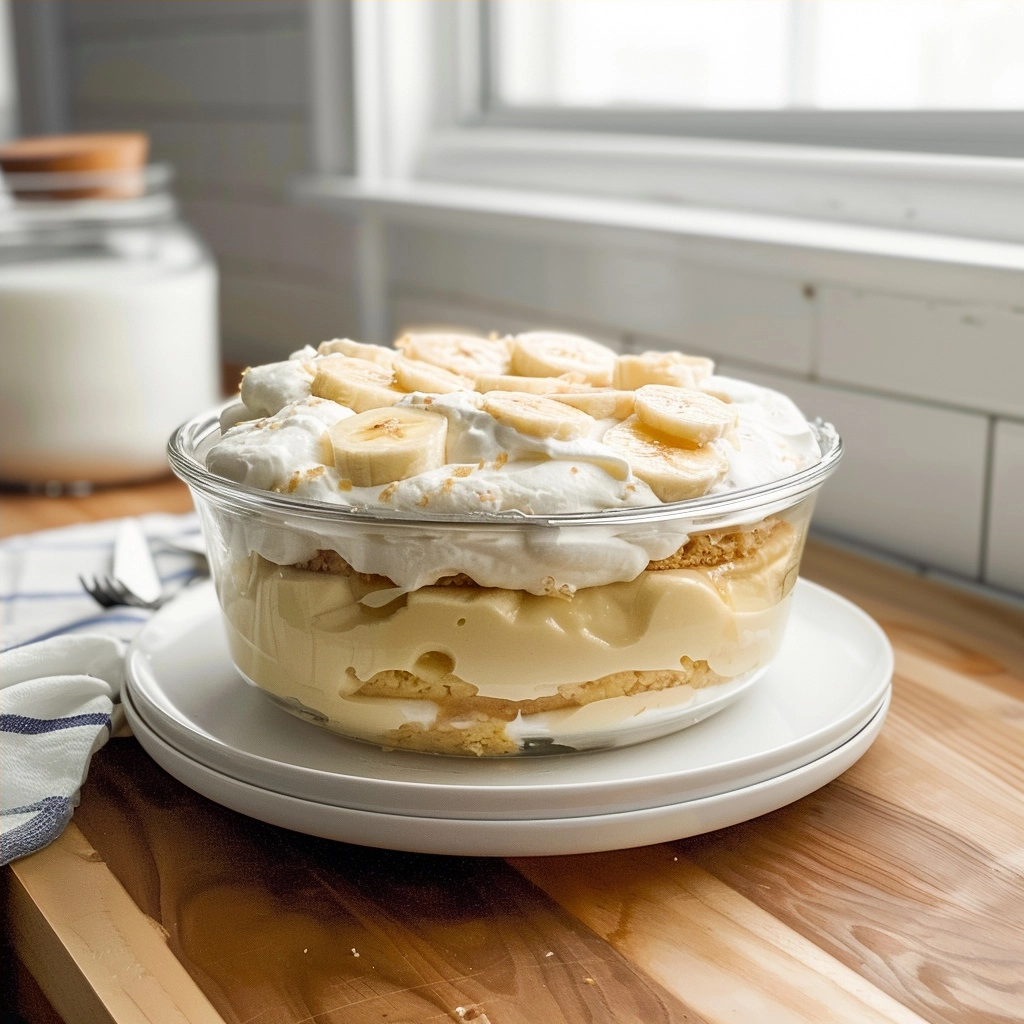
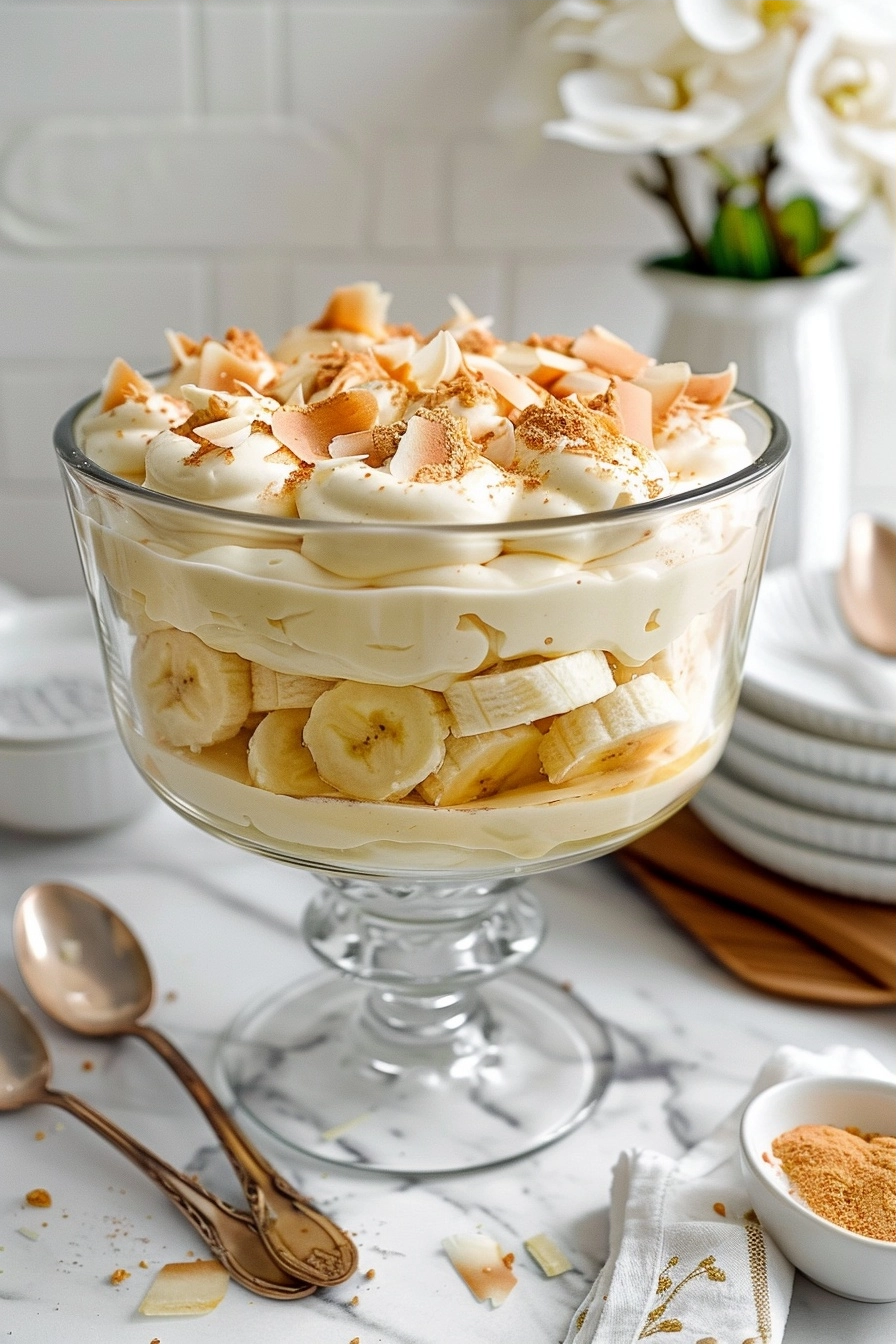
Learning how to make easy banana pudding provides you with a classic, crowd-pleasing dessert that requires minimal effort and delivers maximum comfort. This traditional treat combines silky vanilla custard, fresh banana slices, and softened vanilla wafers into a decadent layered masterpiece. It serves as an ideal solution for quick weeknight finales or large festive gatherings.
| Prep Time | Cook Time | Total Time | Servings | Difficulty | Cuisine |
|---|---|---|---|---|---|
| 15 minutes | 10 minutes | 4 hours (chilling) | 8 | Easy | American |
Why This Recipe Works
This recipe works because it relies on high-quality pantry staples to create a sophisticated texture without requiring professional pastry skills. By folding whipped topping into the custard base, you achieve a stabilized, fluffy consistency that holds its shape beautifully when scooped.
Personal experience confirms that the secret lies in the resting period for the vanilla cookies. Allowing the dessert to chill for at least four hours ensures the wafers absorb just enough moisture to transform into a cake-like layer, which defines the authentic texture of this classic dessert.
Ingredients
| Ingredient | Quantity | Notes |
|---|---|---|
| Vanilla Wafers | 12 ounces | Use store-brand or Nilla name-brand |
| Ripe Bananas | 4-5 medium | Yellow with slight brown speckles |
| Instant Vanilla Pudding | 2 packages (3.4 oz each) | Ensure it is instant mix |
| Cold Milk | 3 cups | Whole milk provides creaminess |
| Sweetened Condensed Milk | 1 can (14 oz) | Adds rich sweetness |
| Whipped Topping | 8 ounces | Thawed completely before use |
Step-by-Step Instructions
Preparing the Custard
- Whisk the instant pudding mix and cold milk together in a large mixing bowl until the mixture thickens slightly.
- Stir in the sweetened condensed milk thoroughly to ensure a smooth, uniform base for your dessert.
- Fold in half of the thawed whipped topping until the mixture appears light and airy.
Assembling the Layers
- Spread a thin layer of the prepared pudding mixture on the bottom of a 9×13 inch baking dish.
- Arrange a layer of vanilla wafers over the pudding base to create a solid foundation.
- Slice the bananas into thin rounds and place them directly over the cookies.
- Repeat these layers until you fill the dish, finishing with a generous layer of pudding and the remaining whipped topping.
- Refrigerate the dish for four hours to allow the wafers to soften and flavors to meld.
Chef Tips for Perfect Results
- Minimize oxidation by tossing banana slices in a tiny amount of lemon juice before layering.
- Use whole milk instead of skim to ensure the pudding sets firmly and maintains a rich mouthfeel.
- Wait for the dessert to chill completely before serving; premature consumption leaves the cookies too crunchy.
- Save a handful of crumbled wafers to sprinkle on the absolute top for an added decorative crunch.
Common Mistakes to Avoid
A common mistake is using overripe bananas that are too soft, which causes the pudding to turn watery. Select firm, barely-spotted bananas to maintain structural integrity. Another error involves using non-instant pudding mix, which will never set properly without stove-top cooking. Always verify the packaging confirms an instant setting variety to prevent a soupy mess. Over-mixing the whipped topping can deflate your custard; use a gentle spatula to fold it in manually.
Variations and Substitutions
| Ingredient | Substitution | Impact on Flavor |
|---|---|---|
| Vanilla Wafers | Graham Crackers | Adds a slight honey-nut complexity |
| Vanilla Pudding | Butterscotch Pudding | Creates a much deeper, richer caramel profile |
| Whipped Topping | Freshly Whipped Cream | Provides a more natural, less sugary finish |
Serving Suggestions and Pairings
Serve this chilled dessert at backyard barbecues, family reunions, or holiday potlucks. Pair individual helpings with a side of fresh berries or a dollop of unsweetened whipped cream to balance the sweetness. It performs exceptionally well when served alongside a crisp fruit salad or a glass of chilled sparkling apple juice for a festive effect.
Storage and Reheating
| Method | Duration | Instructions |
|---|---|---|
| Refrigerator | 2-3 days | Cover tightly with plastic wrap to prevent banana browning |
| Freezer | Not Recommended | The texture of the pudding will separate upon thawing |
Nutritional Information
Approximate values per serving.
| Nutrient | Amount per Serving |
|---|---|
| Calories | 320 kcal |
| Fat | 10g |
| Carbohydrates | 52g |
| Protein | 4g |
Frequently Asked Questions
Can I make banana pudding ahead of time?
You should make this dish at least four hours in advance to ensure the cookies soften properly. The flavor actually improves significantly if it sets overnight in the refrigerator.
How do I stop bananas from browning?
Coat your sliced bananas in a splash of lemon or lime juice to prevent rapid oxidation. This simple acidic bath preserves the vibrant color of the fruit for days.
Why is my pudding runny?
A runny consistency usually results from using too much liquid or failing to use instant pudding mix. Ensure you follow the milk ratios provided on the instant pudding packaging for a perfect set.
Can I swap the wafer cookies?
Graham crackers or even shortbread cookies serve as excellent alternatives if you cannot find vanilla wafers. Be aware that these substitutes will change the overall texture slightly.
Is this dish suitable for large groups?
This recipe scales perfectly for large crowds because it is easy to prepare in multiple baking pans. Simply multiply the ingredients accordingly and assemble the layers as individual dessert cups for easier distribution.
Mastering how to make easy banana pudding empowers you to prepare a foolproof dessert that satisfies every guest. By focusing on fresh components and allowing ample chilling time, you guarantee a result that tastes refined and nostalgic. Enjoy this creamy treat as the highlight of your next gathering and share the joy of a perfect homemade dessert.