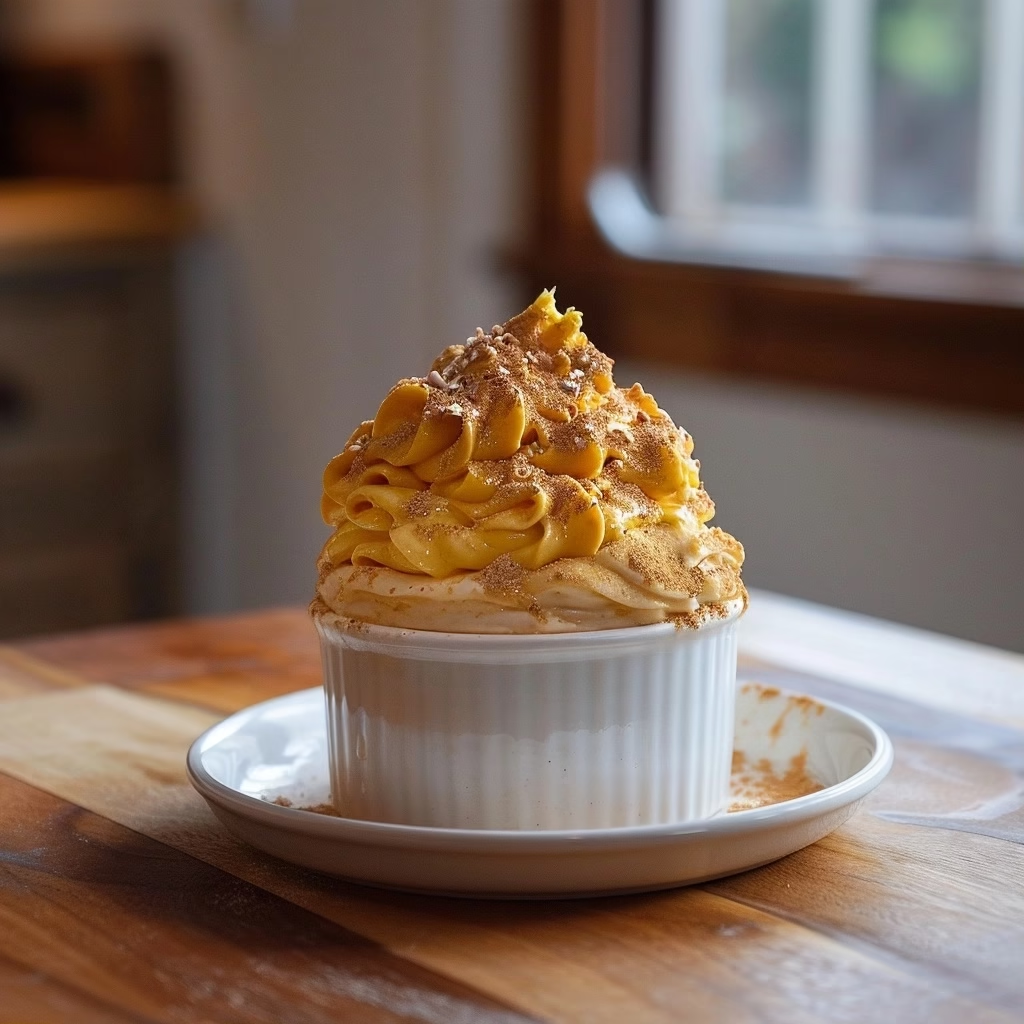
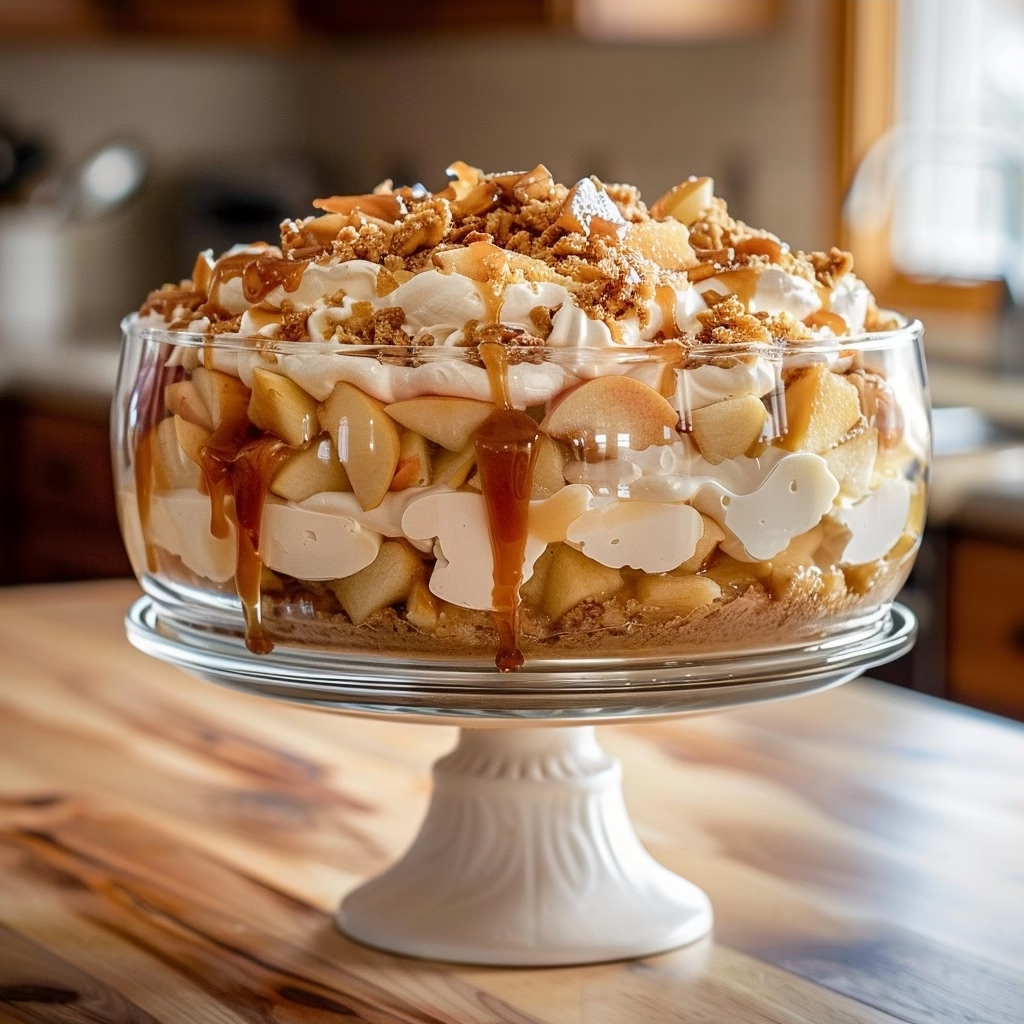
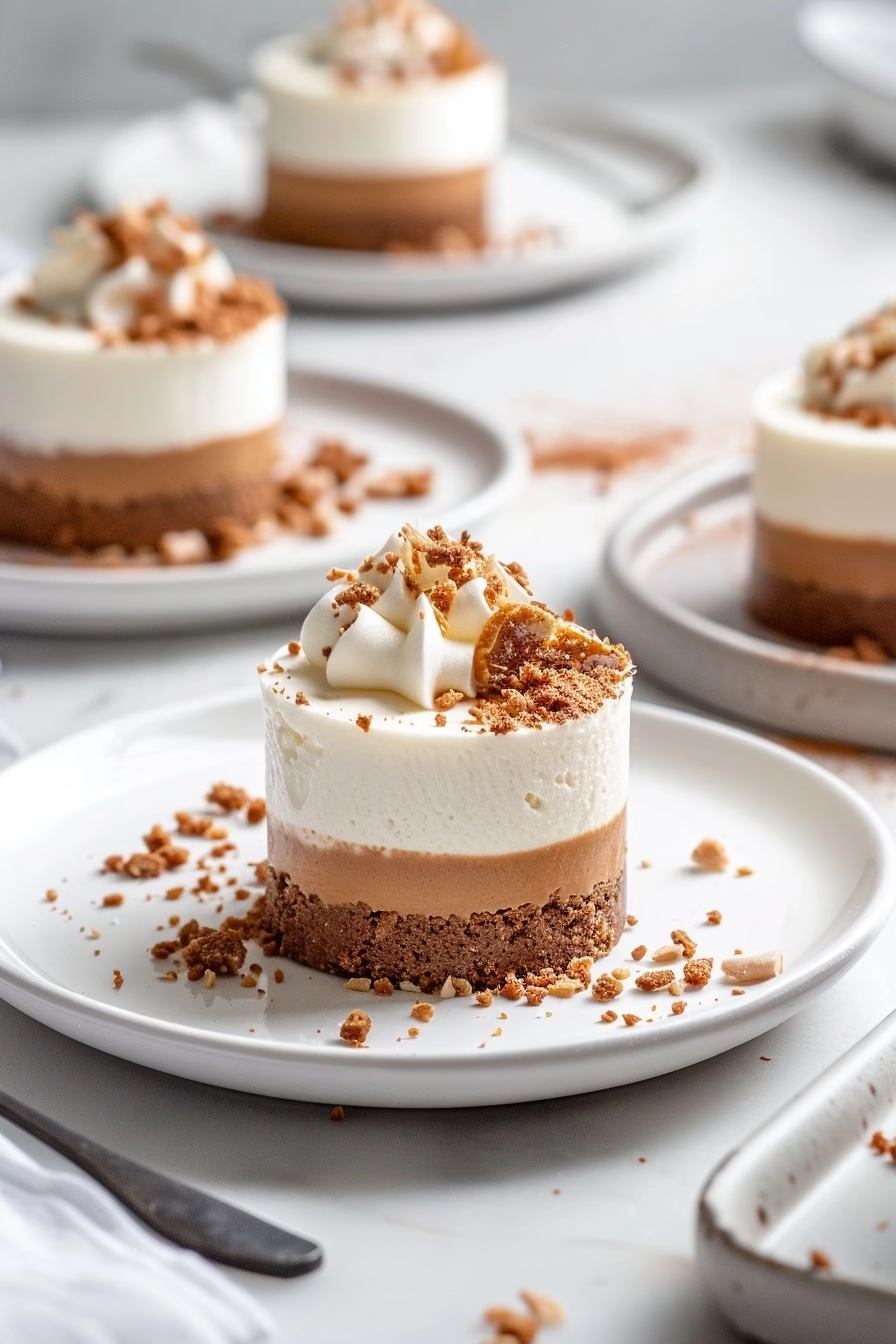
Butterfinger Mousse Cheesecakes provide a creamy, crunchy, and decadent dessert experience that satisfies any sweet craving. These individual treats combine airy chocolate mousse with the iconic peanut butter crunch of Butterfinger candy bars. They require zero oven time, making them the perfect choice for busy hosts or anyone looking to whip up a gourmet-style treat without the stress of baking. Enjoy these layered desserts for your next gathering or weekend indulgence.
| Category | Details |
|---|---|
| Prep Time | 20 minutes |
| Cook Time | 0 minutes |
| Total Time | 4 hours (includes chilling) |
| Servings | 6 individual servings |
| Difficulty | Easy |
| Cuisine | American Fusion |
Why This Recipe Works
This recipe works because it masters the balance between light, silky mousse and substantial, crunchy inclusions. The contrast in textures prevents the dessert from feeling too heavy while ensuring every bite delivers that classic candy bar flavor profile. Using high-quality cream cheese and whipped topping creates a stable foundation that holds its shape beautifully in individual cups.
Personal experience confirms that prepping these ahead of time actually improves the final result. Allowing the cheesecakes to chill for several hours enables the flavors to meld and the mousse to achieve the perfect velvety consistency. You will find that these treats look professional, making them an excellent go-to recipe for parties or special family celebrations.
Ingredients
| Ingredient | Quantity | Notes |
|---|---|---|
| Cream Cheese | 8 oz | Softened to room temperature |
| Powdered Sugar | 1/2 cup | Sifted for smoothness |
| Whipped Topping | 8 oz | Thawed completely |
| Butterfinger Bars | 4 bars | Crushed coarsely |
| Chocolate Ganache | 1/2 cup | Store-bought or homemade |
Step-by-Step Instructions
Preparing the Mousse
- Beat the softened cream cheese and powdered sugar in a large mixing bowl until the mixture is light and fluffy.
- Fold the thawed whipped topping into the cream cheese mixture using a silicone spatula to maintain the airiness.
- Stir in half of the crushed Butterfinger bars gently to ensure an even distribution of the peanut butter crunch.
Assembling the Cups
- Spoon a generous layer of the mousse mixture into the bottom of six serving glasses or dessert cups.
- Drizzle a small amount of chocolate ganache over the first layer to add depth and richness.
- Fill the remaining space in the cups with the rest of the mousse mixture until they reach the top.
- Top each dessert with the remaining crushed Butterfinger pieces and an extra drizzle of chocolate.
- Refrigerate the cups for at least four hours before serving to ensure they are firm enough to enjoy.
Chef Tips for Perfect Results
- Ensure your cream cheese is at true room temperature to avoid lumps in your mousse.
- Use a food processor to crush the candy bars if you prefer a uniform, fine crumb texture.
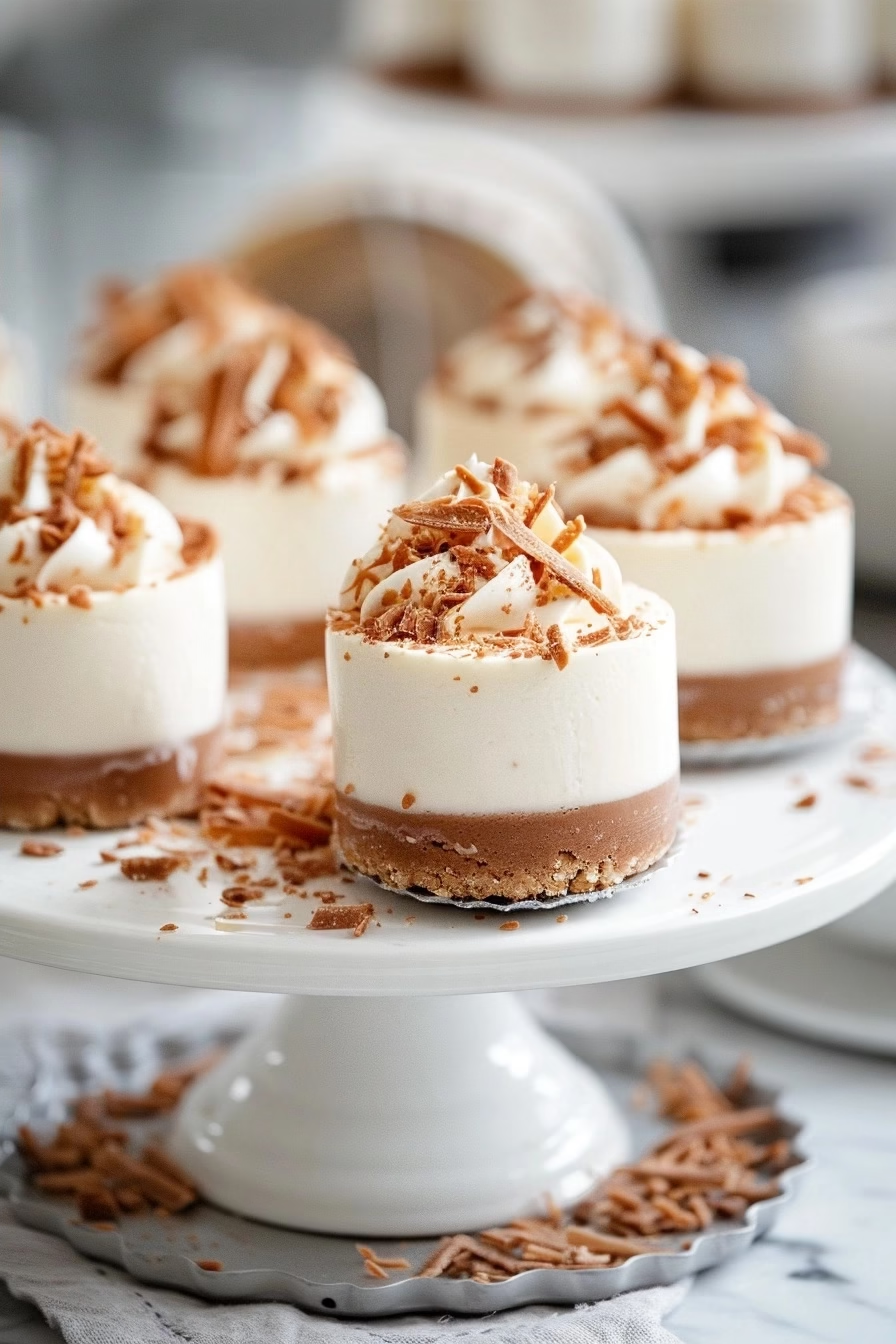
- Pipe the mousse into the cups using a large star tip for an elevated, bakery-style presentation.
- Store the finished cups in the coldest part of your refrigerator to maintain their structural integrity.
- Add the final layer of candy bar crumbles immediately before serving to keep the peanuts extra crunchy.
Common Mistakes to Avoid
Over-mixing the whipped topping is a frequent error that results in a deflated mousse. Fold the ingredients by hand slowly to keep the air inside. Another mistake involves using cold cream cheese, which creates stubborn white flecks throughout your smooth mixture. Always plan ahead to let your ingredients soften sufficiently. Failing to chill the dessert long enough will lead to a runny texture that lacks the signature cheesecake density. Finally, avoid using low-fat cream cheese, as the lack of fat content prevents the mousse from setting properly.
Variations and Substitutions
| Ingredient | Substitution | Impact on Flavor |
|---|---|---|
| Butterfinger | Heath Bar | Adds a buttery toffee note |
| Chocolate Ganache | Caramel Sauce | Replaces chocolate with sweet, salty caramel |
| Whipped Topping | Heavy Whipping Cream | Results in a richer, denser texture |
Serving Suggestions and Pairings
Serve these Butterfinger Mousse Cheesecakes alongside a hot cup of black coffee or a chilled glass of almond milk to balance the sweetness. They fit perfectly as the grand finale for a backyard barbecue or an indoor game night. Consider placing a whole mini candy bar on the rim of each glass for an impressive decorative touch.
Storage and Reheating
| Method | Duration | Instructions |
|---|---|---|
| Refrigerator | 3 days | Cover tightly with plastic wrap |
| Freezer | 1 month | Store in an airtight container |
Nutritional Information
| Nutrient | Amount per Serving (Approximate) |
|---|---|
| Calories | 320 kcal |
| Protein | 4g |
| Fat | 18g |
| Carbohydrates | 38g |
| Sugar | 30g |
Frequently Asked Questions
Can I use low-fat cream cheese in this recipe?
Using low-fat cream cheese is not recommended because it contains more moisture and less fat than the standard variety. This prevents the mousse from setting correctly and results in a runny dessert. Stick to full-fat options for the best texture and flavor.
How do I know if the mousse is set?
The mousse is fully set when the mixture feels firm to the touch and holds its shape without sliding down the sides of the container. It should reach a consistency similar to store-bought pudding or traditional mousse. Always test one cup by tilting it slightly to check for stability.
Can I prepare these cheesecakes a day in advance?
Preparing these treats a day ahead is actually encouraged for the best results. The flavors meld perfectly after 24 hours in the refrigerator, and the structure becomes even more stable. Just be sure to keep them sealed to prevent the mousse from absorbing other refrigerator odors.
What is the best way to crush the candy bars?
Place the candy bars inside a heavy-duty freezer bag and use a rolling pin to break them into pieces. This method allows you to control the size of the chunks without making a mess on your kitchen counter. Avoid blending them into a fine powder unless you want a purely smooth finish.
Are there any non-dairy alternatives for the whipped topping?
Coconut whipped cream serves as a functional and delicious non-dairy alternative in this recipe. Ensure the coconut cream is chilled before whipping to guarantee a firm texture. This substitution works well for those with dairy sensitivities while maintaining the necessary fat content.
Creating homemade desserts like these Butterfinger Mousse Cheesecakes proves that elegance does not require complexity. By following these simple steps, you have crafted a professional-grade treat that brings joy to any occasion. Focus on quality ingredients and proper chilling times to ensure your dessert succeeds every single time. Embrace the blend of creamy cheesecake and crunchy peanut butter for your next event. Your guests will definitely appreciate the effort put into this indulgent, no-bake masterpiece.
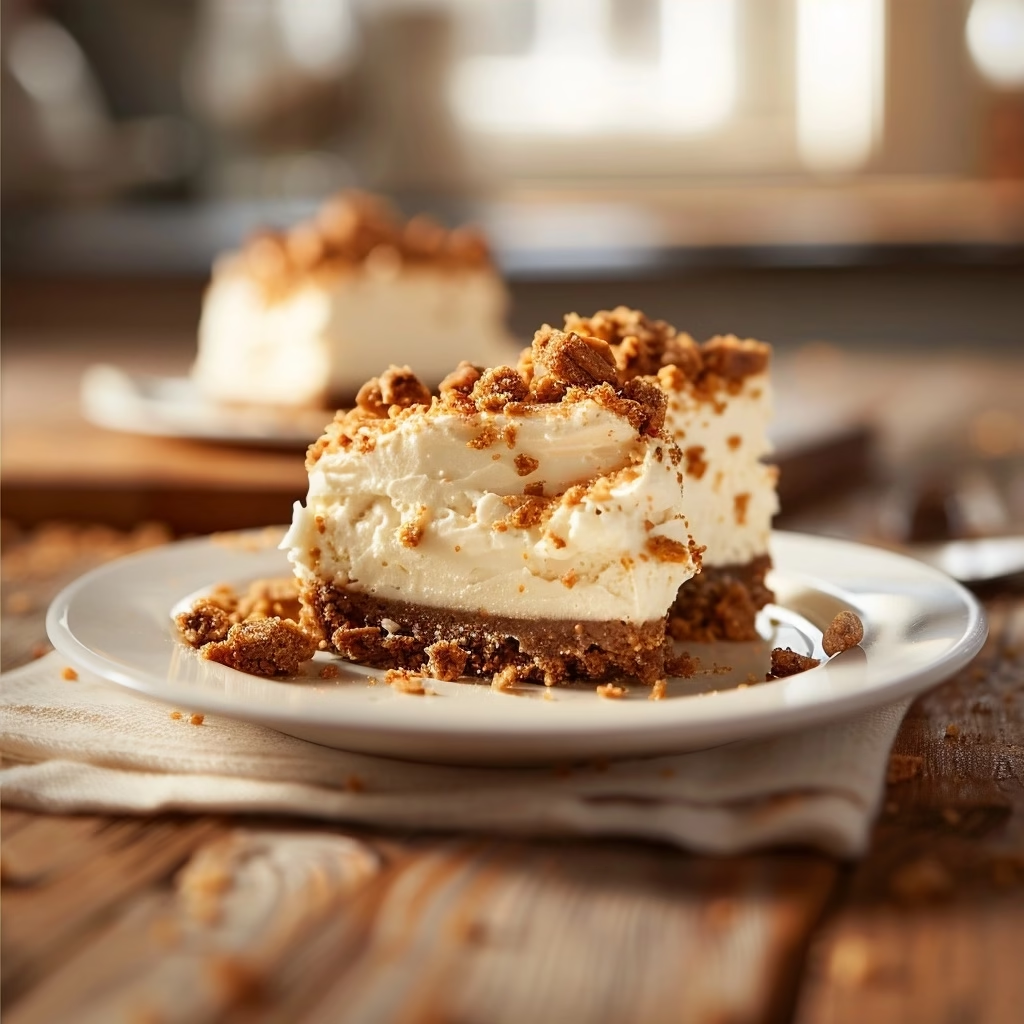
Butterfinger Mousse Cheesecakes
Ingredients
Method
- Beat the softened cream cheese and powdered sugar in a large bowl until light and fluffy.
- Fold the thawed whipped topping into the cream cheese mixture using a spatula until fully combined.
- Gently stir in half of the crushed Butterfinger bars.
- Spoon the mousse mixture into six serving glasses.
- Drizzle a portion of the chocolate ganache over the first mousse layer.
- Repeat the layers if desired and top with the remaining crushed Butterfinger bars.
- Refrigerate for at least 4 hours before serving to allow the mousse to set.