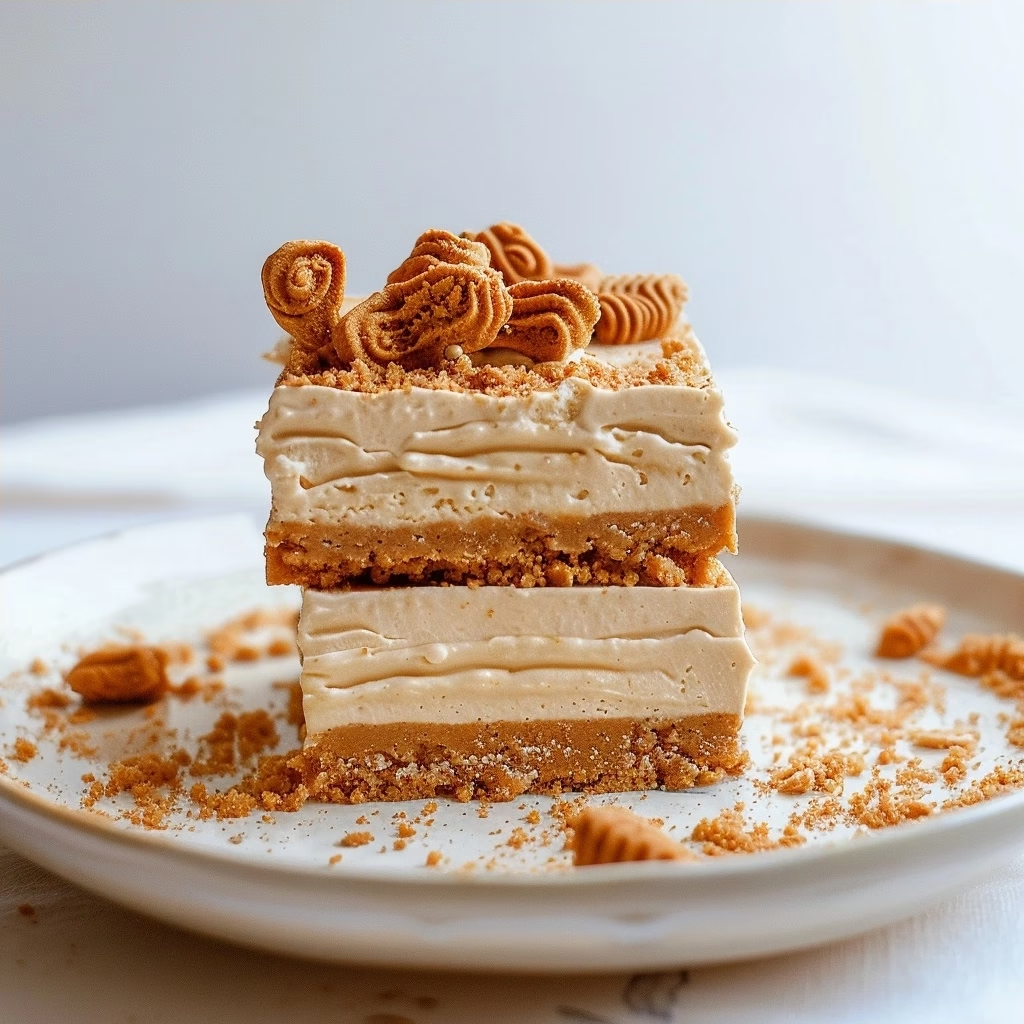
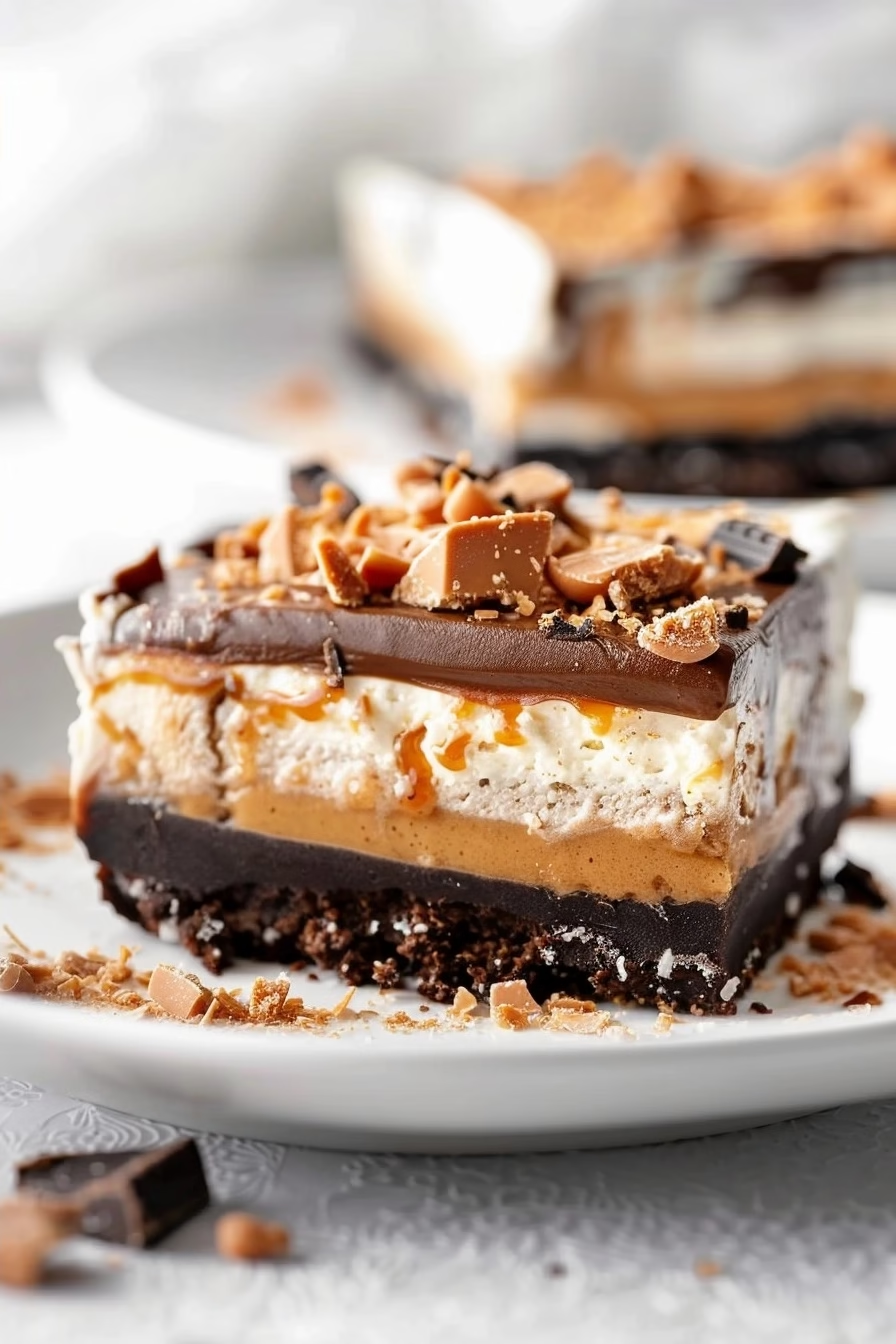
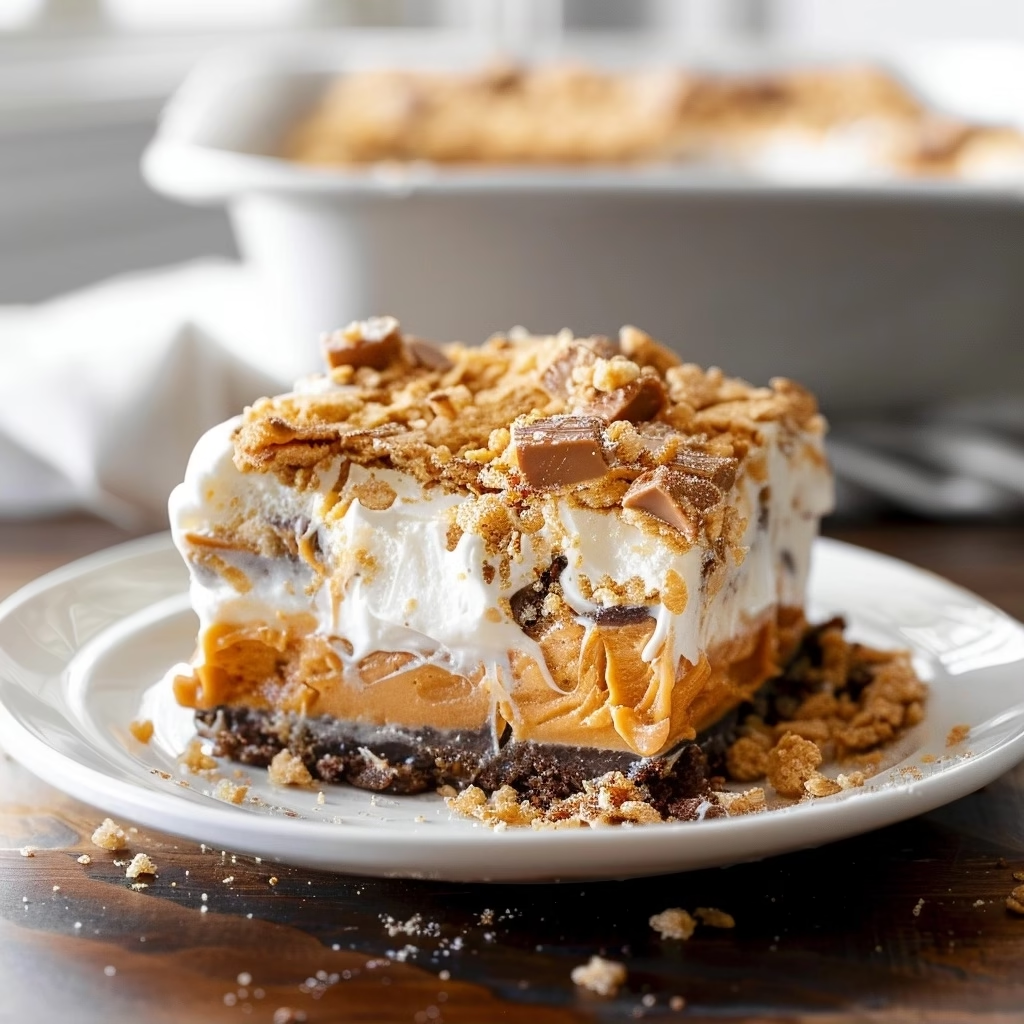
Butterfinger Lush will be your new favorite no-bake dessert because it combines a buttery cookie crust, creamy peanut butter filling, and crunchy candy pieces into one decadent layer. This chilled treat offers the perfect balance of salty and sweet profiles that satisfy every craving without requiring a single minute in the oven. You will find that this layered masterpiece impresses guests at any gathering while remaining incredibly simple to construct in your own kitchen.
Recipe Overview
| Prep Time | 20 minutes |
|---|---|
| Chill Time | 4 hours |
| Total Time | 4 hours 20 minutes |
| Servings | 12 servings |
| Difficulty | Easy |
| Cuisine | American |
Why This Recipe Works
This dessert works because it relies on the harmonious contrast of textures that elevate basic pantry staples into a professional-grade layered treat. I have found that the combination of cream cheese and peanut butter creates a stable yet silky foundation that holds up beautifully even after several hours of chilling.
You will appreciate the flexibility of this recipe when hosting events because the preparation happens entirely ahead of time. The crunch of the Butterfinger bars provides a necessary textural snap that keeps the dish from feeling one-dimensional, ensuring that every bite delivers a punch of classic candy flavor.
Ingredients
| Ingredient | Quantity | Notes |
|---|---|---|
| Butterfinger Bars | 8 large bars | Crush into medium-sized chunks for best texture. |
| Cream Cheese | 16 ounces | Softened to room temperature for smooth blending. |
| Peanut Butter | 1 cup | Use creamy, not natural, for stability. |
| Powdered Sugar | 1.5 cups | Sift to remove all lumps. |
| Cool Whip | 16 ounces | Thaw completely before folding into the mixture. |
| Shortbread Cookies | 2 cups | Finely crushed for the crust. |
| Melted Butter | 0.5 cup | Unsalted to control the saltiness. |
Step-by-Step Instructions
Preparing the Crust
- Combine the crushed shortbread cookies and melted butter in a medium mixing bowl.
- Press the mixture firmly into the bottom of a 9×13 inch baking dish to create a dense base.
- Refrigerate the crust for 15 minutes to allow the butter to solidify.
Creating the Creamy Layers
- Beat the softened cream cheese, peanut butter, and powdered sugar until the texture is completely smooth.
- Fold in half of the thawed Cool Whip gently to keep the mixture light and airy.
- Spread this peanut butter mixture evenly over the chilled crust using an offset spatula.
Final Assembly and Chilling
- Spread the remaining Cool Whip over the top of the peanut butter layer.
- Sprinkle the crushed Butterfinger bars generously over the entire surface of the dish.
- Chill the dessert for at least 4 hours to ensure all layers set properly before serving.
Chef Tips for Perfect Results
- Use a food processor for the cookie crust to ensure the crumbs are fine and uniform.
- Ensure the cream cheese is truly at room temperature to avoid unsightly lumps in your filling.
- Place the Butterfinger bars in the freezer for ten minutes before crushing to prevent them from becoming sticky.
- Reserve a handful of larger candy chunks to garnish the top just before serving for an extra crunch.
- Clean your knife between cuts to achieve perfectly square, professional-looking slices.
Common Mistakes to Avoid
- Over-mixing the Cool Whip: This deflates the air bubbles and results in a dense layer instead of a light, whipped texture.
- Using warm ingredients: If the cream cheese is too soft or the crust isn’t chilled, your layers will bleed into each other.
- Skipping the chill time: Patience is required here; the dessert needs at least 4 hours to set, or it will be difficult to slice.
- Not sifting sugar: Lumpy powdered sugar ruins the mouthfeel of your creamy filling.
Variations and Substitutions
| Ingredient | Substitution | Impact on Flavor |
|---|---|---|
| Shortbread | Graham Crackers | Adds a subtle honey sweetness. |
| Cool Whip | Stabilized Whipped Cream | Provides a more natural, fresh dairy taste. |
| Butterfinger | Reese’s Peanut Butter Cups | Creates a much softer, chocolate-heavy profile. |
Serving Suggestions and Pairings
Serve this dessert alongside a hot cup of black coffee or a chilled glass of almond milk to balance the richness. It performs exceptionally well at summer barbecues, birthday parties, or potlucks where a crowd-pleasing, no-bake treat is required. For an extra touch of elegance, drizzle a small amount of chocolate ganache over the top just before plating.
Storage and Reheating
| Method | Duration | Instructions |
|---|---|---|
| Refrigerator | 3 days | Cover tightly with plastic wrap to prevent moisture loss. |
| Freezer | 1 month | Wrap in multiple layers of foil; thaw in the fridge for 2 hours. |
Nutritional Information
| Nutrient | Amount per Serving |
|---|---|
| Calories | 380 |
| Total Fat | 22g |
| Sugar | 28g |
| Protein | 6g |
Note: These are approximate values based on standard preparation.
Frequently Asked Questions
Can I make this dessert 24 hours in advance?
Yes, this dessert actually tastes better when allowed to set for a full day in the refrigerator. The flavors meld together perfectly while the crust softens just enough to make cutting simple.
How do I prevent the crust from crumbling?
Ensure you press the crumbs into the pan with significant pressure using the bottom of a measuring cup. The butter-to-crumb ratio must be strictly followed to ensure the crust holds together during slicing.
What is the best way to crush the candy?
Place the candy bars inside a heavy-duty freezer bag and use a rolling pin to break them into pieces. This method prevents the shards from flying across your kitchen while keeping your hands clean.
Can I use low-fat cream cheese?
Using full-fat cream cheese is highly recommended for the best structural integrity and mouthfeel. Low-fat alternatives contain more water, which may cause your beautiful layers to become runny over time.
Is this dish suitable for freezing?
You can freeze this dish for up to one month without sacrificing quality. Always thaw it slowly in the refrigerator to maintain the texture of the whipped layers.
Butterfinger Lush will be your new favorite no-bake dessert for every occasion. With its satisfying peanut butter punch and effortless preparation, it remains the ultimate solution for stress-free entertaining. Master these simple steps today to experience the perfect crunch and creamy decadence that makes this recipe a true standout in your culinary collection. Enjoy every sweet, chilled bite with your favorite people.
Butterfinger Lush
Ingredients
Method
- Combine the crushed shortbread cookies and melted butter in a medium bowl.
- Press the mixture firmly into the bottom of a 9x13 inch baking dish.
- Refrigerate the crust for 15 minutes to set.
- Beat the cream cheese, peanut butter, and powdered sugar until smooth.
- Fold in half of the thawed Cool Whip into the peanut butter mixture.
- Spread the mixture evenly over the chilled crust.
- Top with remaining Cool Whip and sprinkle generously with crushed Butterfinger bars.
- Chill for at least 4 hours before serving.