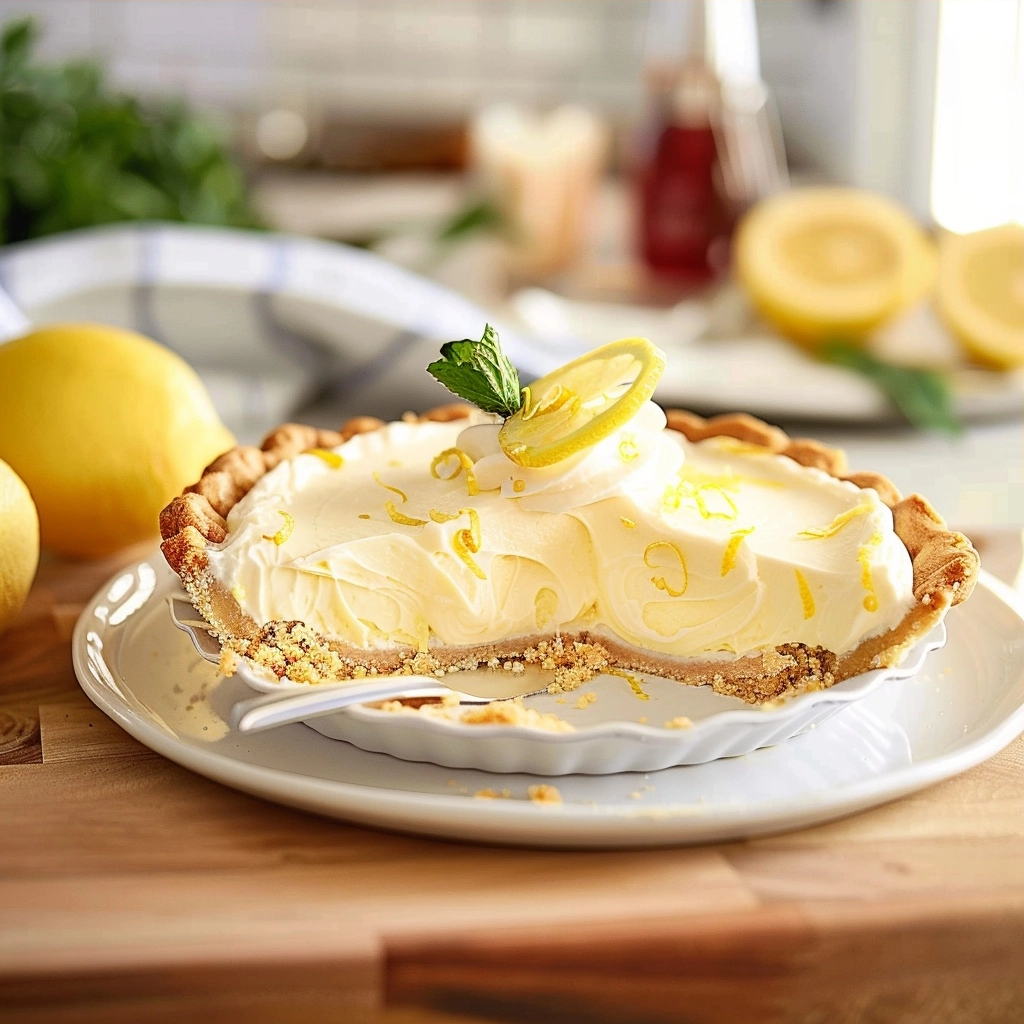
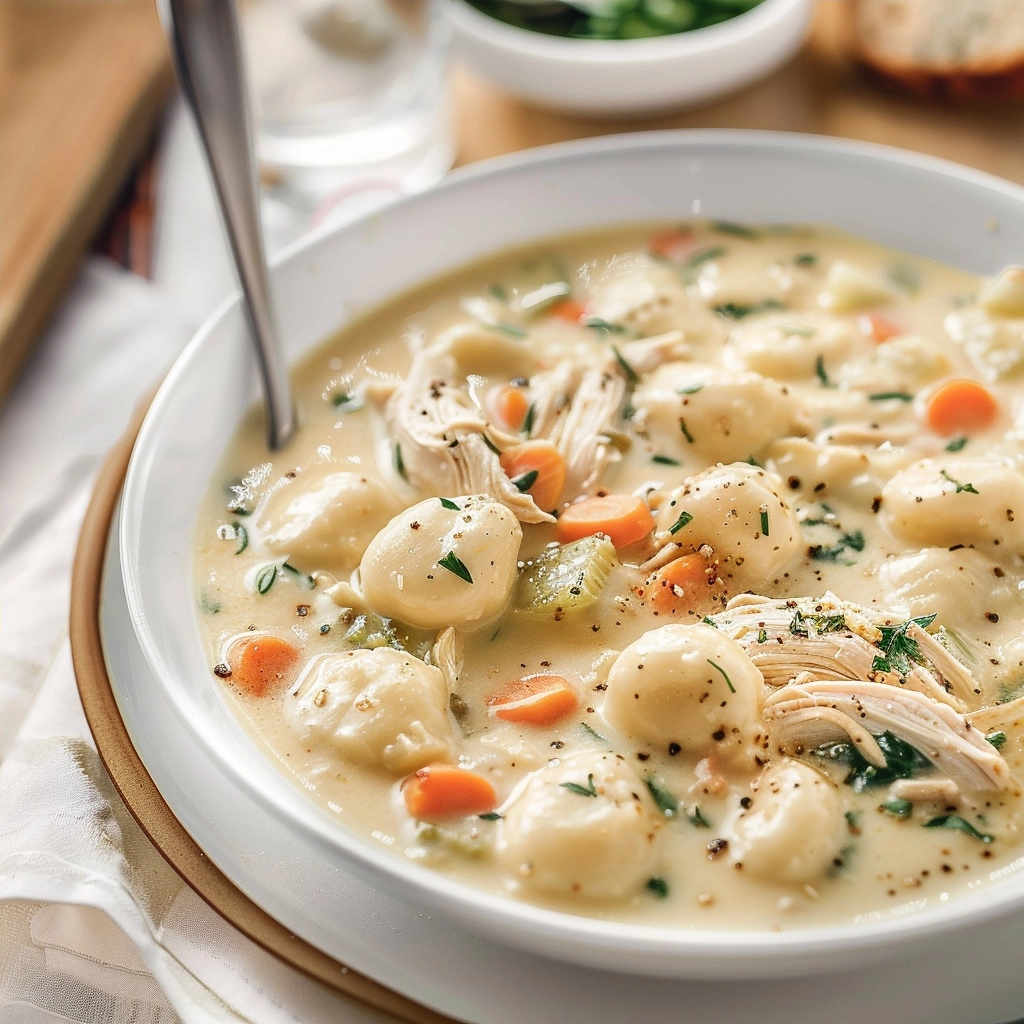
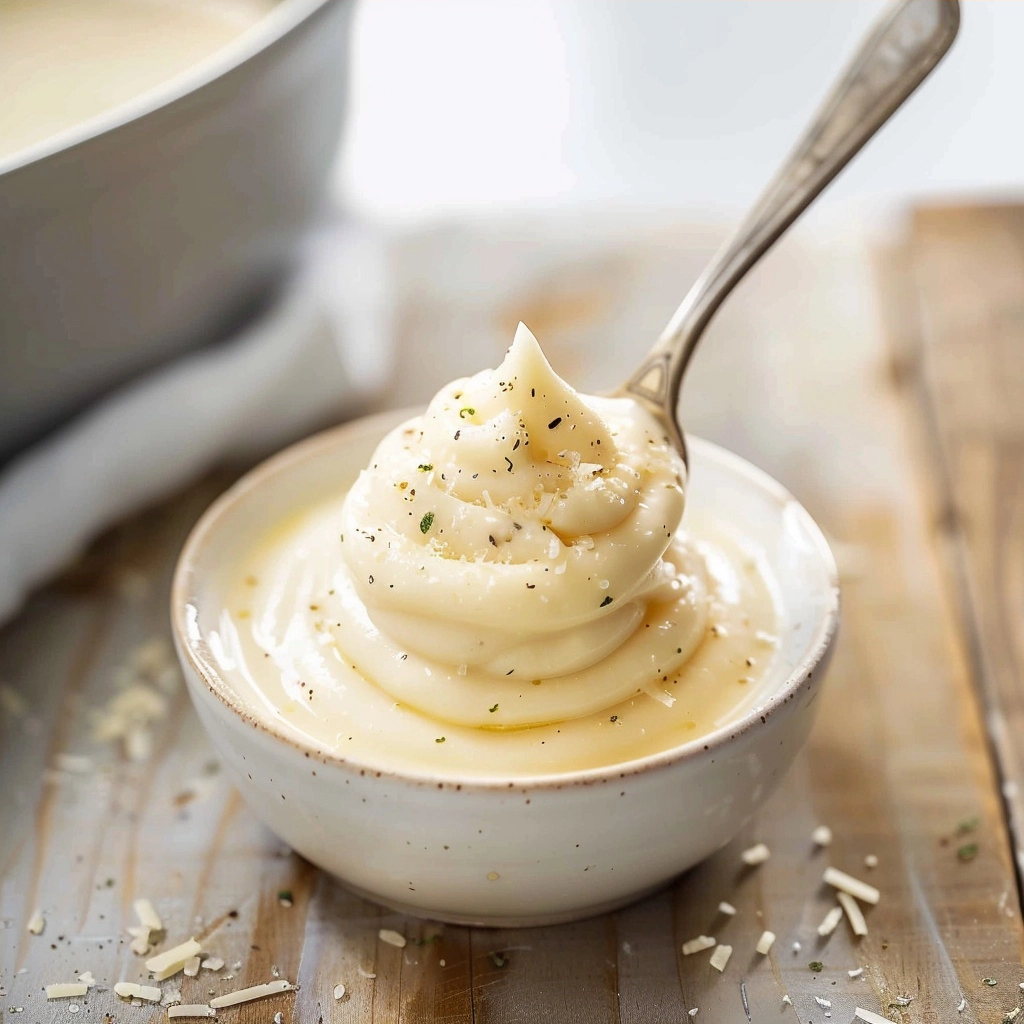
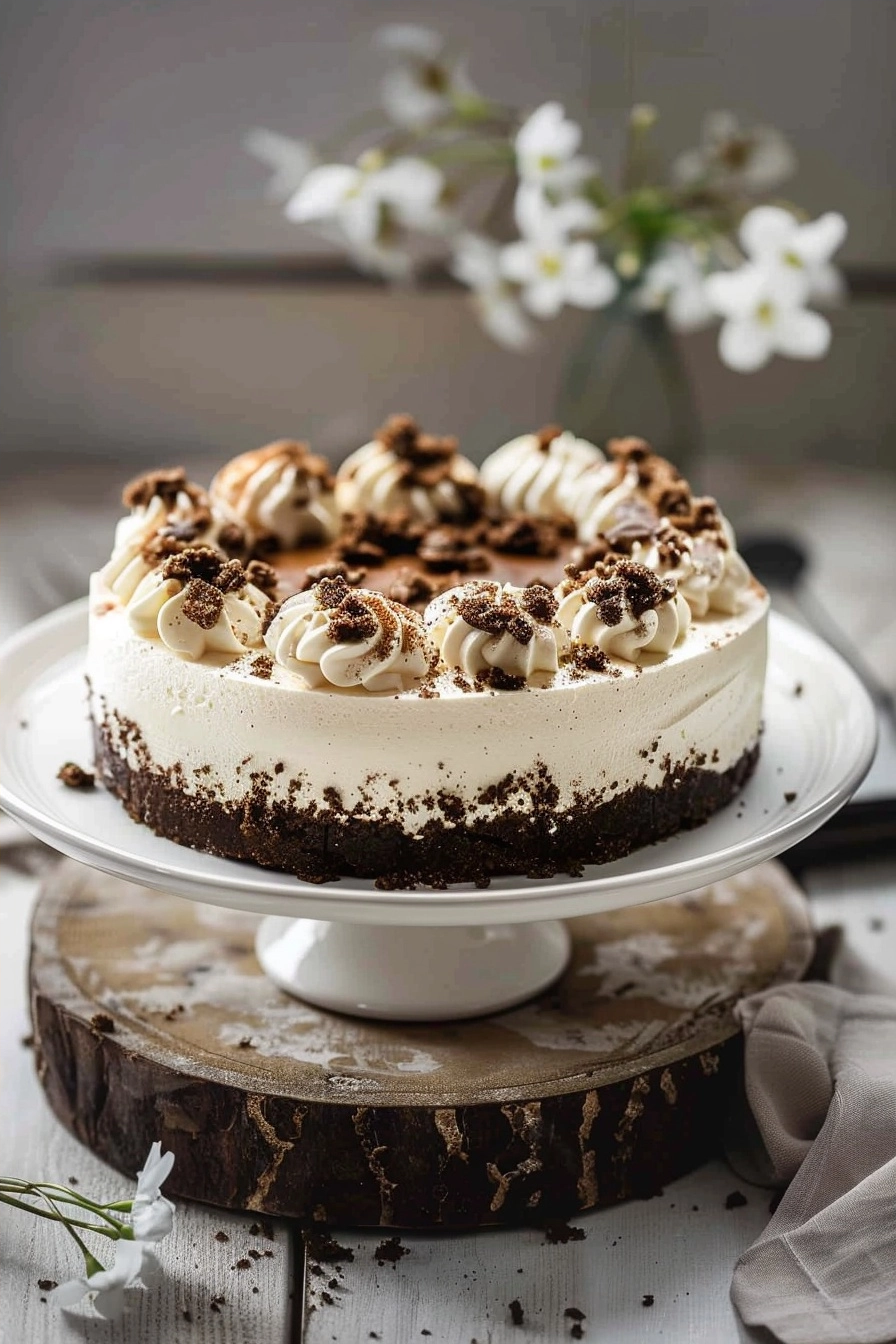
No bake cookies cheesecake features a velvety cream cheese filling layered over a rich, chocolatey oat cookie crust requiring no oven time. This decadent dessert blends the convenience of traditional no-bake treats with the sophisticated texture of a classic New York-style cheesecake. Home cooks appreciate this recipe for its simplicity and the ability to prepare it well in advance for any social gathering.
| Prep Time | Cook Time | Total Time | Servings | Difficulty | Cuisine |
|---|---|---|---|---|---|
| 20 minutes | 0 minutes | 6 hours (chilling) | 12 | Easy | American |
Why This Recipe Works
This recipe works because it relies on the natural binding properties of butter and brown sugar to hold the chocolatey oat base together without needing prolonged heat exposure. The contrast between the crunchy, slightly fudgy cookie base and the airy, whipped cheesecake layer creates a professional-grade mouthfeel that satisfies any sweet tooth.
You will find this method saves precious kitchen time during summer months while ensuring a consistent, firm texture that slices cleanly. I have perfected the ratio of cocoa powder to oats to ensure the base stays stable under the weight of the cheesecake, preventing the common issue of a soggy bottom.
Ingredients
| Ingredient | Quantity | Notes |
|---|---|---|
| Rolled Oats | 2 cups | Must be quick-cooking for best texture |
| Cream Cheese | 16 oz | Softened to room temperature |
| Cocoa Powder | 1/2 cup | Unsweetened Dutch-processed |
| Granulated Sugar | 3/4 cup | Divided for base and filling |
| Butter | 1/2 cup | Unsalted and high quality |
| Heavy Cream | 1/2 cup | Must be cold for whipping |
| Vanilla Extract | 1 tsp | Pure vanilla ensures depth |
Step-by-Step Instructions
Preparing the Cookie Base
- Combine the butter, cocoa powder, sugar, and a splash of milk in a medium saucepan over medium heat until smooth.
- Stir in the quick-cooking oats rapidly until every oat is coated in the chocolate mixture.
- Press the mixture firmly into the bottom of a prepared springform pan while it remains warm to create a solid foundation.
- Chill the base in the refrigerator for at least 30 minutes to firm up significantly.
Creating the Cheesecake Layer
- Beat the softened cream cheese with sugar and vanilla extract until perfectly smooth and free of lumps.
- Whip the heavy cream in a separate bowl until stiff peaks form to provide structural stability.
- Fold the whipped cream gently into the cream cheese mixture using a silicone spatula to maintain aeration.
- Spread the filling evenly over the chilled cookie base using an offset spatula for a professional finish.
Chef Tips for Perfect Results
- Ensure the cream cheese is at true room temperature to prevent grainy texture in your final filling.
- Use an offset spatula when spreading the cheesecake mixture to achieve a perfectly flat, level top surface.
- Line your springform pan with parchment paper to ensure a clean release when removing the outer ring.
- Chill the dessert for at least six hours to allow the proteins and fats to stabilize completely.
- Run your knife under hot water and wipe it dry between each cut to ensure sharp, clear slices.
Common Mistakes to Avoid
One common mistake is using old-fashioned rolled oats, which produce a chunky, tough crust; always use quick-cooking oats for a finer texture. Another error is heating the chocolate layer for too long, which causes the sugar to crystallize and the base to turn brittle rather than chewy. Avoid over-mixing the whipped cream into the cheese, as this causes the mixture to lose volume and remain runny. Finally, do not try to slice the cake before the six-hour mark, because it requires adequate time for the fats to set.
Variations and Substitutions
| Ingredient | Substitution | Impact on Flavor |
|---|---|---|
| Cream Cheese | Mascarpone | Rich, creamier, and less tangy taste |
| Heavy Cream | Coconut Cream | Adds a subtle tropical undertone |
| White Sugar | Maple Syrup | Notes of caramel and earthy sweetness |
Serving Suggestions and Pairings
Serve this dessert alongside fresh raspberries or a drizzle of warm sea salt caramel sauce to cut through the richness. It pairs beautifully with a glass of chilled sparkling apple cider or a strong, freshly brewed cup of black coffee. This treat fits perfectly at summer backyard barbecues, holiday office parties, or casual weekend brunch gatherings.
Storage and Reheating
| Method | Duration | Instructions |
|---|---|---|
| Refrigerator | 3-4 Days | Keep in an airtight container |
| Freezer | 1 Month | Wrap in foil and plastic wrap |
Nutritional Information
| Nutrient | Amount per Serving |
|---|---|
| Calories | 320 |
| Protein | 5g |
| Fat | 18g |
| Carbohydrates | 35g |
| Sugar | 22g |
Approximate values.
Frequently Asked Questions
Can I substitute cream cheese with ricotta?
You can substitute cream cheese with strained ricotta, though it will result in a slightly grainier texture and a milder flavor. Ensure you strain the ricotta through cheesecloth for several hours to remove excess moisture.
Why did my base not set hard?
Your base likely failed to set because the butter and cocoa mixture did not reach the correct temperature during the boiling stage. Ensure you allow the mixture to boil for exactly one minute to activate the sugar crystals before adding the oats.
Can I prepare this two days before?
You can absolutely prepare this recipe two days in advance, as the flavors often improve after sitting in the refrigerator. Keep the pan covered tightly to prevent the cheesecake layer from absorbing odors from other foods.
Is it possible to make this gluten-free?
It is entirely possible to make this dessert gluten-free by ensuring you purchase certified gluten-free rolled oats. Confirm all other labeled ingredients are processed in gluten-free facilities to prevent cross-contamination.
How do I prevent the crust from cracking?
Prevent cracking by pressing the oat mixture into the pan with a flat-bottomed glass while it is still warm, ensuring there are no air pockets. A tighter, more compressed crust provides better structural integrity during the slicing process.
This no bake cookies cheesecake delivers an unforgettable balance of chocolate fudge and smooth, creamy cheese in every bite. Follow these steps closely to ensure a perfect set every time you prepare it for family and friends. Experience the joy of a dessert that demands zero oven time but provides maximum flavor impact. Your next gathering deserves this stress-free, indulgent, and crowd-pleasing centerpiece.