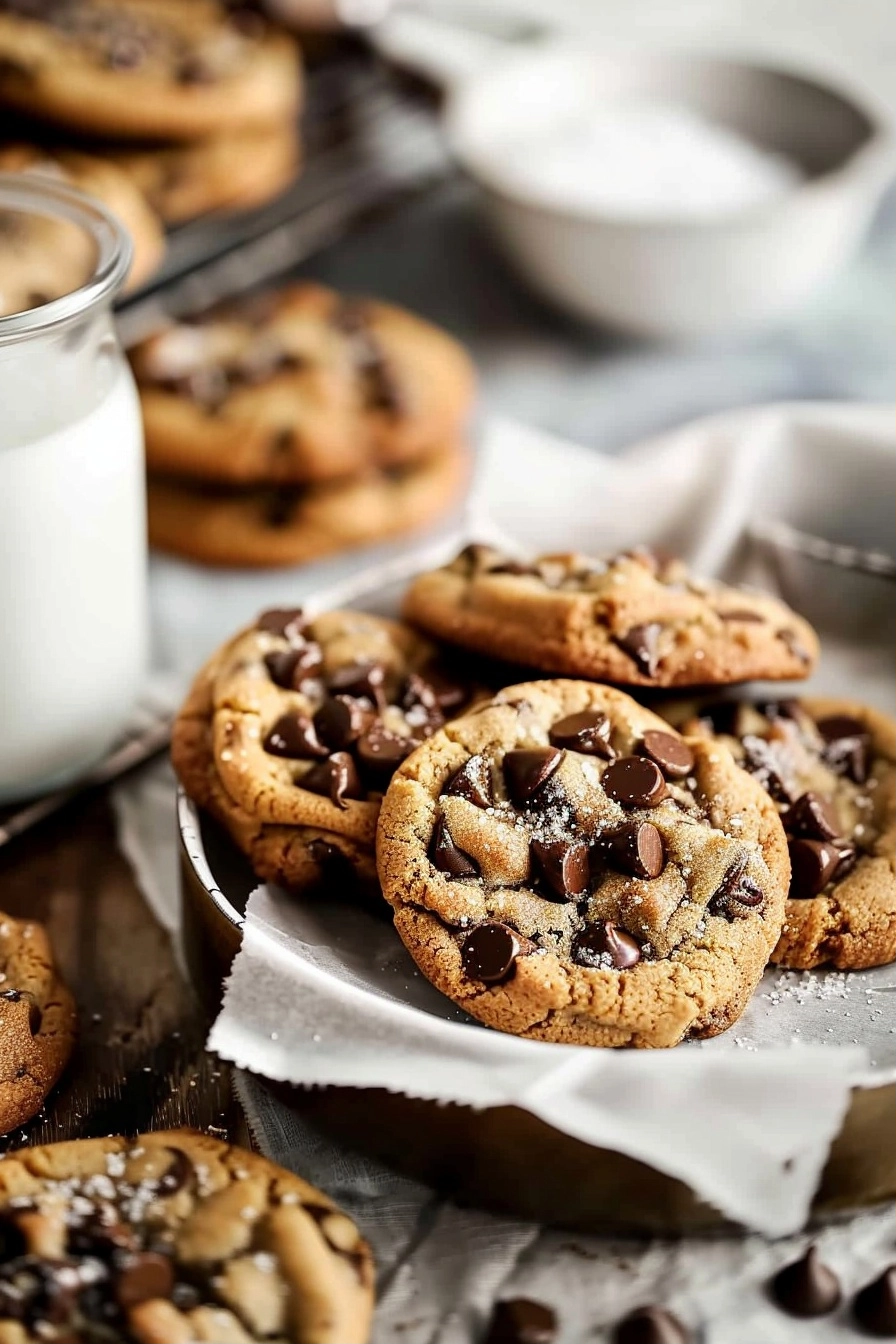
Gluten free chocolate chip cookies represent the ultimate balance of a chewy center, crispy edges, and rich pools of melted chocolate. This recipe delivers a classic bakery-style experience without the use of wheat flour, ensuring everyone can enjoy a homemade treat. You achieve professional quality results using simple pantry staples that mimic the structure of traditional dough perfectly.
| Category | Details |
|---|---|
| Prep Time | 15 minutes |
| Cook Time | 12 minutes |
| Total Time | 27 minutes |
| Servings | 24 cookies |
| Difficulty | Easy |
| Cuisine | American |
Why This Recipe Works
This recipe works because it relies on a precise blend of high-quality gluten-free flour and xanthan gum to provide an elastic structure. By chilling the dough before baking, the fats stabilize, which prevents the cookies from spreading too thinly on the baking sheet.
My experience creating this recipe involved testing various binding agents to ensure the final product holds together exactly like a standard cookie. You gain confidence knowing that the measurements provided lead to consistent, delicious results every single time you bake a batch for friends or family.
Ingredients
| Ingredient | Quantity | Notes |
|---|---|---|
| Gluten-Free Flour | 2 1/4 cups | Use a 1:1 blend with xanthan gum |
| Butter | 1 cup | Ensure it is softened at room temperature |
| Brown Sugar | 3/4 cup | Packed, provides moisture |
| White Sugar | 3/4 cup | Cane sugar works best |
| Large Eggs | 2 | Room temperature |
| Vanilla Extract | 2 tsp | Pure extract preferred |
| Baking Soda | 1 tsp | Check expiry date |
| Chocolate Chips | 2 cups | Semisweet dairy-free option |
Step-by-Step Instructions
Mixing the Dough
- Cream the softened butter with both brown and white sugars in a large bowl using an electric mixer.
- Add the eggs and vanilla extract to the mixture, beating until the texture becomes smooth and light.
- Whisk the flour and baking soda in a separate container before combining it with the wet ingredients.
- Fold in the chocolate chips manually once the dough reaches a cohesive, thick consistency.
Baking the Cookies
- Preheat your oven to 350 degrees Fahrenheit while letting the dough chill in the refrigerator for thirty minutes.
- Scoop rounded tablespoons of dough onto a parchment-lined cookie sheet, spacing them two inches apart.
- Bake the cookies for 10 to 12 minutes or until the edges turn a light golden brown.
- Cool the cookies on the baking sheet for five minutes before moving them to a wire cooling rack.
Chef Tips for Perfect Results
- Measure your flour using the spoon-and-level method to avoid packing the cup and creating dry, crumbly dough.
- Use room temperature butter to ensure the sugars incorporate evenly during the creaming stage of the process.
- Chill your dough thoroughly to concentrate the flavors and improve the final texture of your cookies.
- Add a pinch of sea salt on top of each cookie immediately after removing them from the oven.
- Rotate your baking sheets halfway through the cook time to guarantee an even golden color on every cookie.
Common Mistakes to Avoid
Using expired baking soda often leads to flat, dense cookies that lack a soft interior. Always test your leavening agent for freshness before mixing your ingredients. Another mistake is over-mixing the gluten-free flour, which can lead to a gritty texture; stir only until just combined.
Avoid baking on a hot cookie sheet, which causes the base to melt and spread prematurely. Ensure your sheets cool down completely between batches to guarantee consistent shapes. Finally, failing to use a 1:1 blend containing xanthan gum usually results in cookies that fall apart upon touching.
Variations and Substitutions
| Ingredient | Substitution | Impact |
|---|---|---|
| Butter | Vegan Butter | Maintains richness while staying dairy-free |
| Chocolate Chips | Cacao Nibs | Increases antioxidant profile and bitterness |
| Brown Sugar | Coconut Sugar | Adds a subtle caramel-like depth |
Serving Suggestions and Pairings
Serve these cookies alongside a tall glass of cold oat milk for a classic snack pairing. They also work perfectly as an accompaniment to vanilla bean ice cream for a decadent gluten-free dessert sandwich. These treats perform well at birthday parties, potlucks, or as a weekend reward after a long week of work.
Storage and Reheating
| Method | Duration | Instructions |
|---|---|---|
| Countertop | 3 days | Store in an airtight container |
| Freezer | 3 months | Freeze raw dough portions in a bag |
| Reheating | 10 seconds | Warm in the microwave for a fresh taste |
Nutritional Information
| Nutrient | Amount per Serving |
|---|---|
| Calories | 180 kcal |
| Protein | 2g |
| Fat | 9g |
| Carbohydrates | 24g |
| Fiber | 1g |
| Sugar | 16g |
Approximate values per cookie based on a standard 24-serving batch.
Frequently Asked Questions
Can I use coconut flour instead of a 1:1 blend?
Coconut flour cannot replace a 1:1 blend without major adjustments to the liquid and egg ratios. It absorbs significantly more moisture, which would lead to extremely dry and powdery cookies if swapped directly.
How do I know when the cookies are finished?
Cookies feel soft to the touch in the center when perfectly baked and have golden brown edges. They continue to firm up as they cool on the hot baking tray for the advised five-minute window.
Can I prepare the dough ahead of time?
You can refrigerate or freeze the dough effectively for up to a week before the baking process. Chilled dough often produces a deeper flavor profile and better texture when baked straight from the fridge.
What should I do if the cookies spread too much?
Cookies spreading excessively usually happens because the butter in the dough was too warm during prep. Chill your dough for an additional fifteen minutes to ensure the fats remain solid until they hit the oven heat.
How can I make these cookies vegan friendly?
You can substitute the butter with vegan sticks and replace the eggs with flax eggs to yield a similar result. Ensure your chocolate chips are also certified dairy-free to keep the entire recipe fully plant-based.
These gluten free chocolate chip cookies prove that dietary restrictions require zero sacrifice in taste or texture. By following the precise techniques mentioned, you create a batch that rivals any traditional version. Keep this recipe handy for your next gathering and watch them vanish from the cooling rack almost immediately. Enjoy the rich, authentic flavor of homemade baking today.