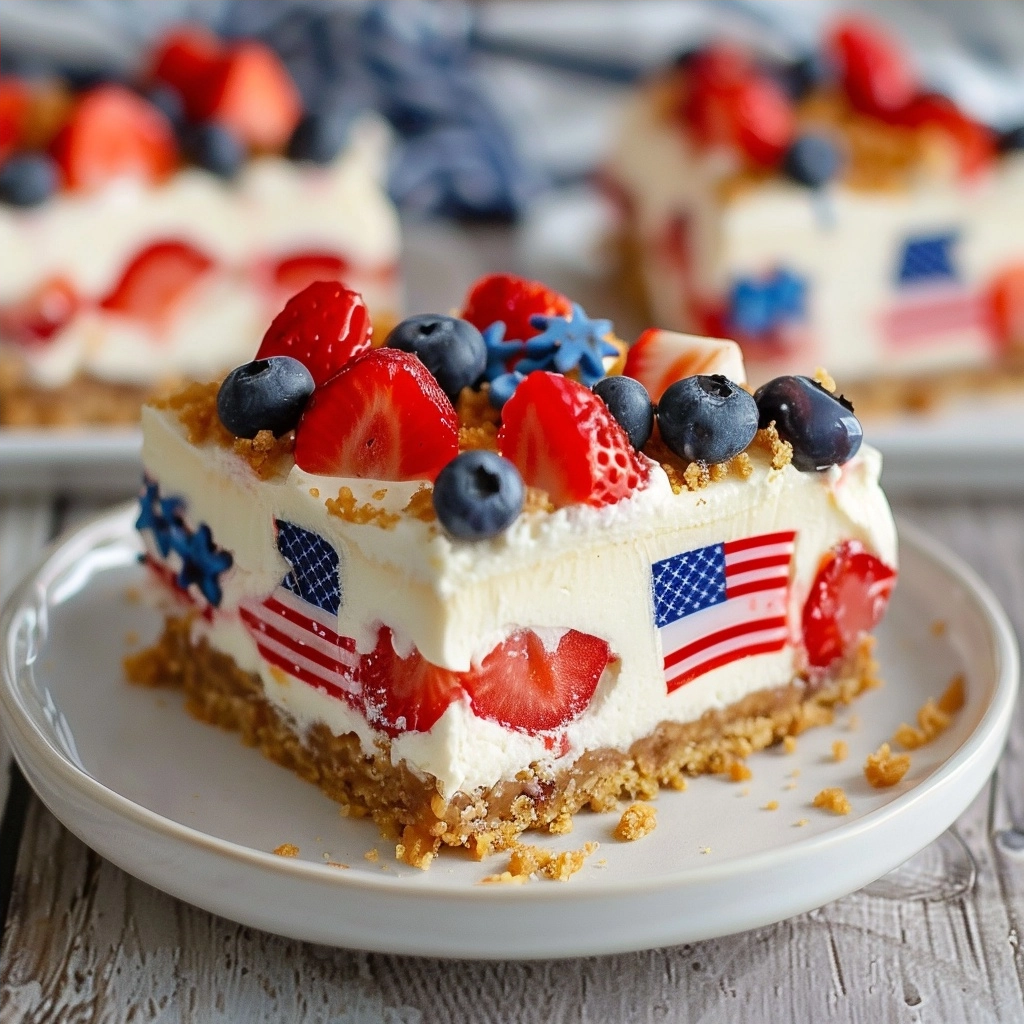
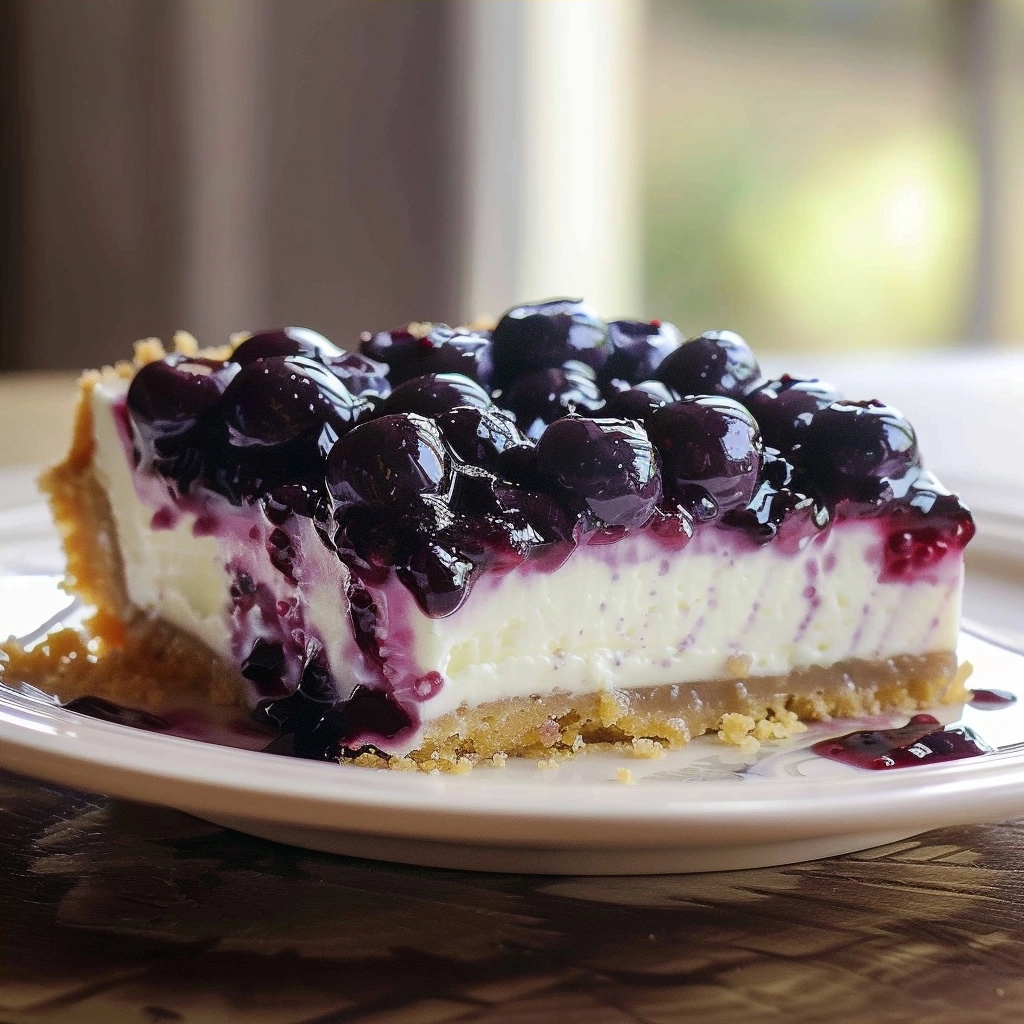
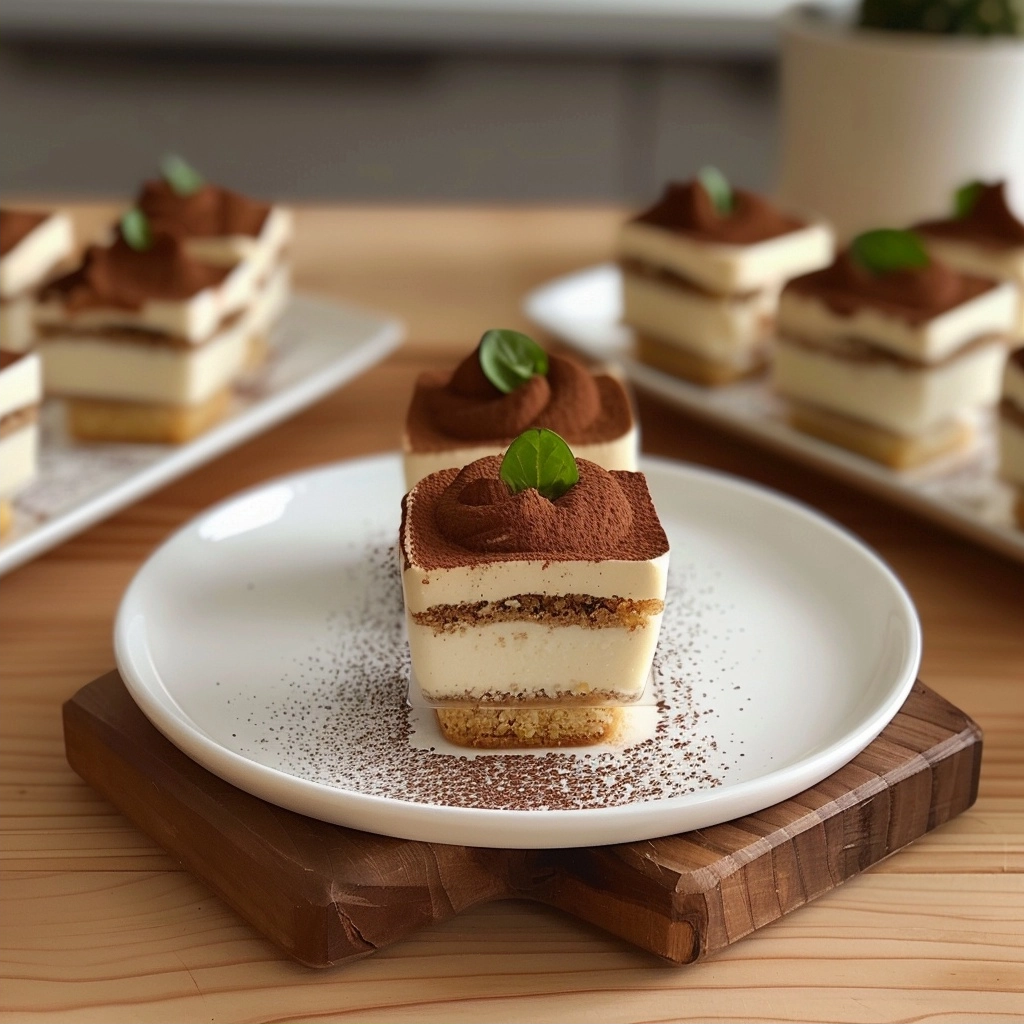
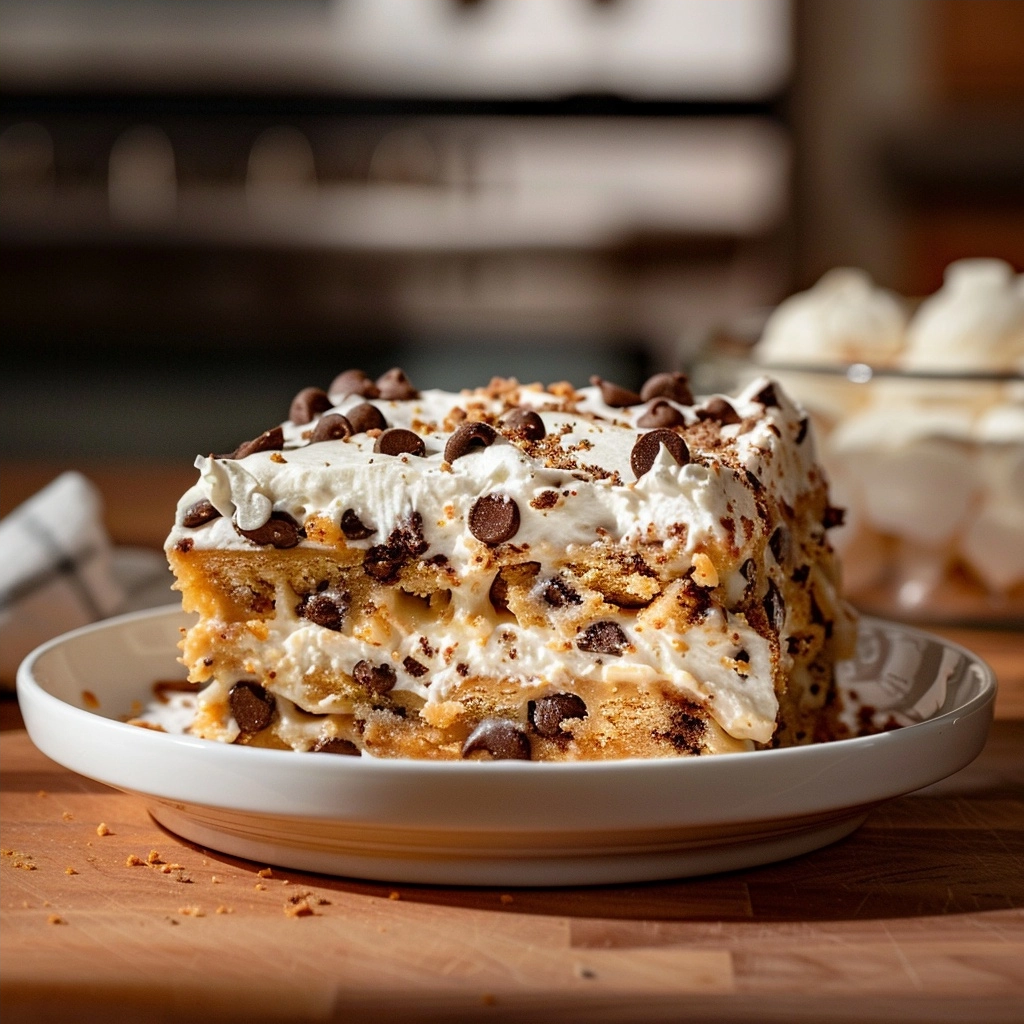
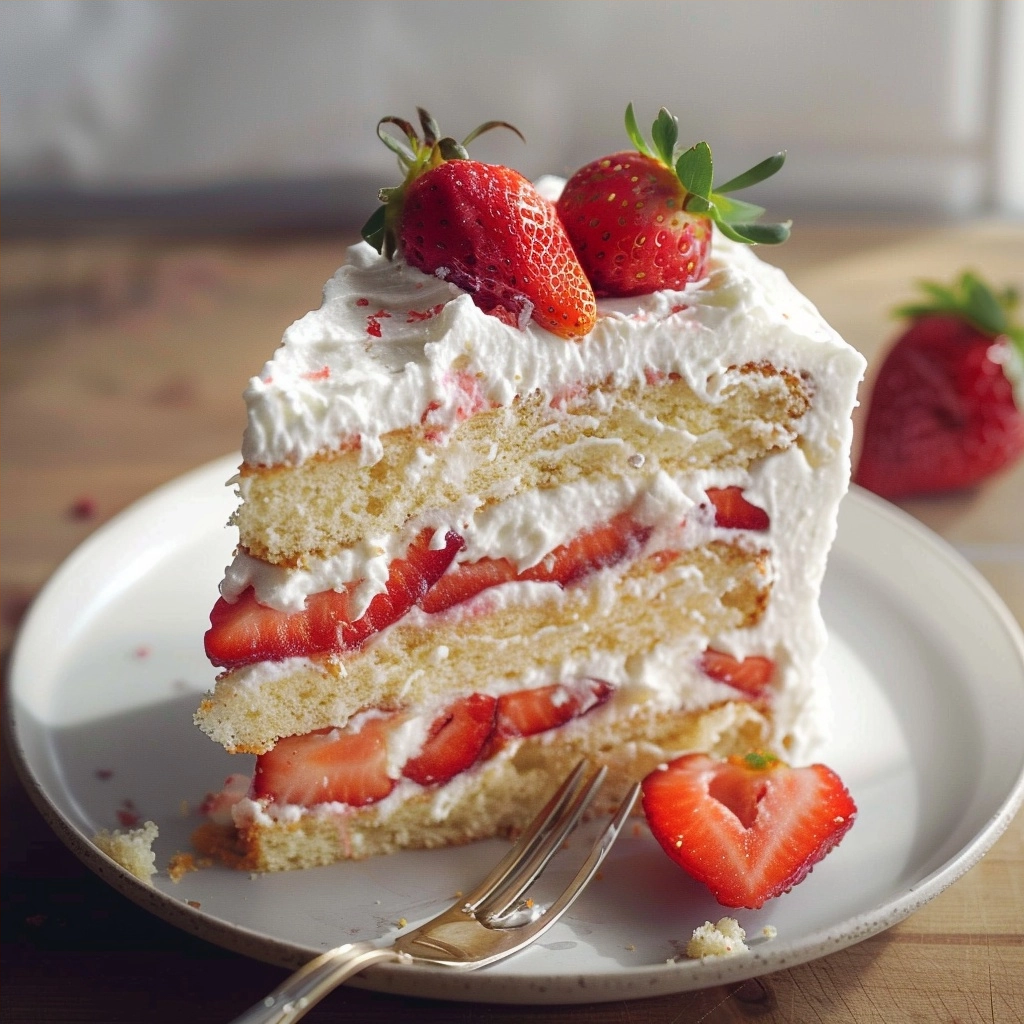
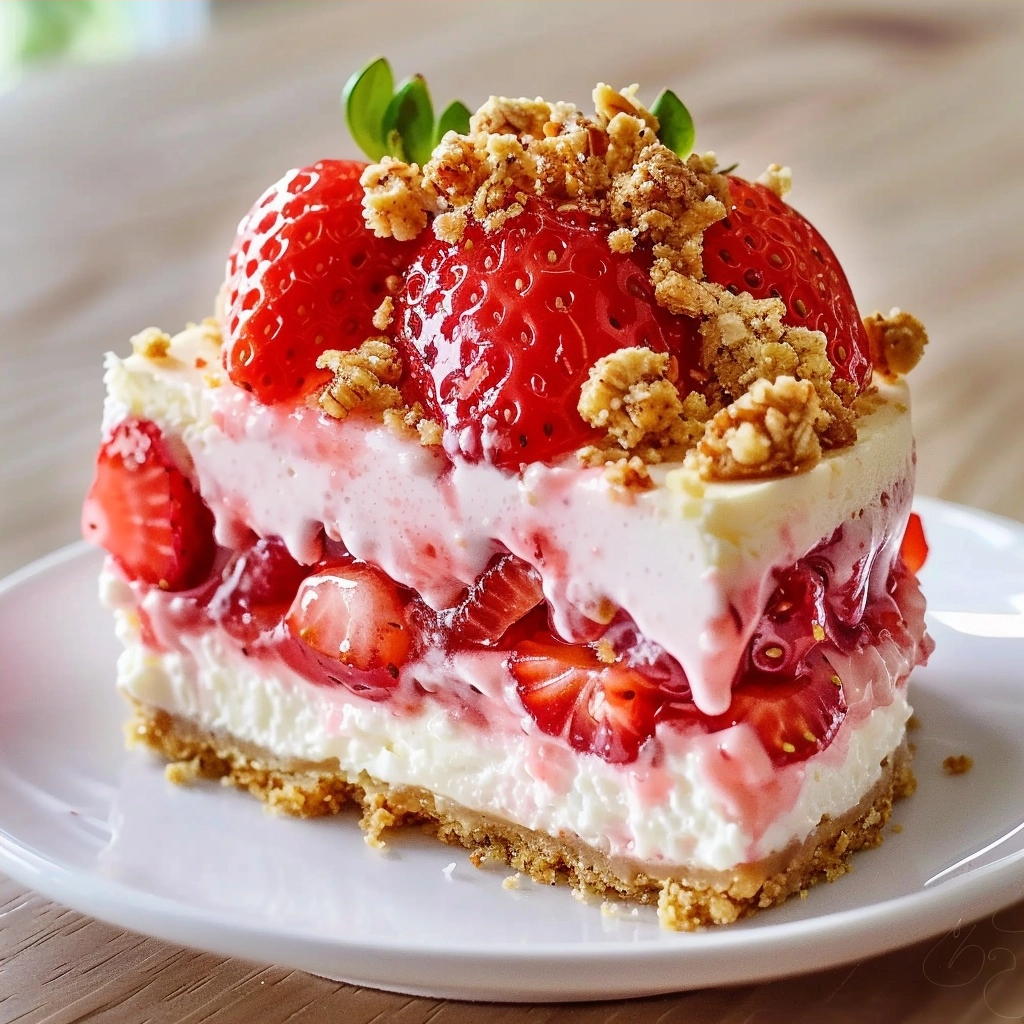
Simple Homemade Strawberry Shortcake Bars Recipe provides a foolproof way to assemble a refreshing, layered dessert using fresh berries and buttery cake layers. These handheld treats combine creamy textures with bright fruit flavors for a perfect crowd-pleasing dessert that requires minimal effort in the kitchen. By focusing on high-quality ingredients and precise layering, you achieve a bakery-quality result at home without complicated baking techniques.
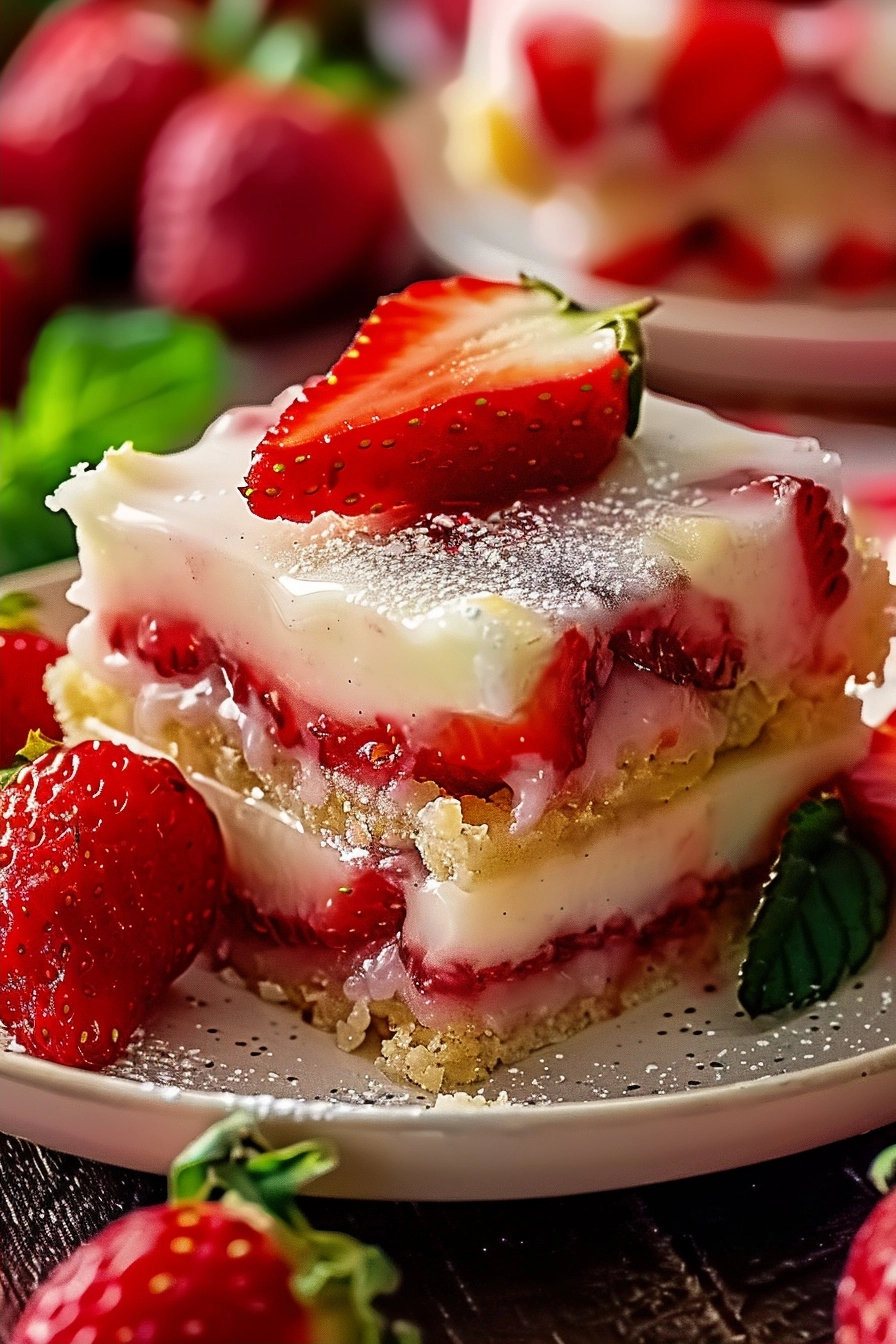
Recipe Overview
| Prep Time | Cook Time | Total Time | Servings | Difficulty | Cuisine |
|---|---|---|---|---|---|
| 20 minutes | 20 minutes | 2 hours | 12 bars | Easy | American |
Why This Recipe Works
This recipe provides a reliable method for those who desire the classic taste of strawberry shortcake in a structured, portable format. I designed these bars to balance the sweetness of the fruit with a dense, moist cake base that holds its shape during slicing. The combination of whipped components and macerated strawberries creates a texture contrast that remains stable even when kept at room temperature for short periods.
You will appreciate the versatility of this dessert for various social gatherings or simple family dinners. It removes the stress of plating individual shortcakes, allowing you to slice and serve directly from the pan. The step-by-step approach ensures that every layer integrates correctly, resulting in consistent flavor distribution across every individual portion.
Ingredients
| Ingredient | Quantity | Notes |
|---|---|---|
| All-purpose flour | 2 cups | Sift for best results |
| Granulated sugar | 1 cup | Can use superfine |
| Fresh strawberries | 1 pound | Hulled and sliced |
| Heavy cream | 2 cups | Keep chilled |
| Unsalted butter | 1 cup | Softened |
| Vanilla extract | 2 tsp | Pure extract preferred |
Step-by-Step Instructions
Preparing the Cake Base
- Preheat your oven to 350 degrees Fahrenheit.
- Grease a 9×13 inch baking pan thoroughly with butter or non-stick spray.
- Cream the butter and sugar in a large bowl until smooth and fluffy.
- Add eggs one at a time while mixing continuously.
- Fold the flour and dry ingredients into the butter mixture until fully combined.
- Spread the batter evenly into the prepared pan.
- Bake for 20 minutes or until a toothpick comes out clean.
Assembling the Layers
- Cool the cake completely on a wire rack to prevent the cream from melting.
- Macerate the strawberries in a separate bowl with a tablespoon of sugar for 15 minutes.
- Whip the heavy cream with vanilla until stiff peaks form.
- Spread the whipped cream evenly over the cooled cake base.
- Layer the sliced strawberries over the top of the cream.
- Chill the entire pan for at least 90 minutes before cutting into uniform bars.
Chef Tips for Perfect Results
- Ensure the cake base reaches room temperature before applying the whipped cream layer to prevent melting.
- Pat your sliced strawberries dry with a paper towel if they are particularly juicy to keep the bar structure firm.
- Use an offset spatula to spread your whipped cream for a perfectly flat surface.
- Cut the bars using a hot, clean knife to ensure smooth edges on every serving.
- Add a sprinkle of powdered sugar over the top just before serving for a professional final touch.
Common Mistakes to Avoid
- Mixing the batter for too long results in a tough cake, so stop as soon as the flour disappears.
- Applying cream to a warm cake causes the cream to lose its structure and slide off the base.
- Using frozen strawberries directly can lead to excess liquid, so always drain thawed fruit thoroughly.
- Cutting the bars too early leads to messy edges, so prioritize the refrigeration time.
Variations and Substitutions
| Ingredient | Substitution | Impact on Flavor |
|---|---|---|
| Strawberries | Raspberries | Adds a tart pop of flavor |
| Heavy Cream | Coconut cream | Adds a subtle tropical note |
| Granulated Sugar | Honey | Increases moisture and floral notes |
Serving Suggestions and Pairings
Serve these bars alongside a glass of chilled almond milk or a refreshing iced mint tea. They pair excellently with a light vanilla bean ice cream during outdoor summer gatherings. For a brunch event, these bars provide a perfect sweet contrast to savory items like scrambled eggs.
Storage and Reheating
| Method | Duration | Instructions |
|---|---|---|
| Refrigerator | 3 days | Keep in an airtight container |
| Freezer | 1 month | Freeze bars individually on a tray then store in a bag for better quality |
Nutritional Information
| Nutrient | Amount per Serving |
|---|---|
| Calories | 280 kcal |
| Protein | 3g |
| Fat | 14g |
| Carbohydrates | 35g |
| Fiber | 1g |
| Sugar | 22g |
| Sodium | 150mg |
Approximate values per serving based on standard recipe calculations.
Frequently Asked Questions
How do I make the strawberry shortcake bars ahead of time?
You can bake the cake base up to two days in advance and keep it sealed at room temperature. Assemble the cream and strawberry layers no more than four hours before you plan to serve the dessert for optimal freshness.
Can I replace fresh strawberries with frozen ones?
Frozen strawberries work fine if you thaw and drain them completely before use. Excess moisture poses a challenge to the texture, so pat them dry thoroughly.
Why is my cream layer sliding off the bars?
The cake was likely still warm when you applied the cream, causing it to melt slightly. Allow the cake to cool completely on a wire rack before starting the assembly process.
How do I tell if the cake base is perfectly done?
Insert a wooden toothpick into the center of the cake base to check for doneness. If the toothpick comes out clean or with only a few dry crumbs, your cake is ready to be removed from the oven.
What is the best way to cut clean squares?
Run your knife under hot water and wipe it dry between each cut for the cleanest edges. Chilling the entire dessert for at least two hours before cutting creates the firmest foundation for slicing.
This Simple Homemade Strawberry Shortcake Bars Recipe proves that you do not need complex equipment to create a showstopping dessert. By following these straightforward techniques, you ensure that every bite delivers the perfect balance of light cake, rich cream, and vibrant fruit. Enjoy the reward of your hard work with these delightful, easy-to-serve treats that highlight the best of seasonal flavors.